#simplycreate a hummingbird with watercolour
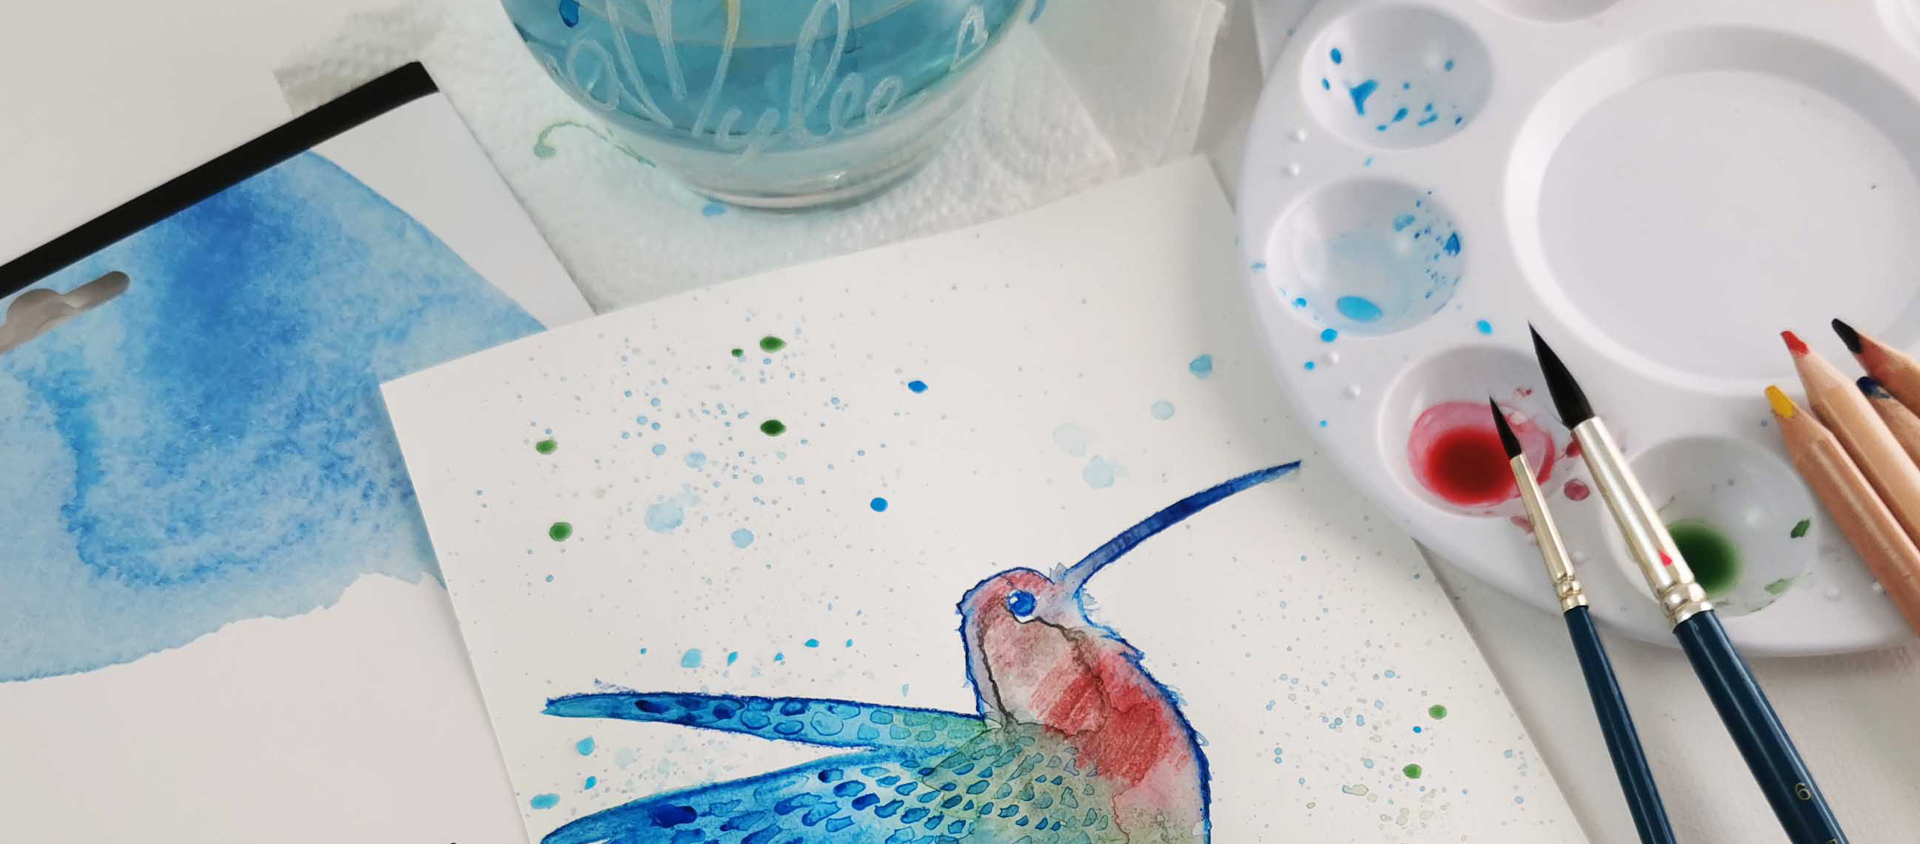
How to paint a hummingbird with watercolours
Easy step-by-step watercolour tutorial with Simply art supplies on how to paint a hummingbird, presented by Amylee Paris.
How to paint a hummingbird with watercolours
Easy step-by-step watercolour tutorial with Simply art supplies on how to paint a hummingbird, presented by Amylee Paris.
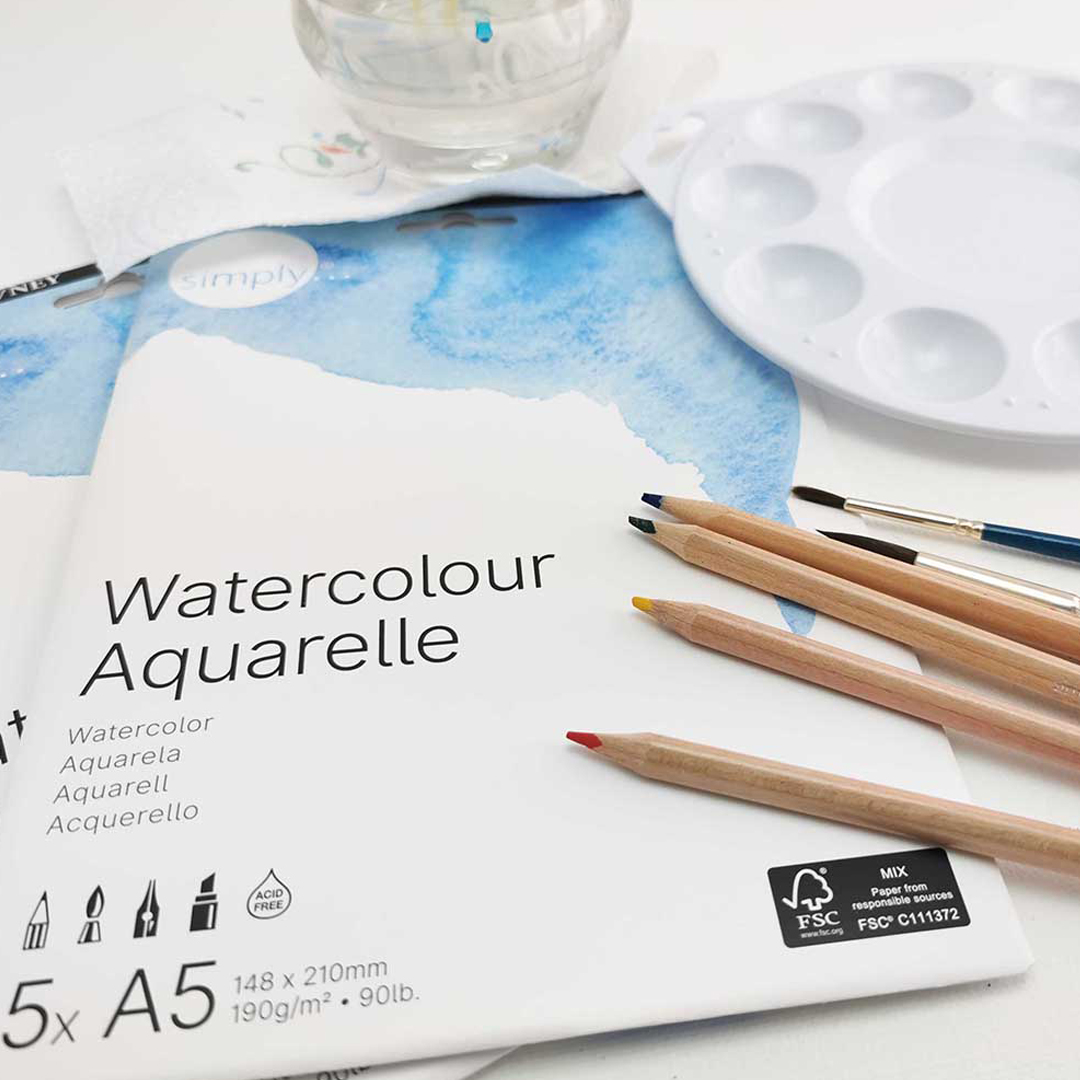
The materials in your kit
Your step by step guide
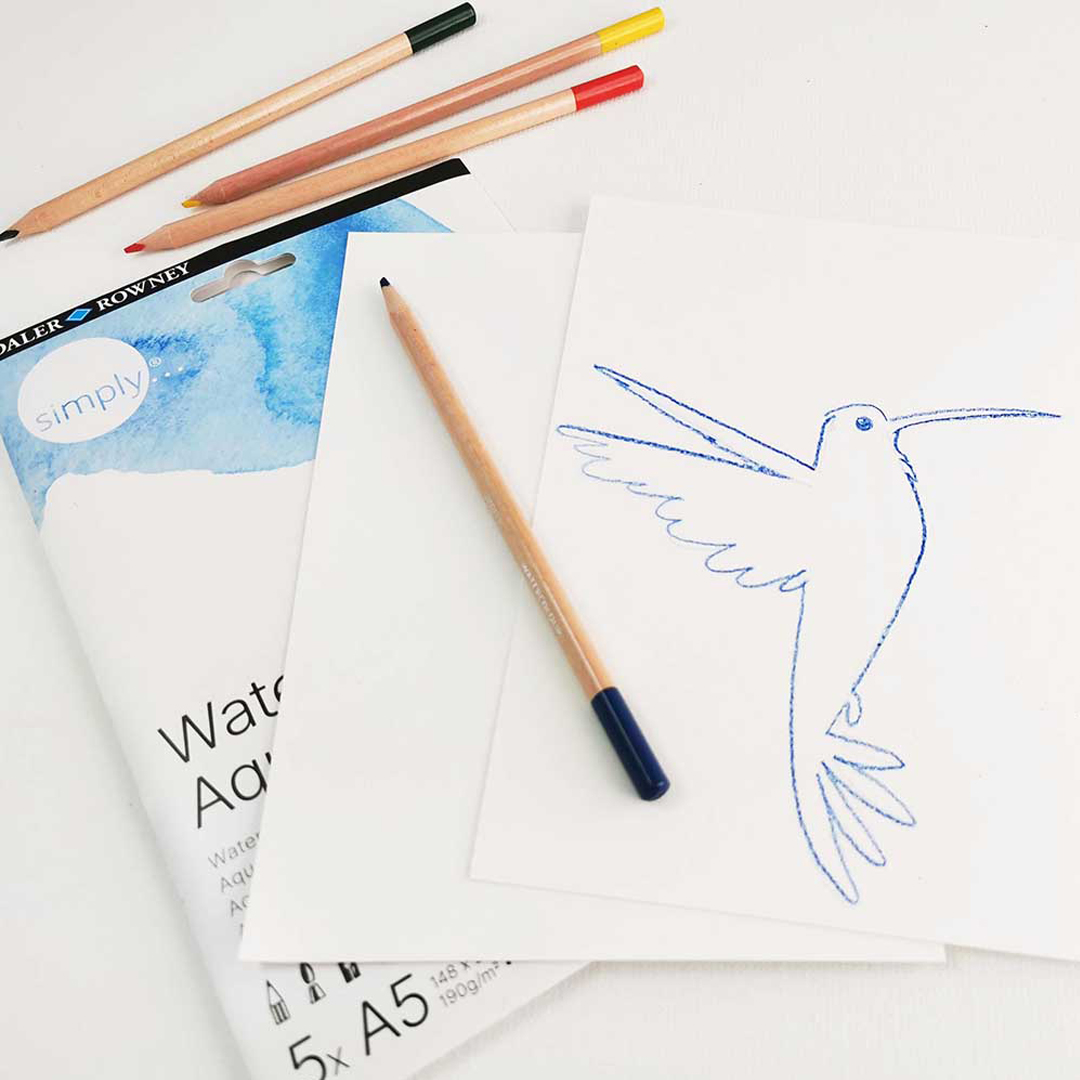
Using the watercolour pencil of your choice, trace the outline of a bird on a sheet of watercolour paper.
Good to know: If you have difficulty drawing the bird freehand, be aware that on Pinterest or Google images you will find illustrations of hummingbirds that you can use as models to cut out after printing.
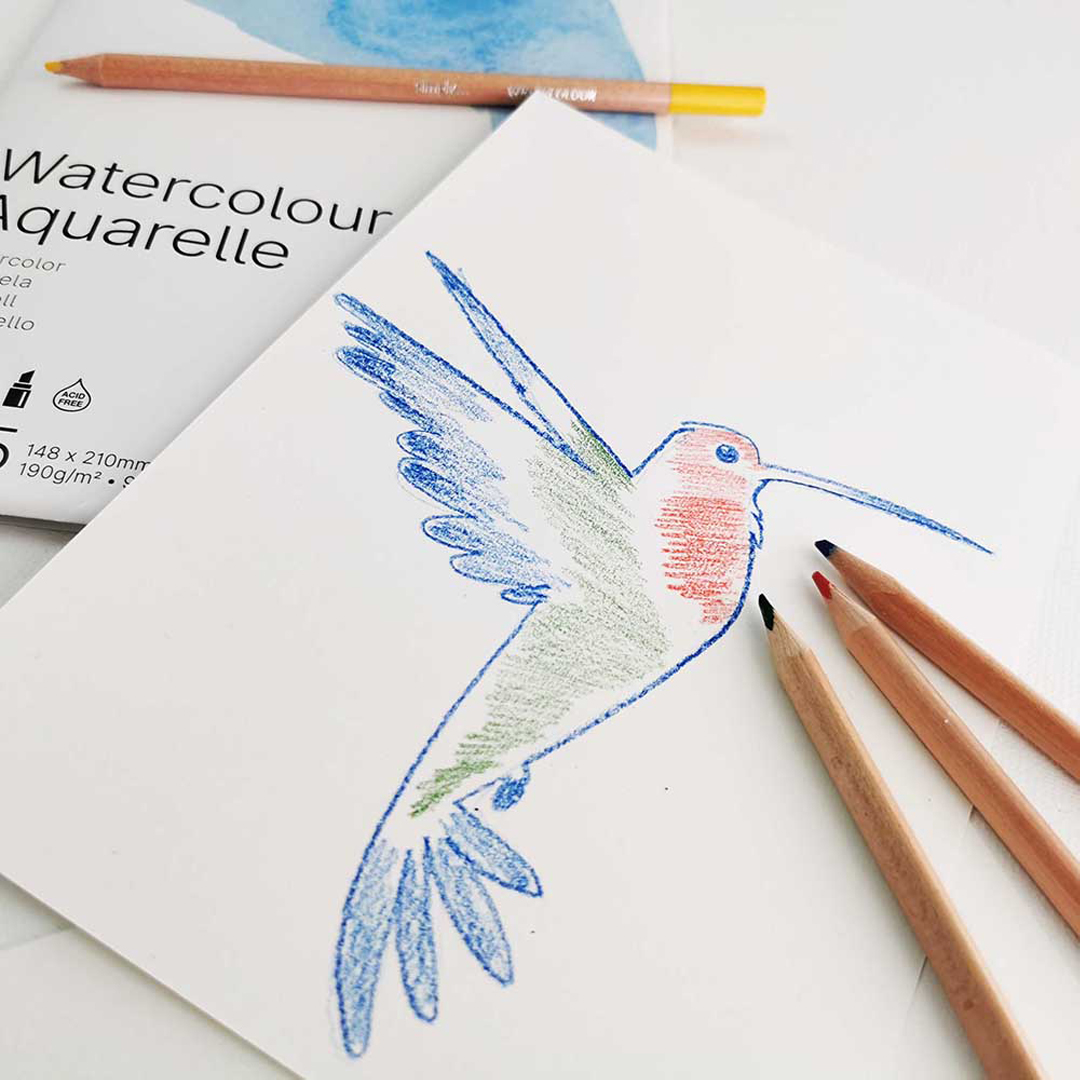
Select three colours to create a nice gradient. Using the watercolour pencil, sketch the parts of the bird to fill in.
Good to know: To avoid colour overload when applying water, I leave a white area between my coloured areas. Wanting too much colour, we create unsightly mixtures.
Select three colours to create a nice gradient. Using the watercolour pencil, sketch the parts of the bird to fill in.
Good to know: To avoid colour overload when applying water, I leave a white area between my coloured areas. Wanting too much colour, we create unsightly mixtures.

Using the brush dipped in a little water, we mix the colours directly on the drawn bird to create watercolour gradients.
Once the water has been applied to the entire bird, allow it to dry.
Good to know: It is after the creation dries that the effects of watercolour really appear. Look at these pretty halos and transparency effects on the bird. It’s beautiful, isn't it?
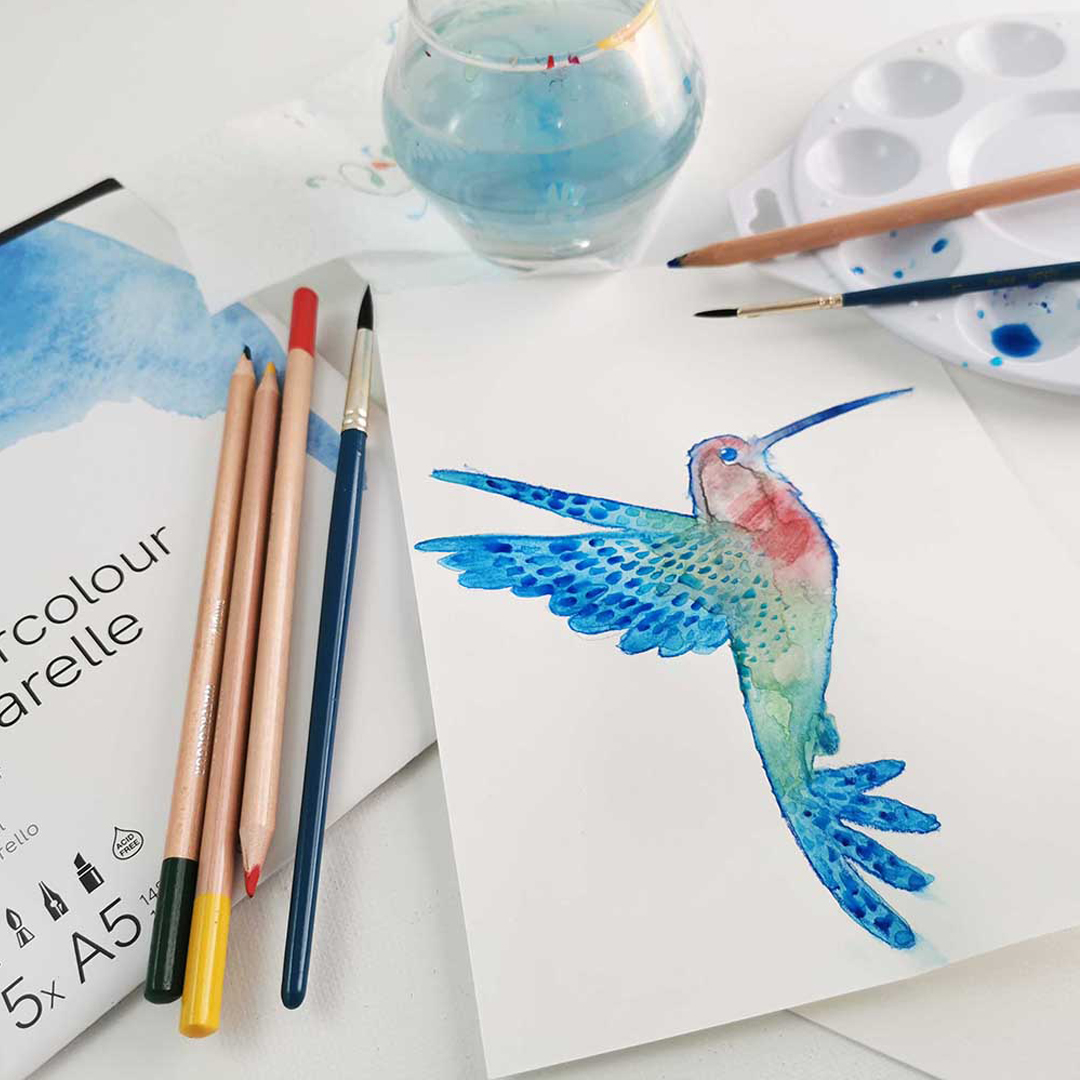
Take the fine-tipped brush and dip it in a little water mixed with the watercolour colour of your choice.
Draw a series of small lines or dots on the bird's wings to create beautiful graphic plumage.
Good to know: Add a little water to one of the wells on the palette. Using the tip of the watercolour pencil, quickly stir the water as if you were using a spoon to chill soup. By turning the tip of the pencil in the water, the colour will dissolve and tint the water in the cup.
To make pretty drops and fine splashes around the bird, use a brush dipped in coloured water, then with the pencil tap on the brush handle while positioning yourself above your sheet of paper.
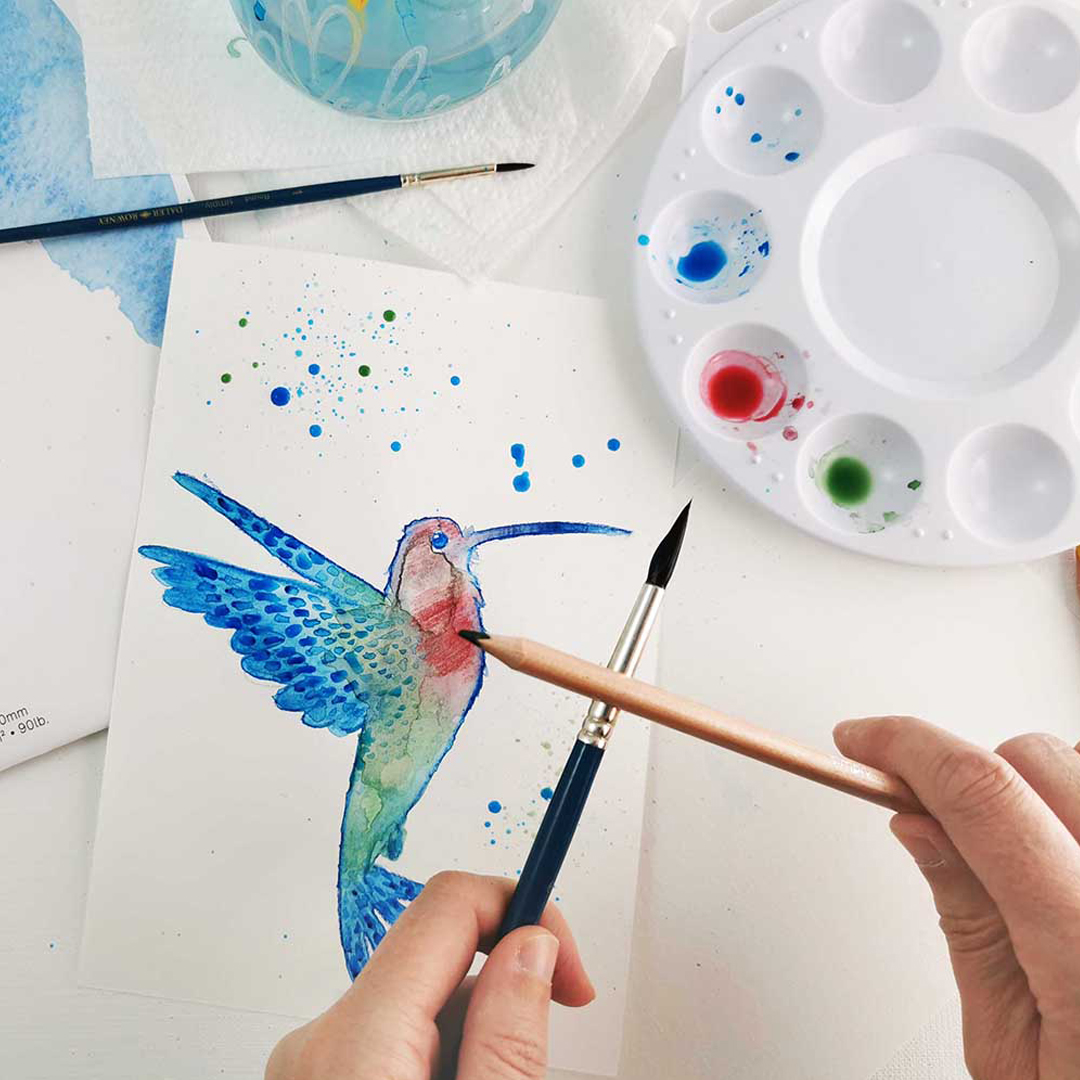
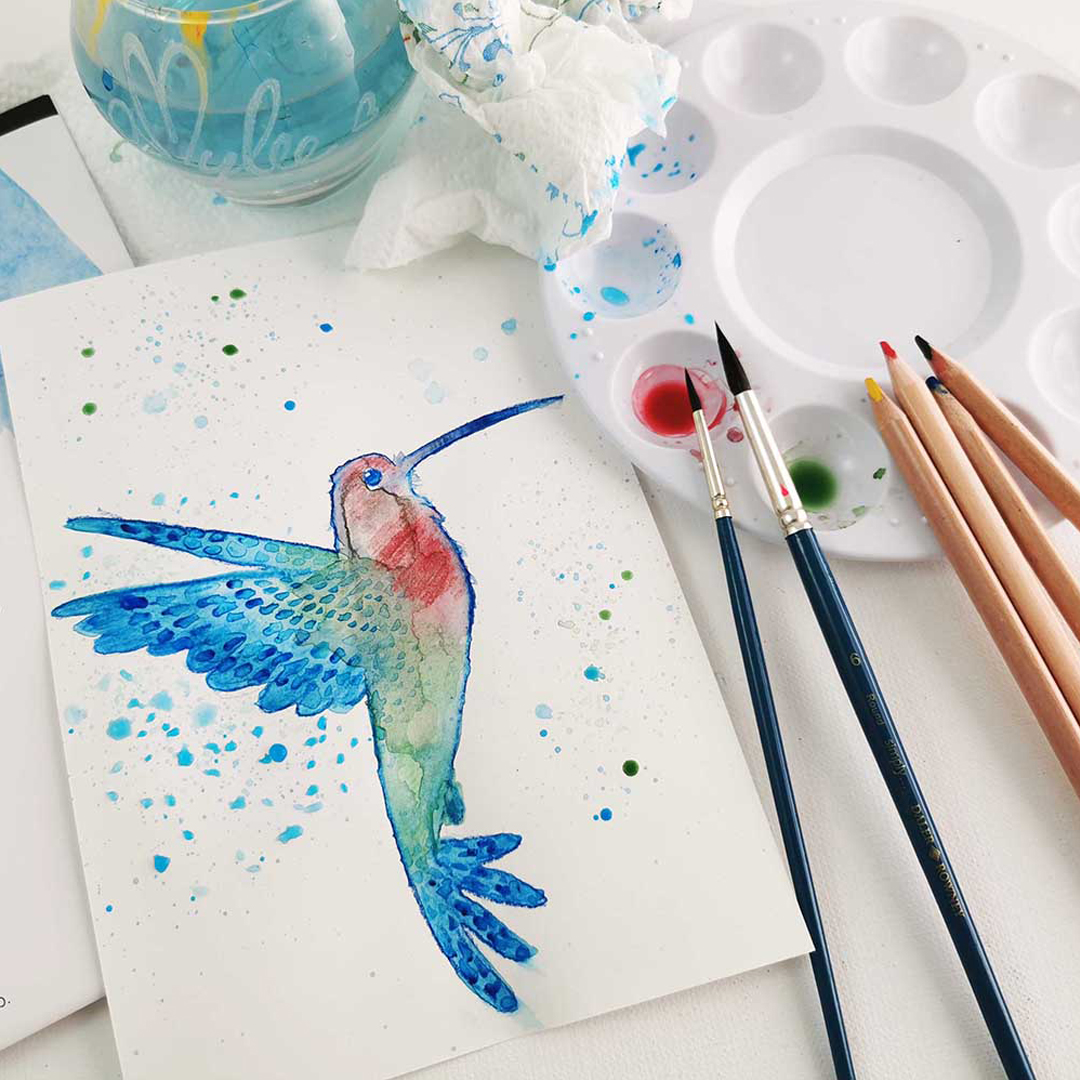
There you go, the bird is finished. The splashes give the composition an impression of movement and dynamism, don't you think? Hummingbirds in watercolour have no secrets for you now. So, all to your brushes!
Don’t forget to show us your art using #simplycreate
Your step by step guide
Using the watercolour pencil of your choice, trace the outline of a bird on a sheet of watercolour paper.
Good to know: If you have difficulty drawing the bird freehand, be aware that on Pinterest or Google images you will find illustrations of hummingbirds that you can use as models to cut out after printing.
Select three colours to create a nice gradient. Using the watercolour pencil, sketch the parts of the bird to fill in.
Good to know: To avoid colour overload when applying water, I leave a white area between my coloured areas. Wanting too much colour, we create unsightly mixtures.
Select three colours to create a nice gradient. Using the watercolour pencil, sketch the parts of the bird to fill in.
Good to know: To avoid colour overload when applying water, I leave a white area between my coloured areas. Wanting too much colour, we create unsightly mixtures.
Using the brush dipped in a little water, we mix the colours directly on the drawn bird to create watercolour gradients.
Once the water has been applied to the entire bird, allow it to dry.
Good to know: It is after the creation dries that the effects of watercolour really appear. Look at these pretty halos and transparency effects on the bird. It’s beautiful, isn't it?
Take the fine-tipped brush and dip it in a little water mixed with the watercolour colour of your choice.
Draw a series of small lines or dots on the bird's wings to create beautiful graphic plumage.
Good to know: Add a little water to one of the wells on the palette. Using the tip of the watercolour pencil, quickly stir the water as if you were using a spoon to chill soup. By turning the tip of the pencil in the water, the colour will dissolve and tint the water in the cup.
To make pretty drops and fine splashes around the bird, use a brush dipped in coloured water, then with the pencil tap on the brush handle while positioning yourself above your sheet of paper.
There you go, the bird is finished. The splashes give the composition an impression of movement and dynamism, don't you think? Hummingbirds in watercolour have no secrets for you now. So, all to your brushes!
Don’t forget to show us your art using #simplycreate
What you'll need
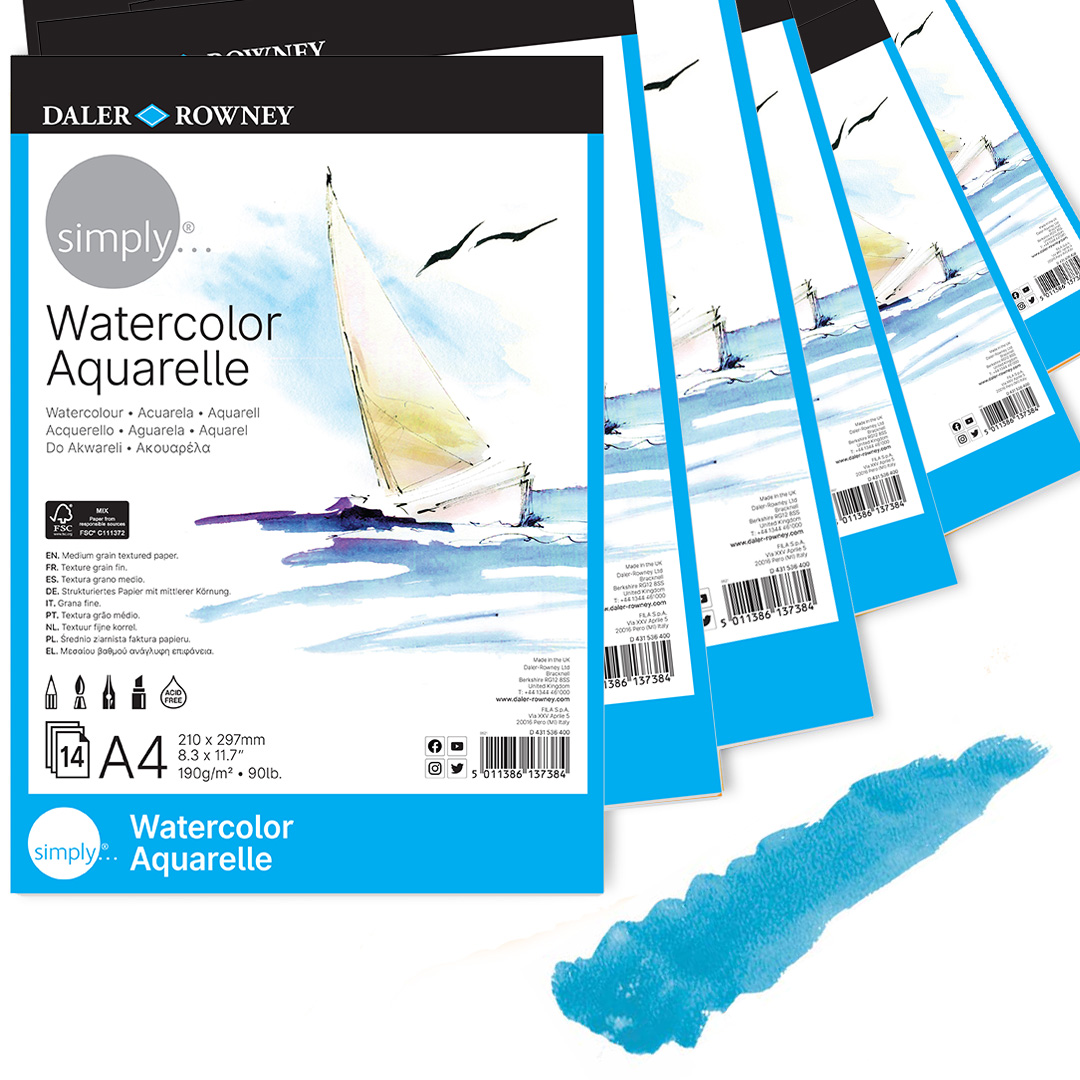
Simply Watercolour Paper
Daler-Rowney Simply Watercolour Paper has a medium grain textured surface, perfect for the application of watercolour and gouache, as well as for drawing and ink techniques. It is perfect for hobbyists willing to experiment watercolour paintings.
VIEW
Simply Watercolour Brushes
Daler-Rowney Simply Watercolour Brushes are made from synthetic hair in a variety of shapes and sizes to fit almost any need.
VIEW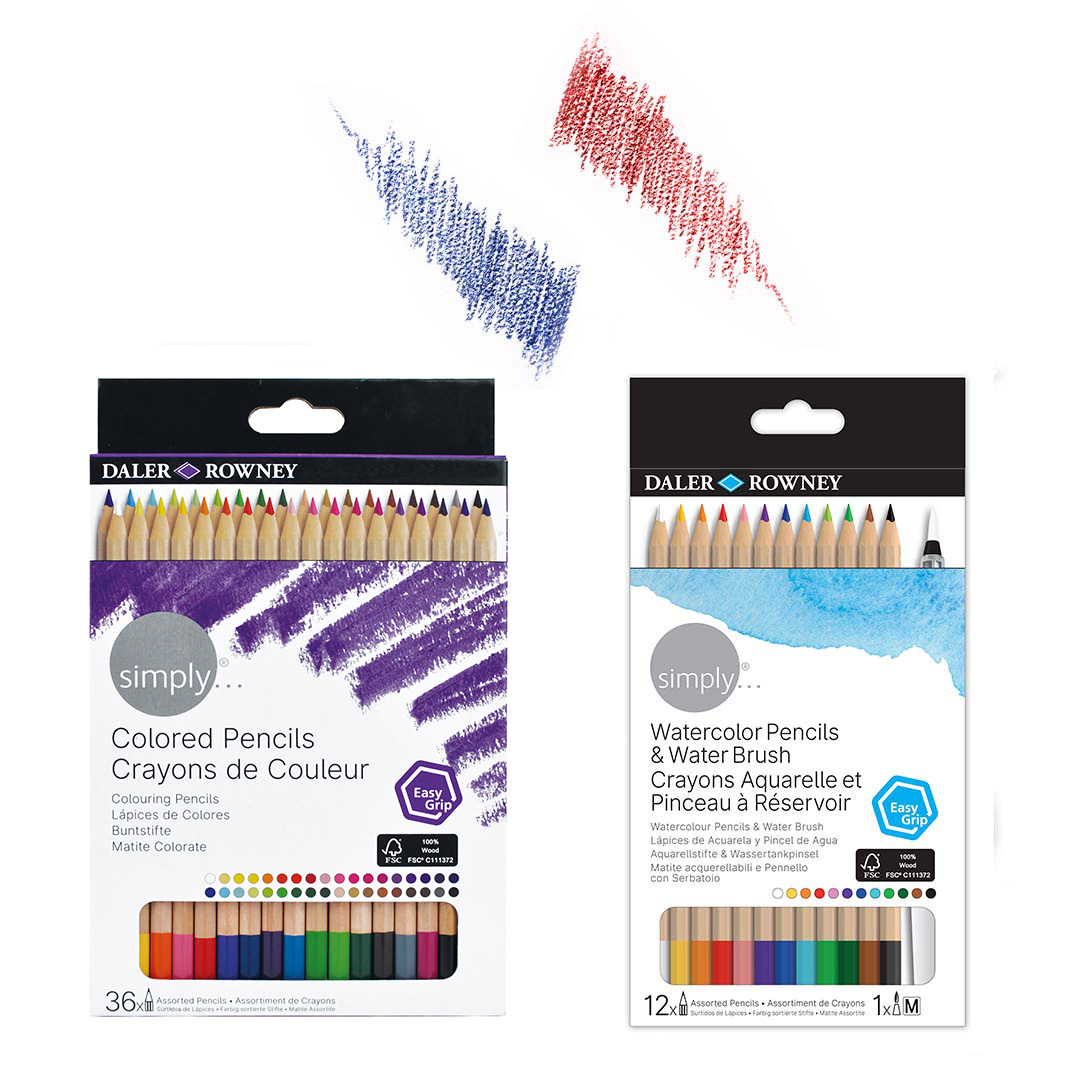
Simply Coloured Pencils
Daler-Rowney Simply Coloured Pencils feature highly pigmented, pre-sharpened ends. Ideal for family activities!
VIEWAbout the artist:
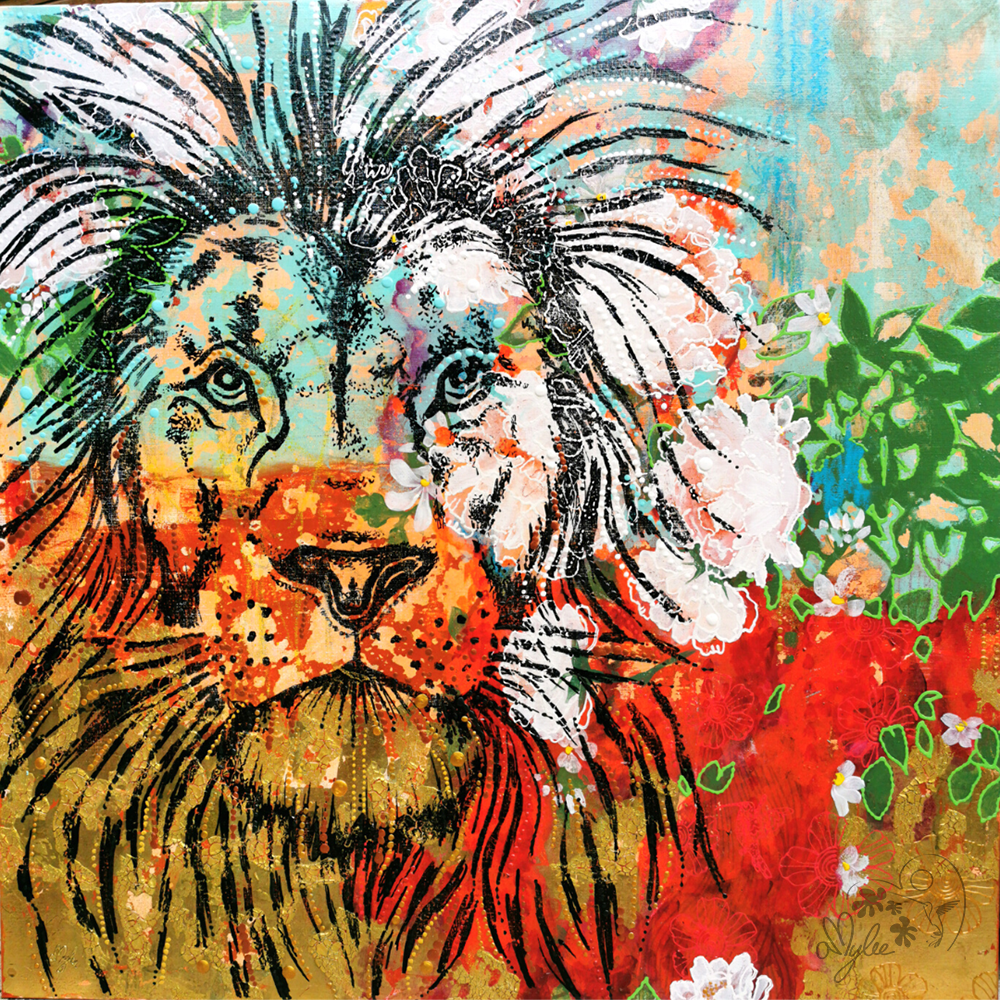
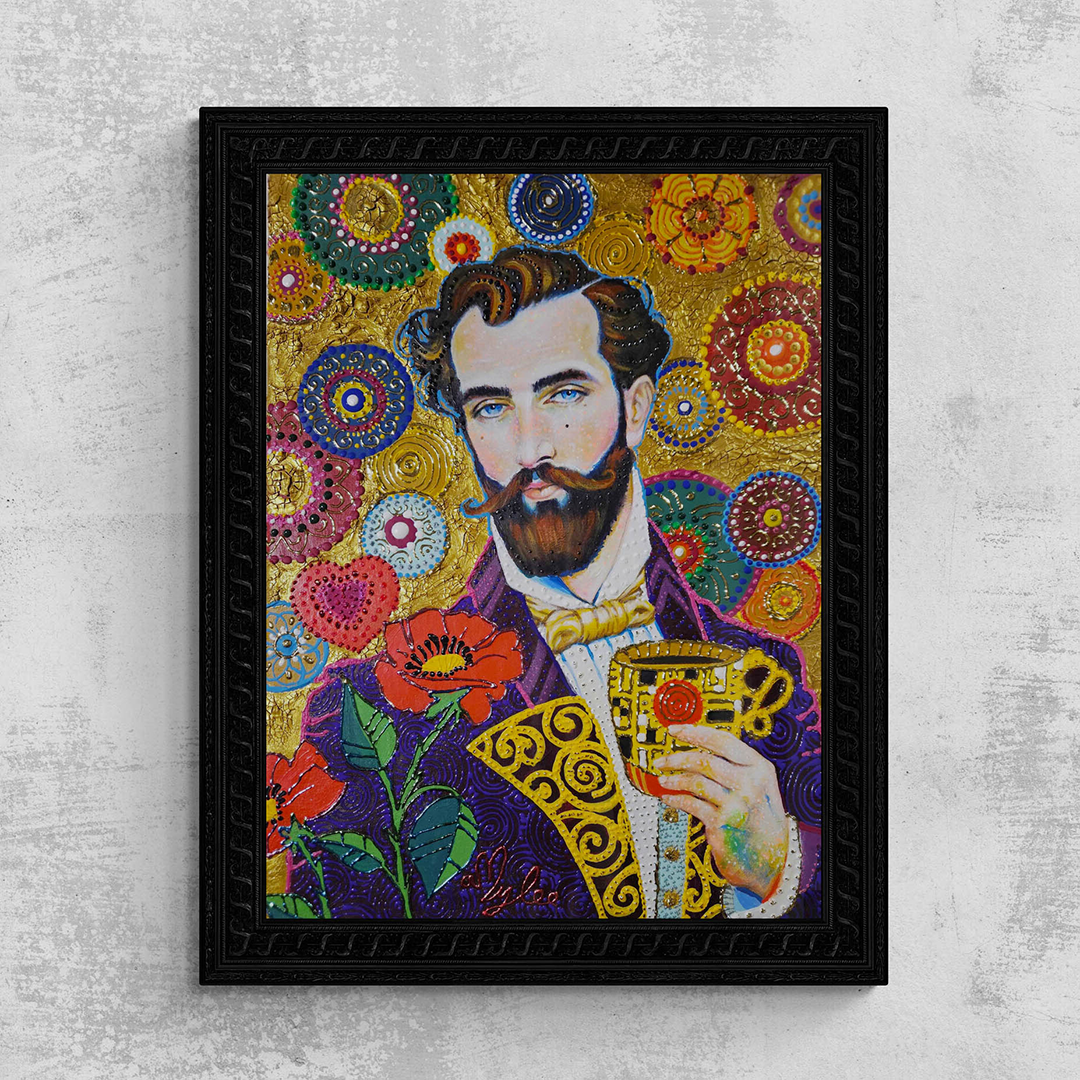
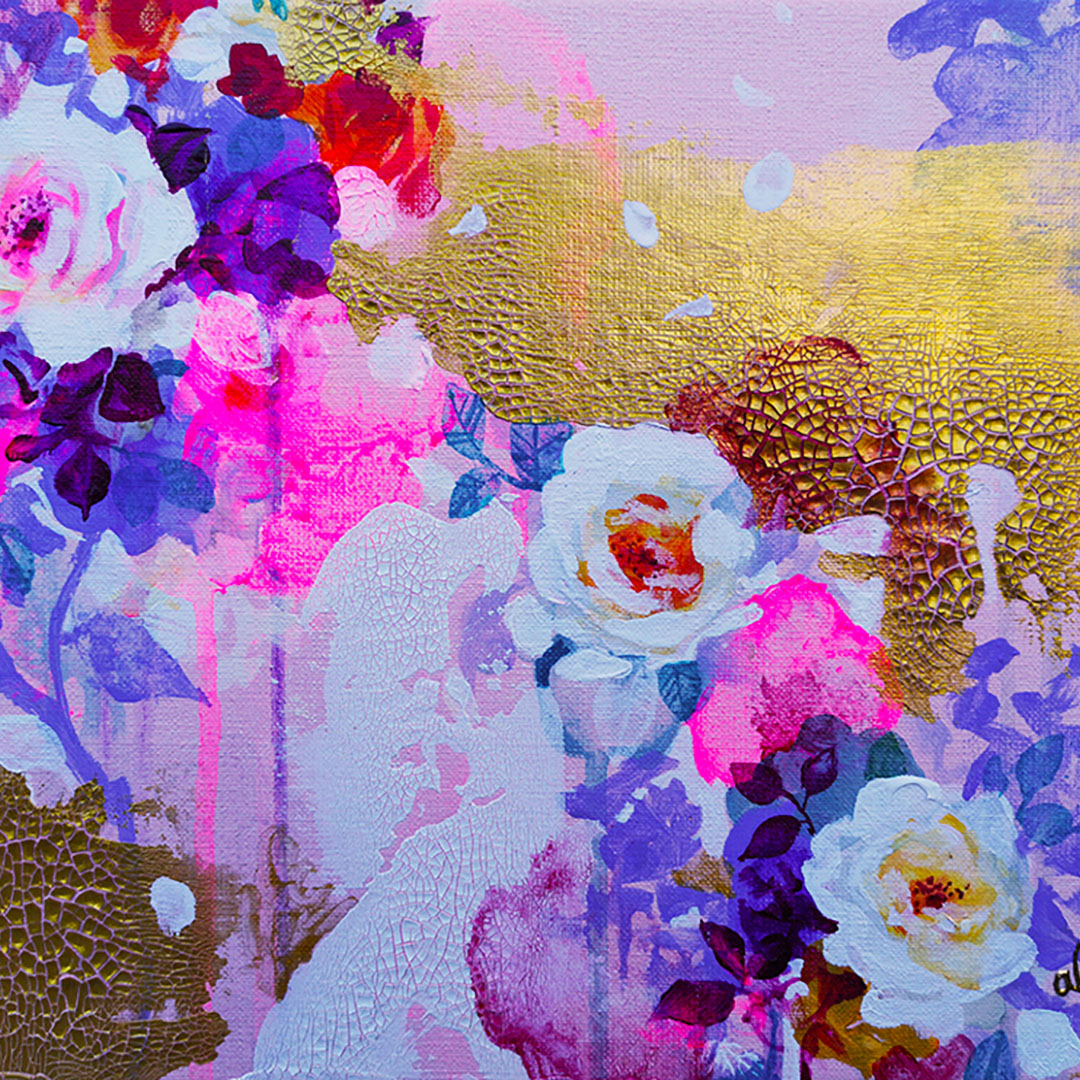
The painter Amylee Paris tirelessly finds her inspiration in colour and nature. Her abstract blooms and portraits shine in several art galleries in the UK.