#simplycreate an Eye
How To Paint an Eye with Watercolour
Learn how to use watercolour paints with a Simply Eye Activity Set. This includes the template, paint brushes, waterbrush and watercolour paint you need to create an eye painting! This step-by-step guide has been created by Daler-Rowney artist Amylee Paris, and is easy for artists to follow and explore with watercolour paint!
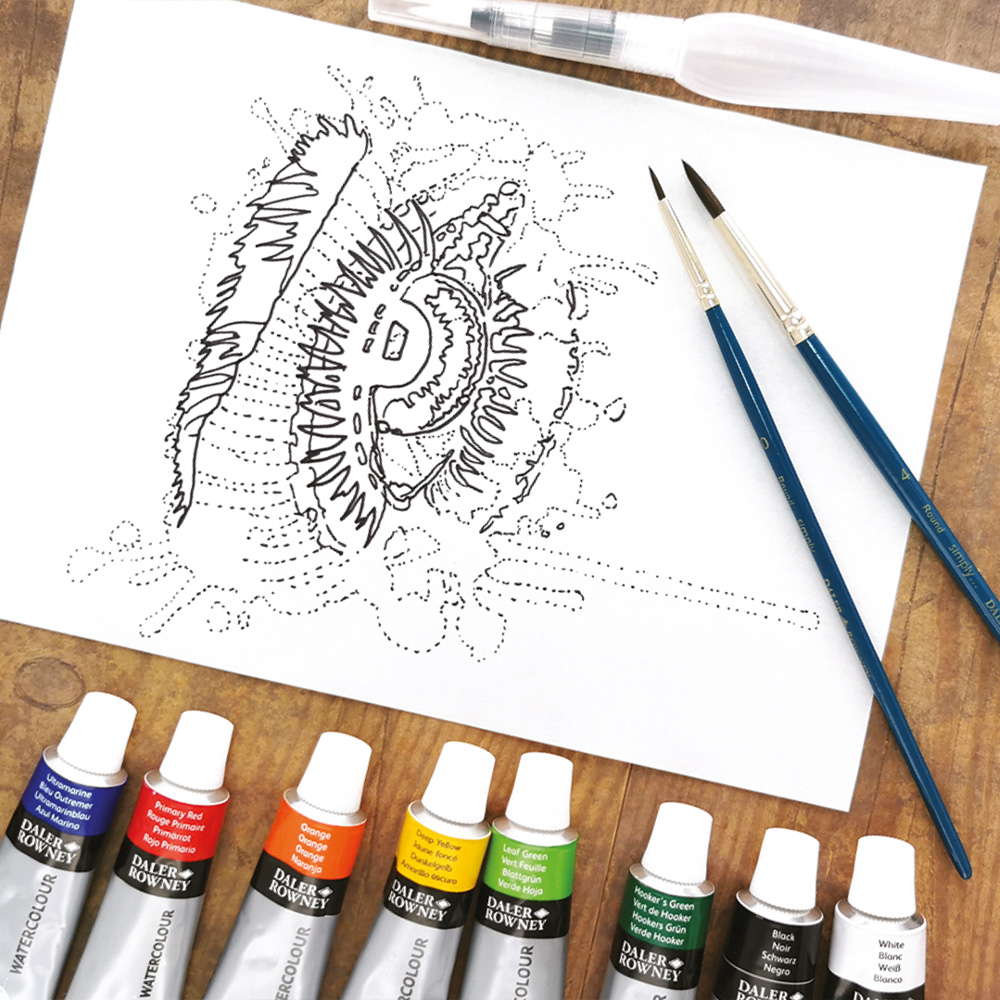
The materials in your kit
Your step by step guide
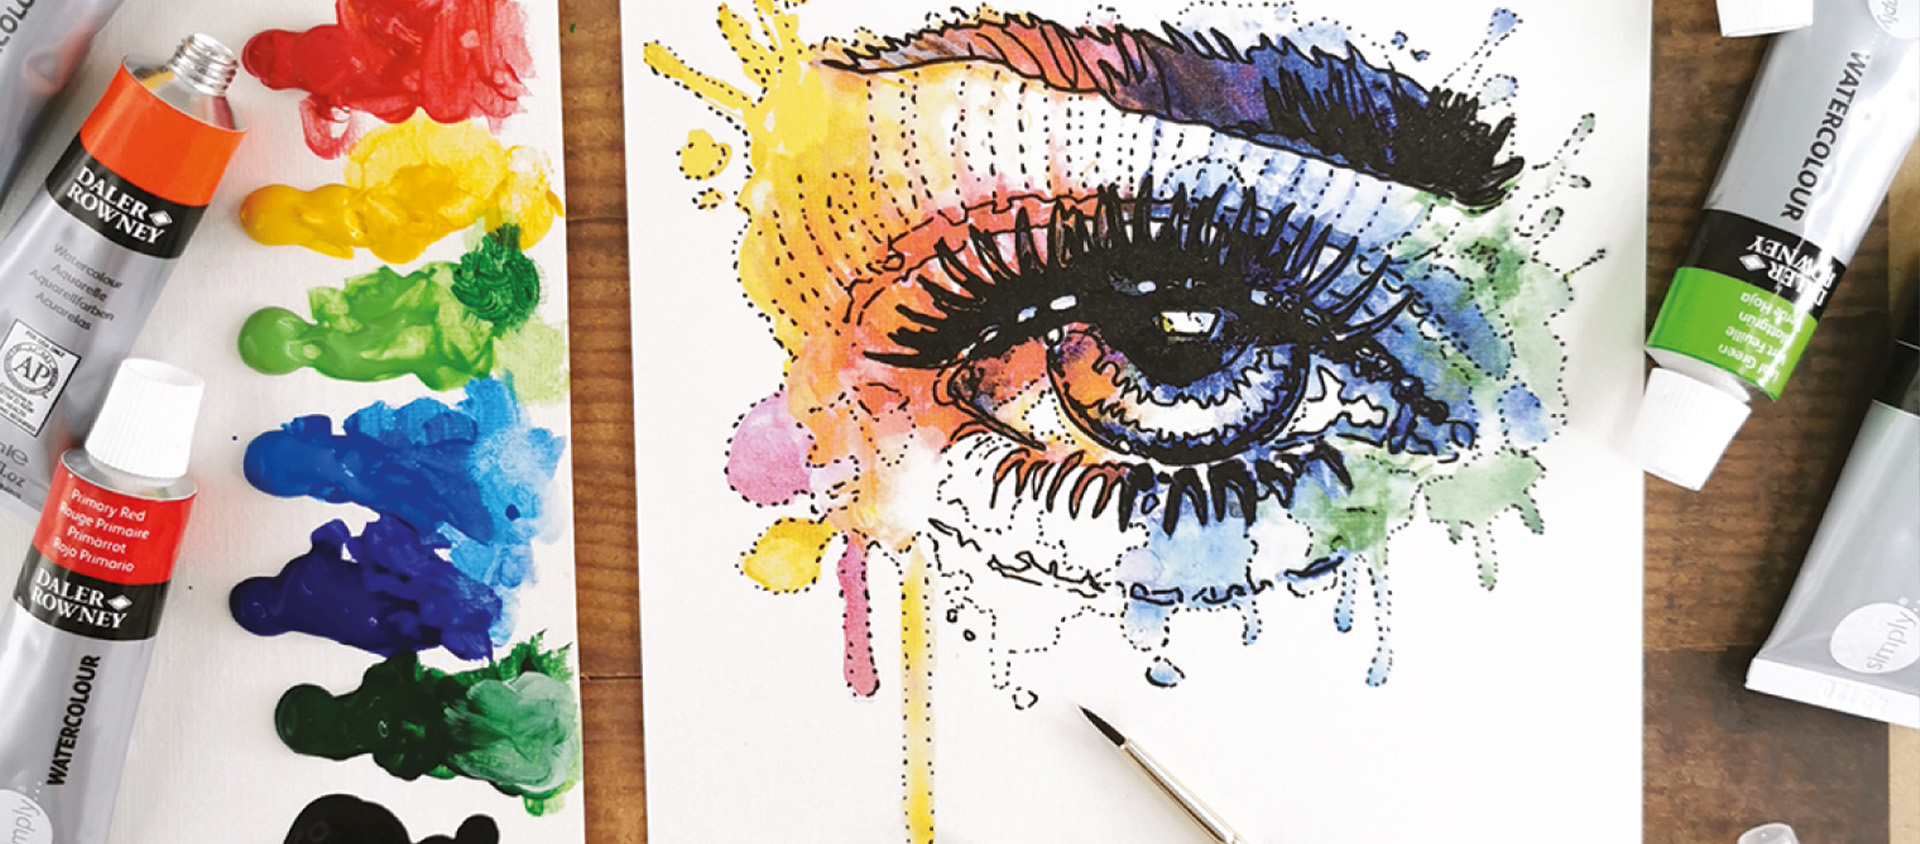
Sit comfortably at a table with all the equipment provided within the kit. Firstly, squeeze a small amount of each colour onto a piece of paper or an artist’s palette. Then use the pre-printed template provided to help you create your painting. In this demonstration, we will produce a wonderful painting with an eye design using Simply Watercolour paints.
GOOD TO KNOW: Your Colour Mixing Guide is here to help you with the mixing of your colours!
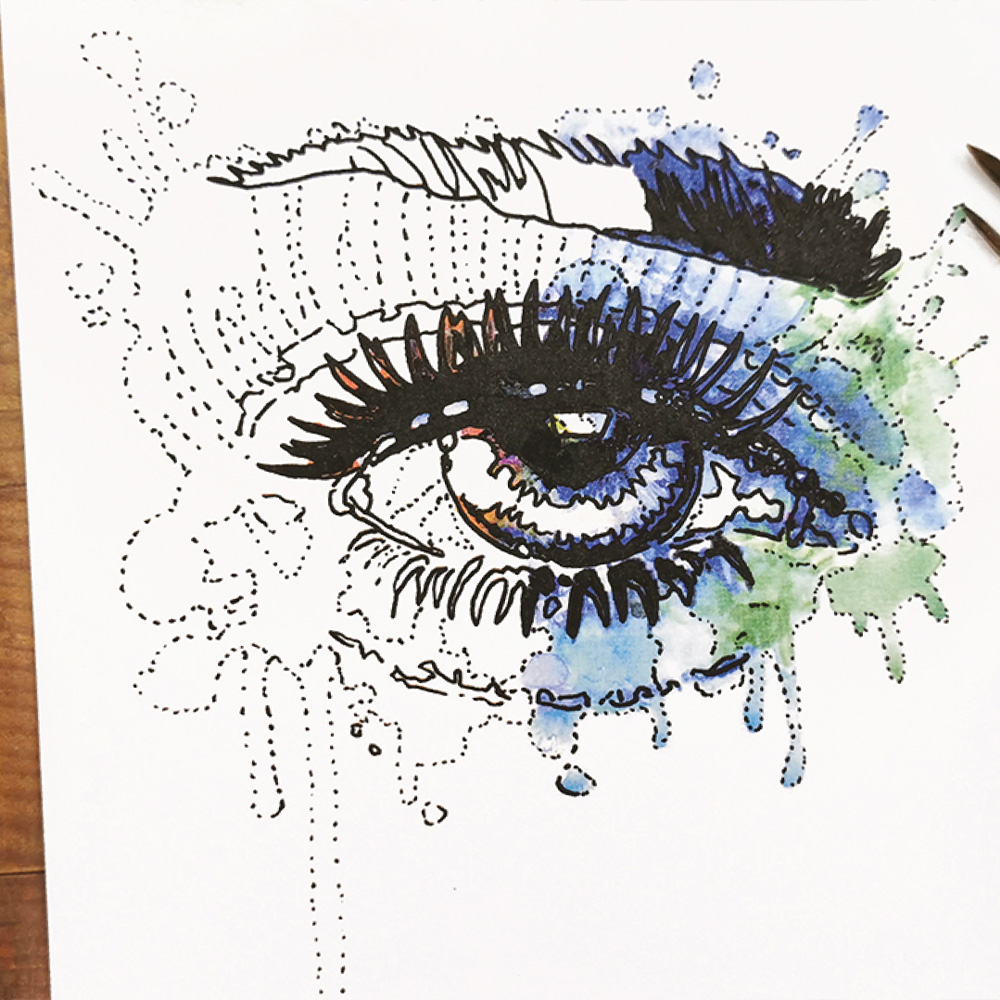
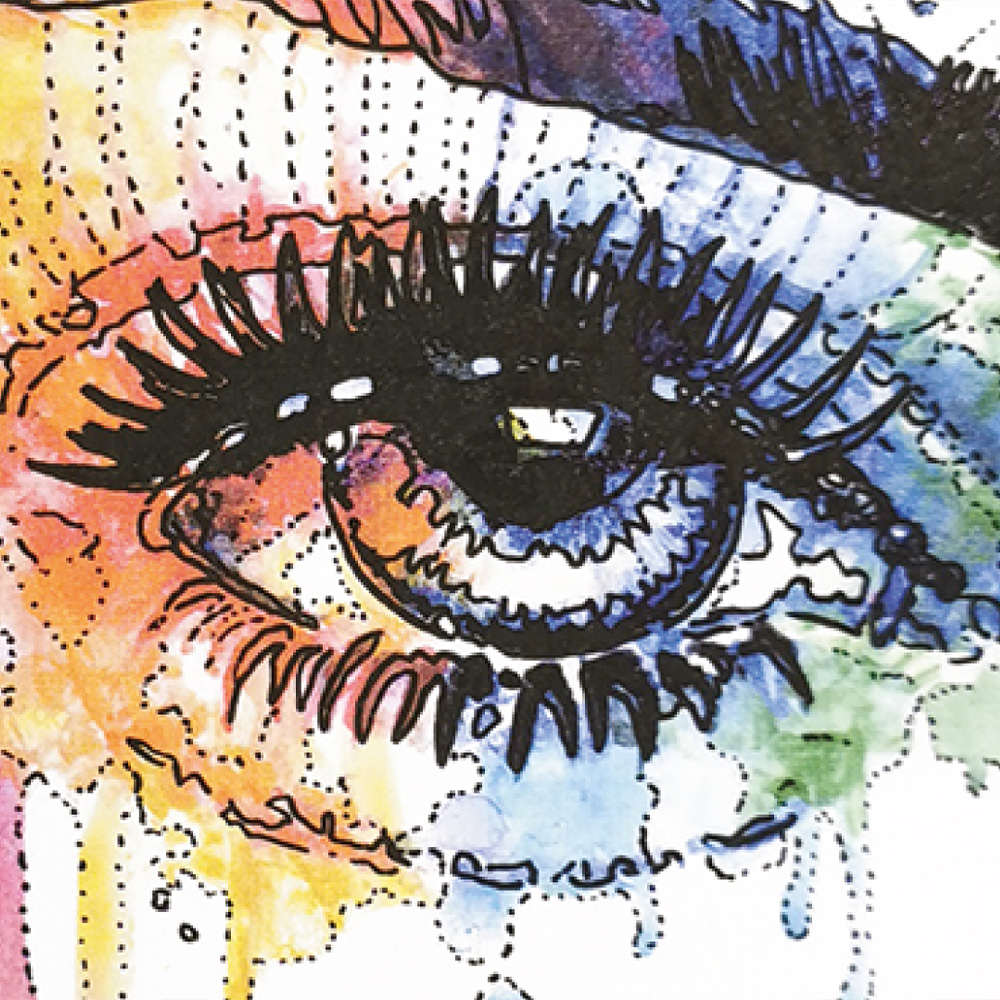
Starting with the eyelashes, use black paint to outline the eye.
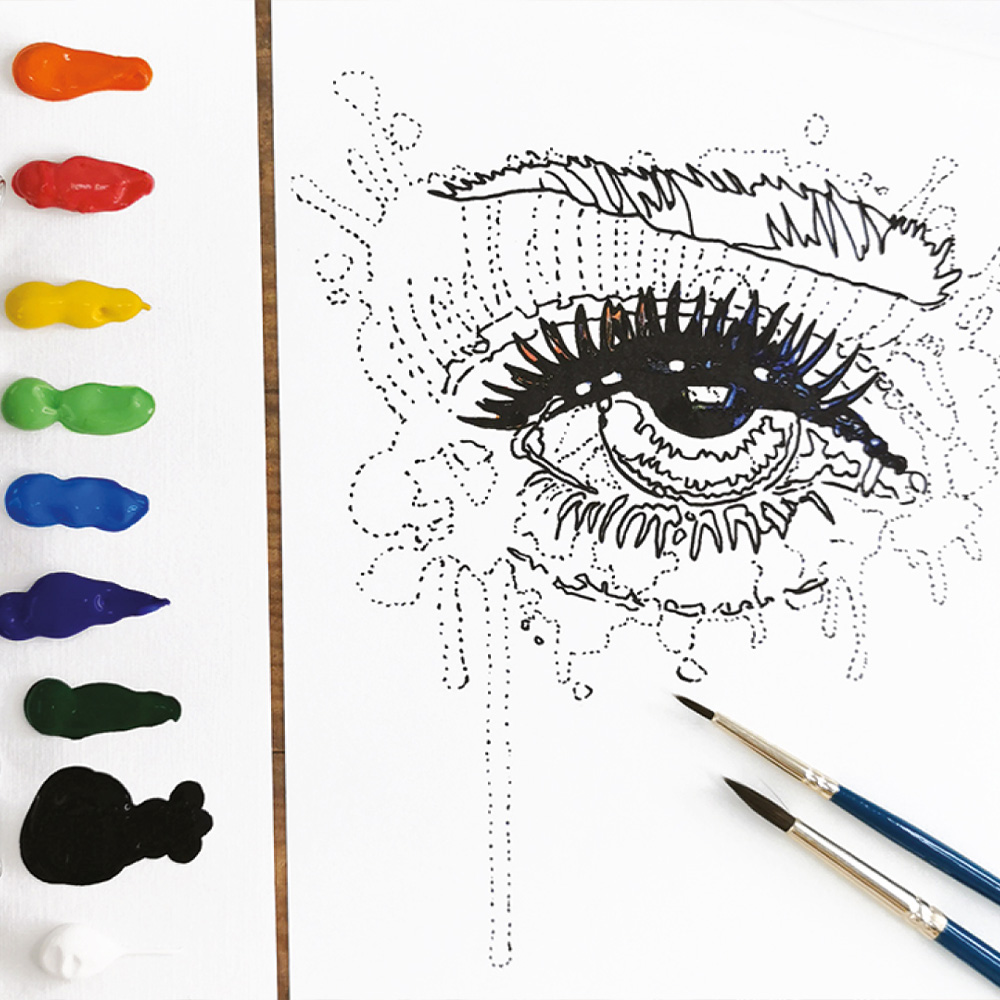
Using the fine-tip brush, continue to create the rest of the eye and then use the blue colour to draw the inner shadows in the white of the eye.
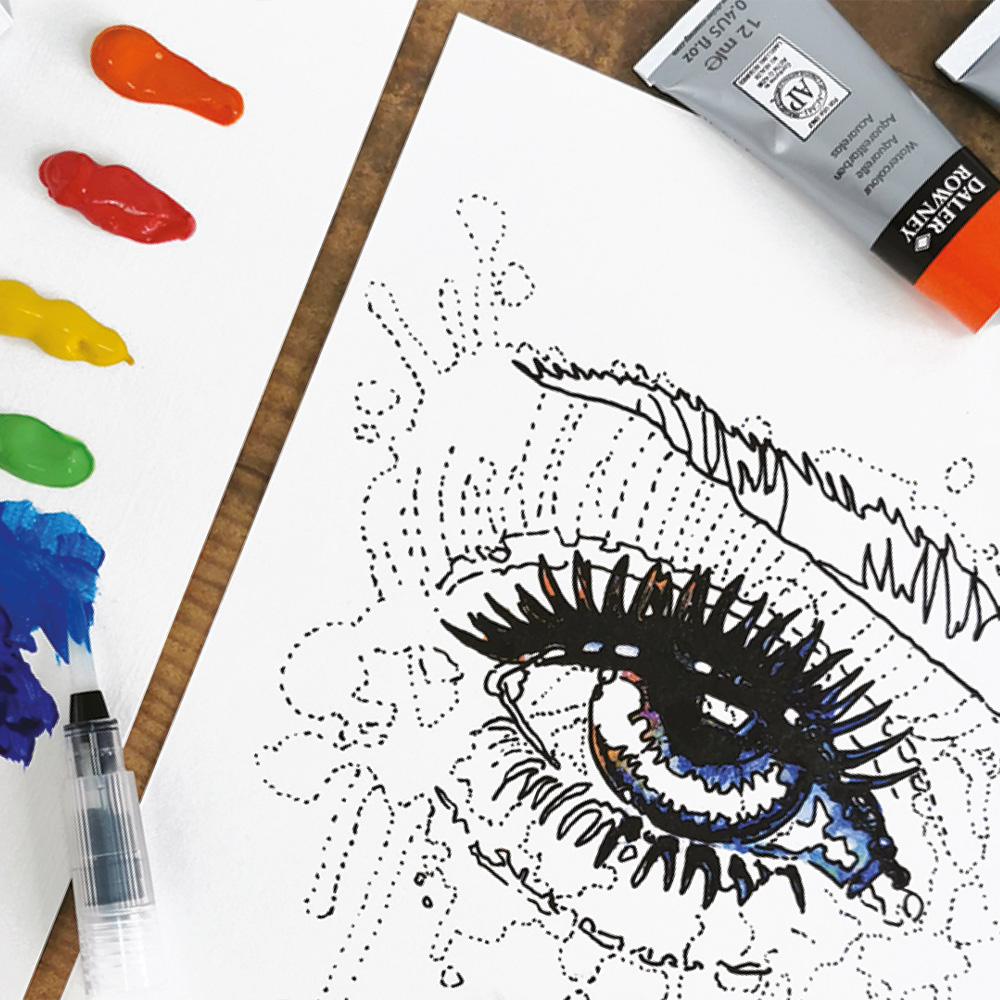
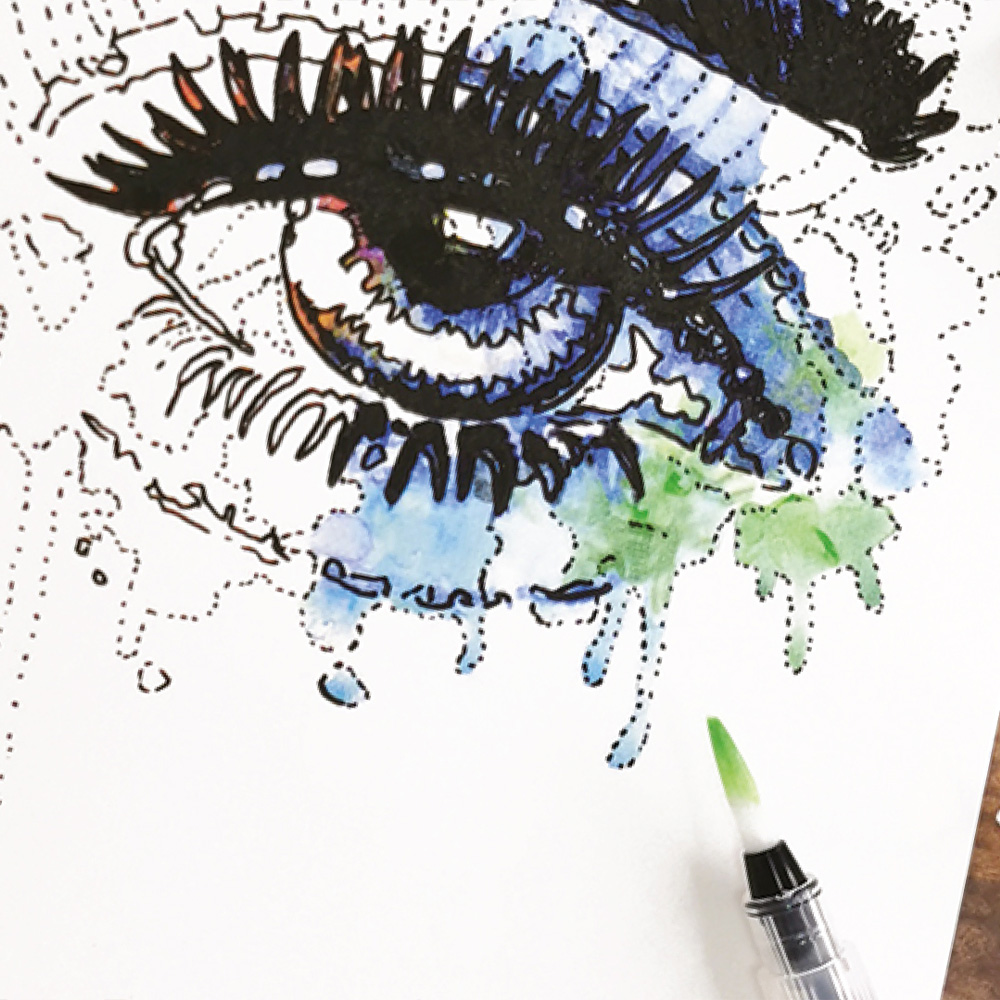
With the two blues in the set and using the waterbrush, create gradients and halos. The dotted lines help you to guide the watercolour paint easily without creating harsh lines.
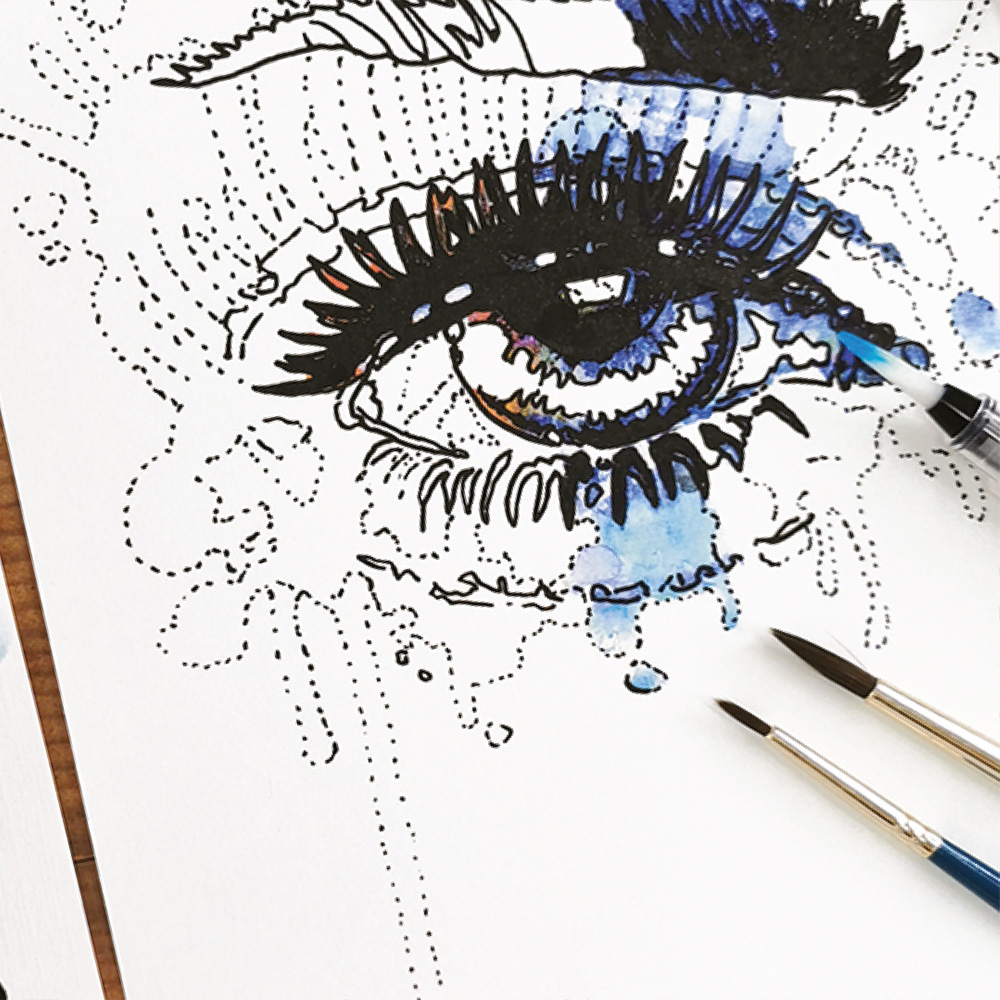
Then blend the greens and blues around the eye to create a fantastic splash effect.
Above the eye, the eyebrow also follows the rainbow structure. If you look closely, the inside is darker than the tip.
Use yellow and orange paints to shade the eyelid. Red is used more on the inside of the white of the eye to mark the volumes.
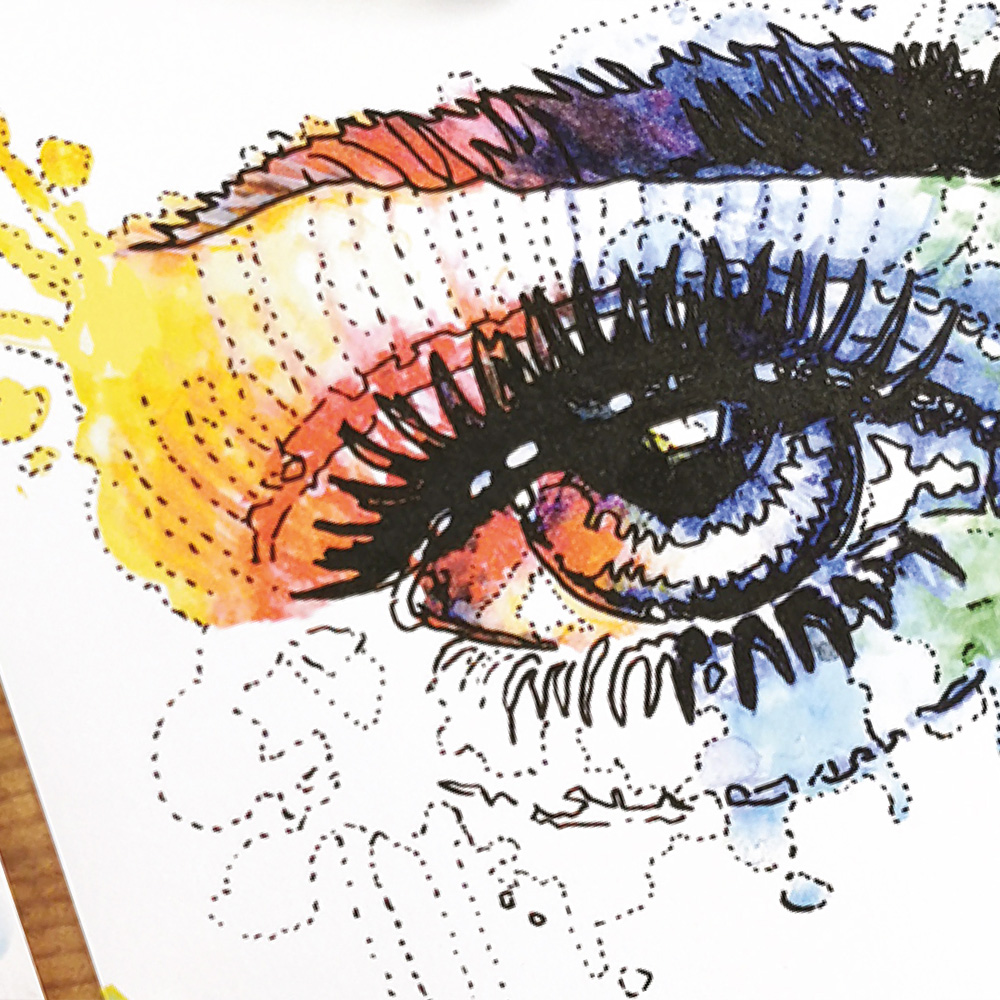
The great thing about watercolour is that you can create amazing effects by adding water to the colours. Feel free to add a little water to the red to change it to pink.
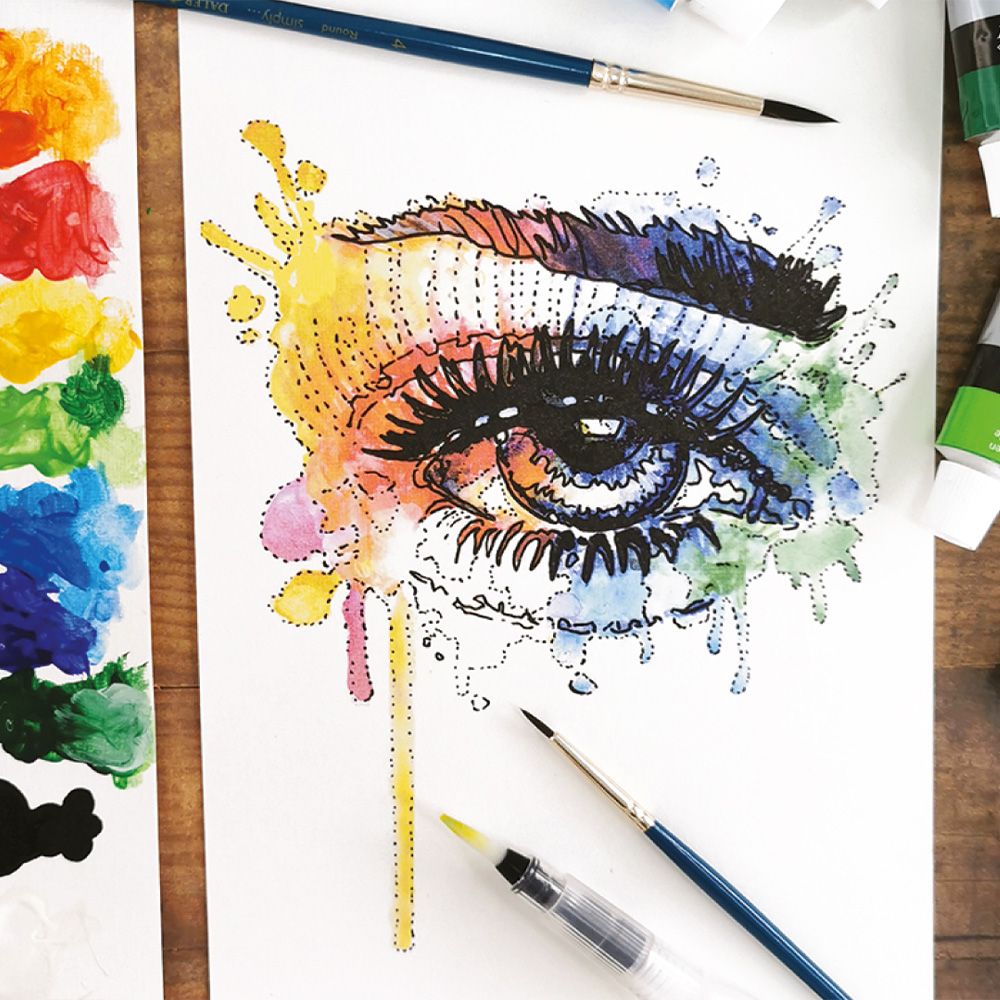
Finish the painting by adding some yellow to give some light to this eye. Feel free to drip the paint to create great artistic effects.
Your step by step guide
Sit comfortably at a table with all the equipment provided within the kit. Firstly, squeeze a small amount of each colour onto a piece of paper or an artist’s palette. Then use the pre-printed template provided to help you create your painting. In this demonstration, we will produce a wonderful painting with an eye design using Simply Watercolour paints.
GOOD TO KNOW: Your Colour Mixing Guide is here to help you with the mixing of your colours!
Starting with the eyelashes, use black paint to outline the eye.
Using the fine-tip brush, continue to create the rest of the eye and then use the blue colour to draw the inner shadows in the white of the eye.
With the two blues in the set and using the waterbrush, create gradients and halos. The dotted lines help you to guide the watercolour paint easily without creating harsh lines.
Then blend the greens and blues around the eye to create a fantastic splash effect.
Above the eye, the eyebrow also follows the rainbow structure. If you look closely, the inside is darker than the tip.
Use yellow and orange paints to shade the eyelid. Red is used more on the inside of the white of the eye to mark the volumes.
The great thing about watercolour is that you can create amazing effects by adding water to the colours. Feel free to add a little water to the red to change it to pink.
Finish the painting by adding some yellow to give some light to this eye. Feel free to drip the paint to create great artistic effects.
What you'll need
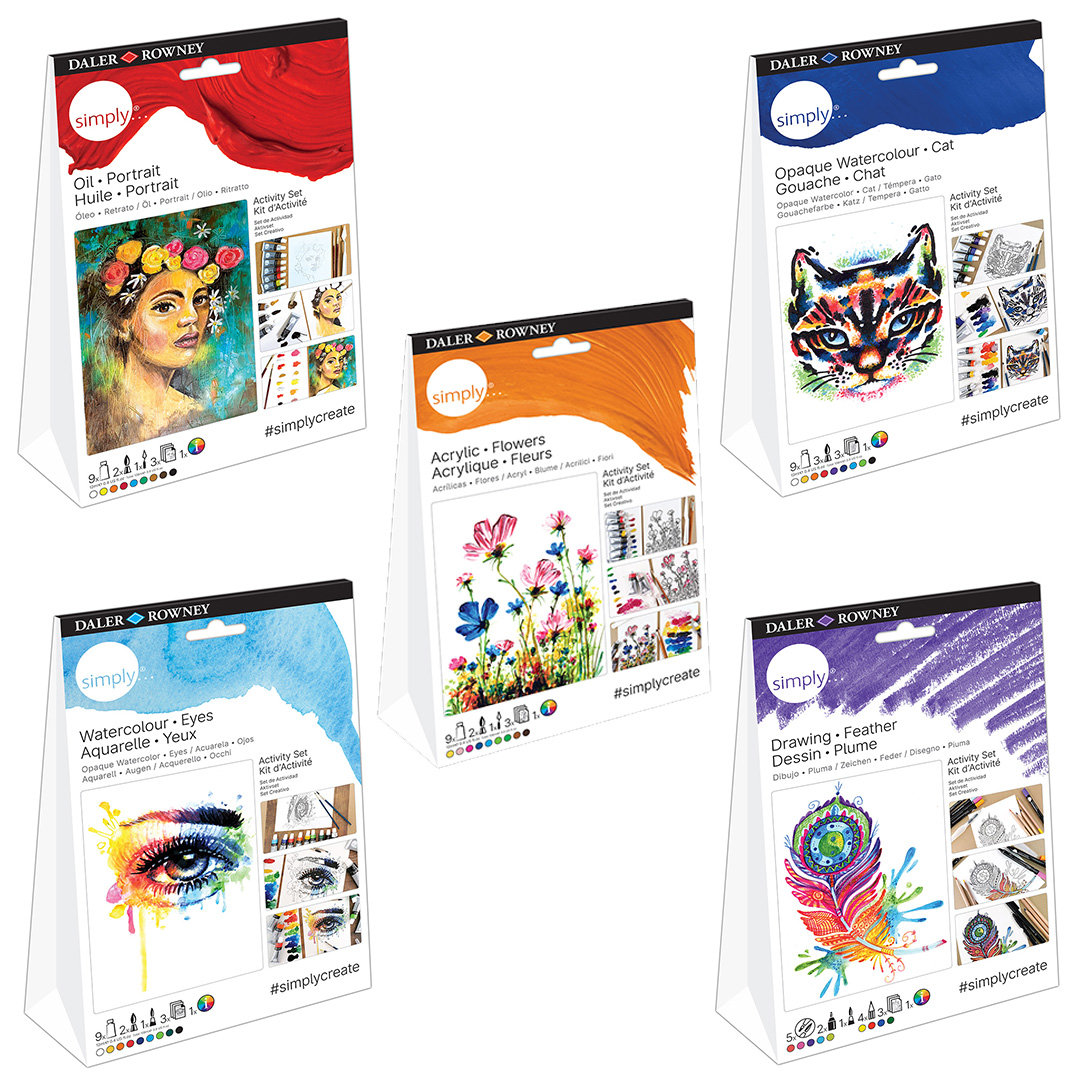
Simply Activity Sets
Daler-Rowney Simply Activity Sets provide a perfect activity for beginner artists and hobbyists to start working with different paint types.
MOREAbout the artist
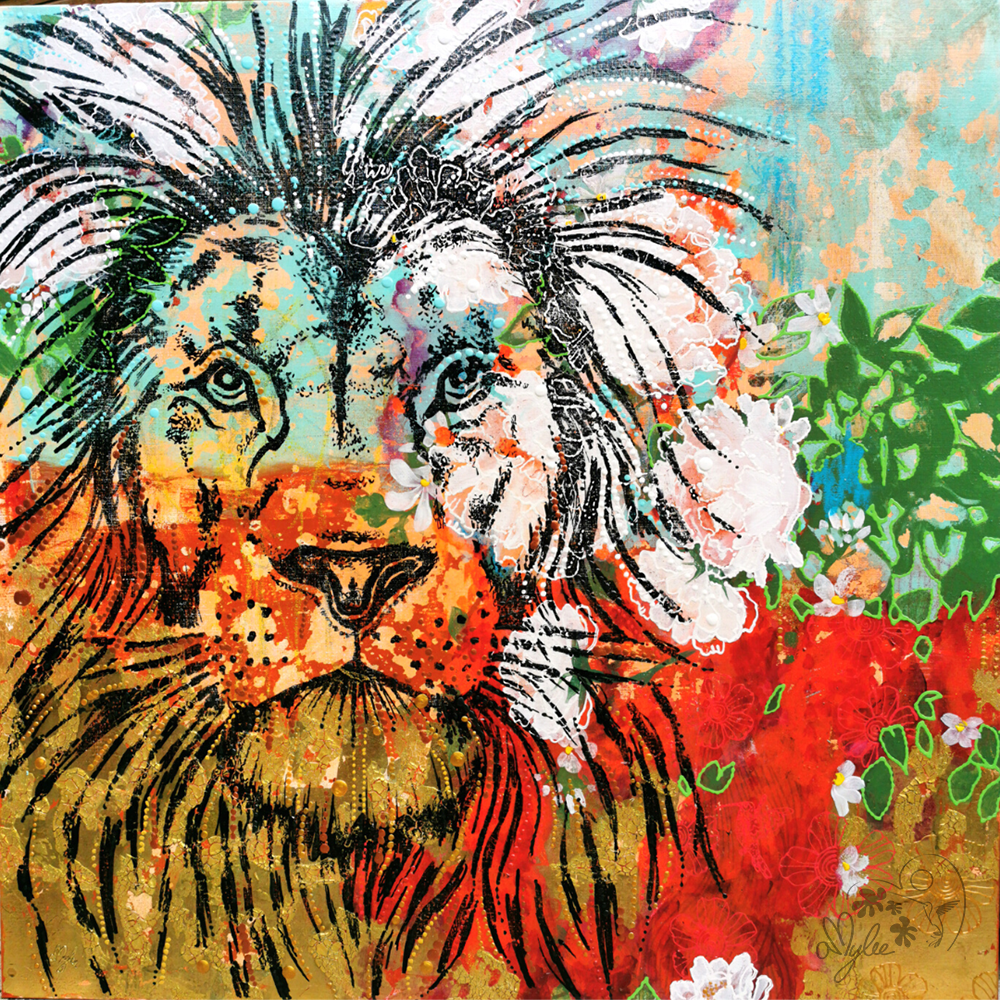
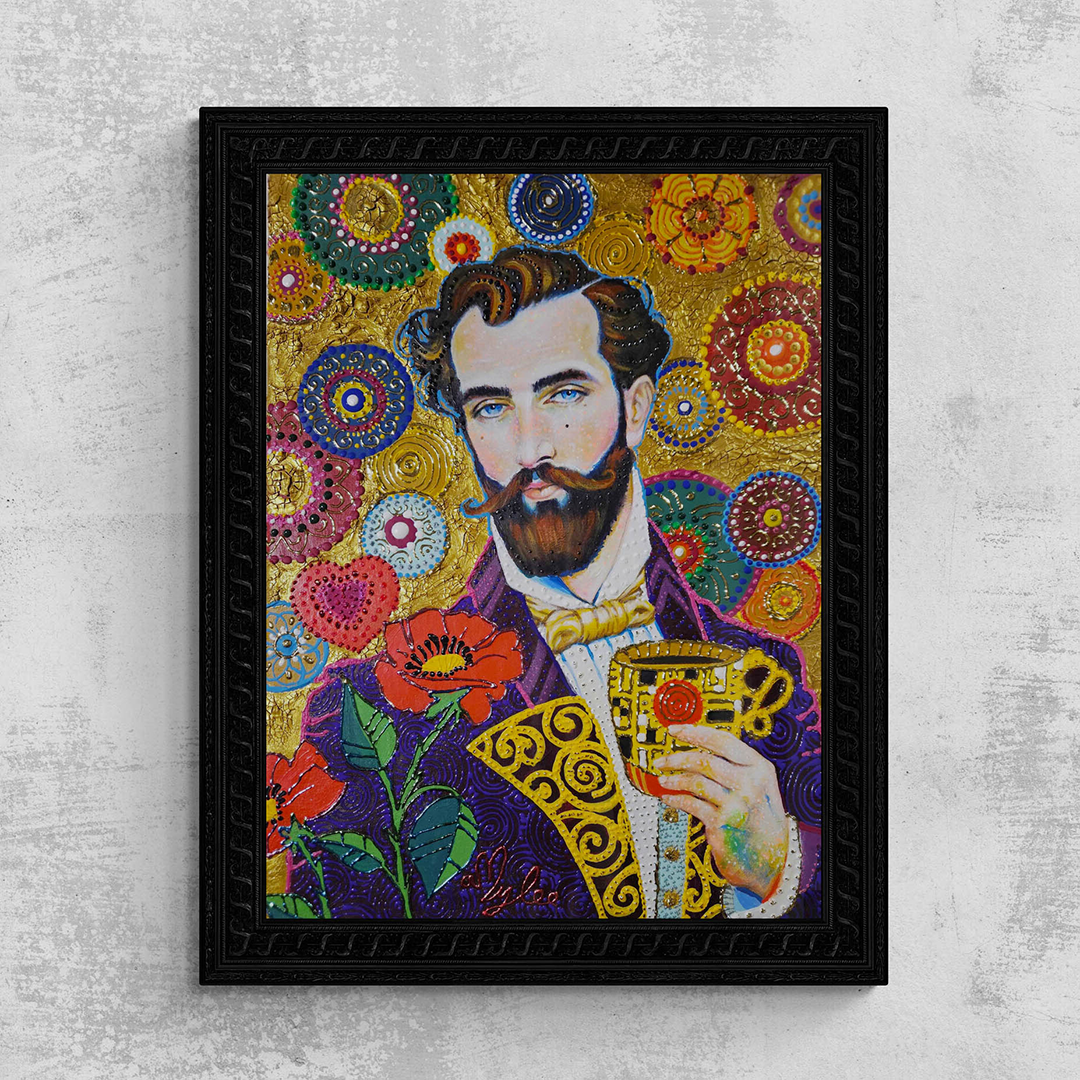
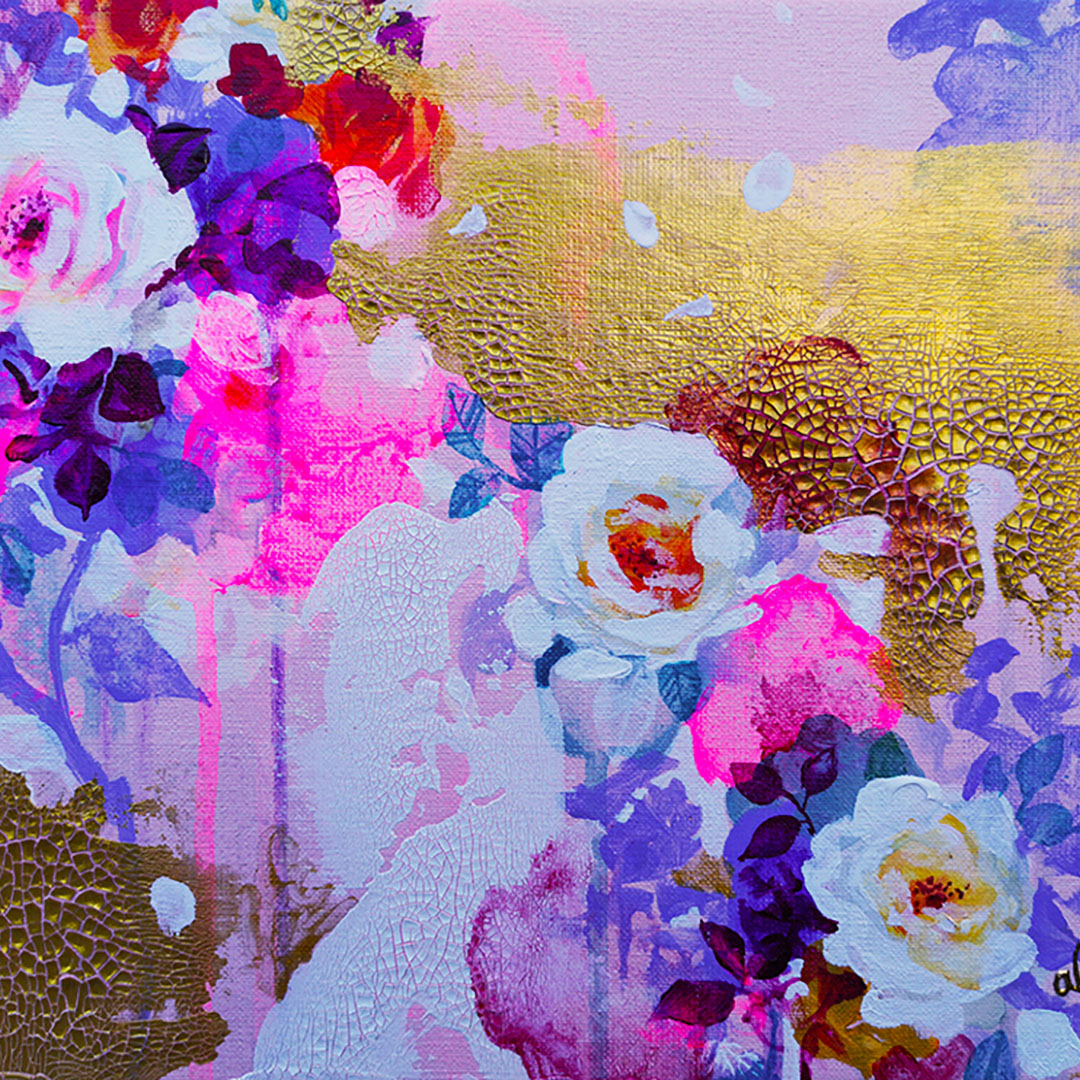
The painter Amylee Paris tirelessly finds her inspiration in colour and nature. Her abstract blooms and portraits shine in several art galleries in the UK.