#simplycreate Animal Art
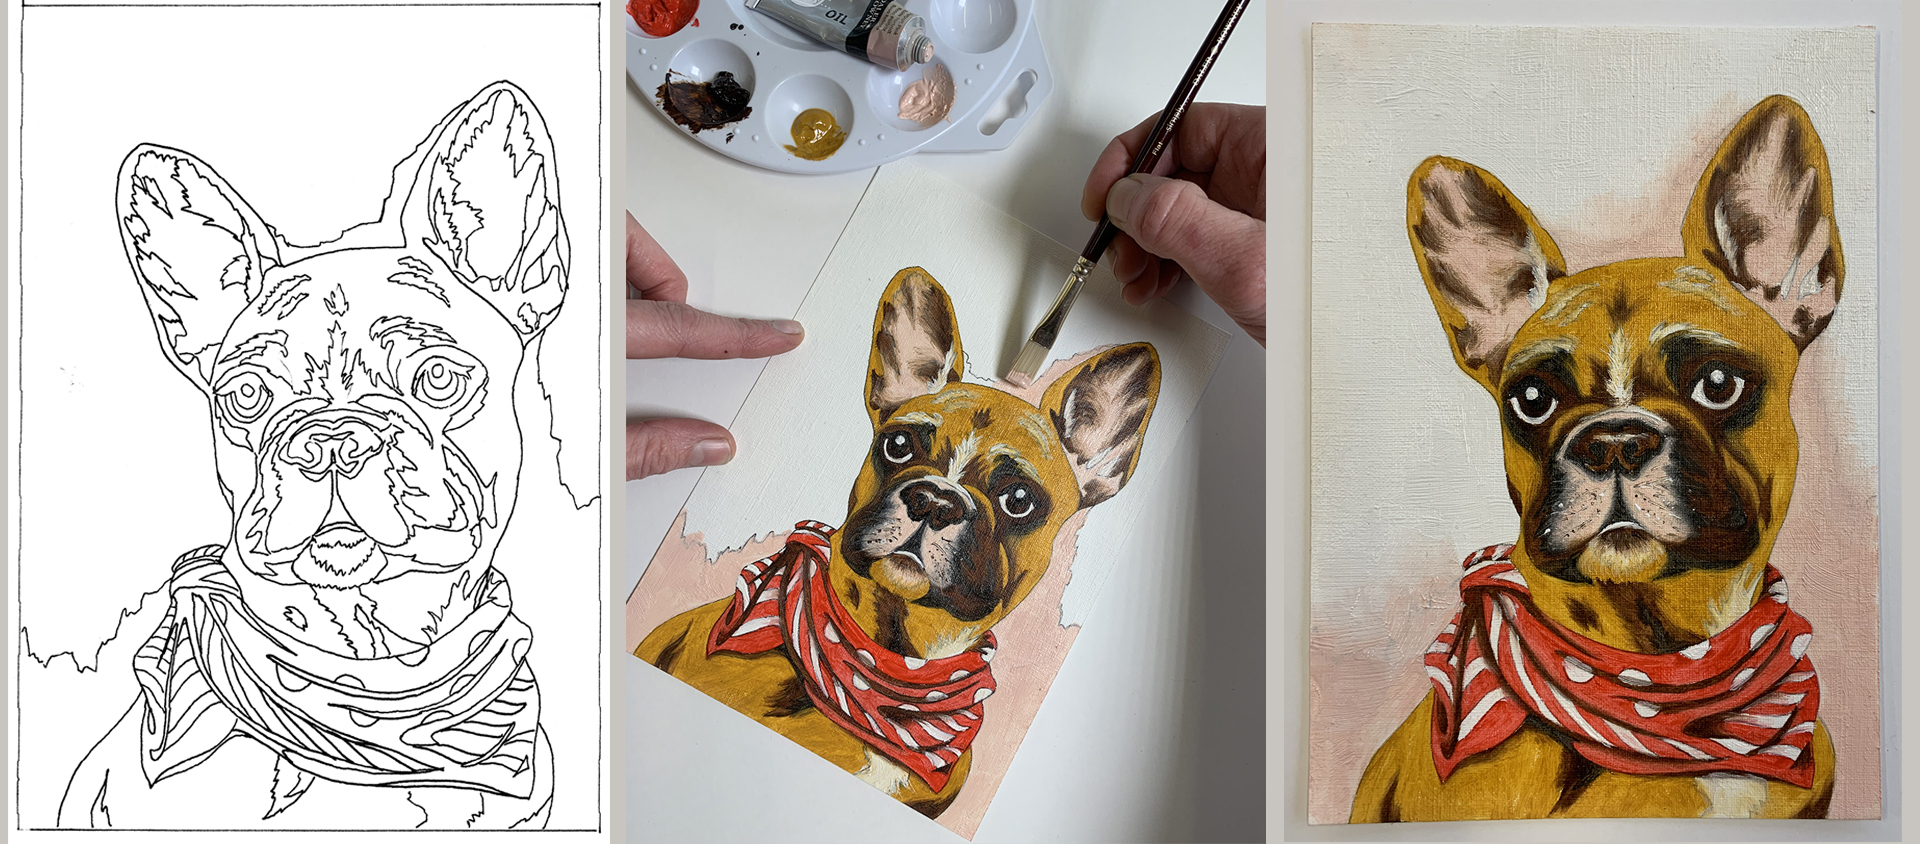
How to Simply paint a dog with oil paint
Unpack everything and lay it out. Protect your work surface before painting. Have a glass jar and paper towels to hand. Pour a small number of thinners into your jam jar. There is often a little oil in the nozzle of your paint tube when you first open it. Squeeze this out onto some paper towel and discard. Turn your picture round frequently when working on it – you will find this easier than constantly turning your brush and will prevent you from smudging the wet paint with your hand!
Use the smaller brush (size 0) for the next seven steps.
The materials in your kit
3 x Preprinted Dog design oil paper sheets
Please add
1 x Glass of Water
1 x Kitchen Roll
1 x Artist's Palette
1 x Oil Thinner Medium
Your step by step guide
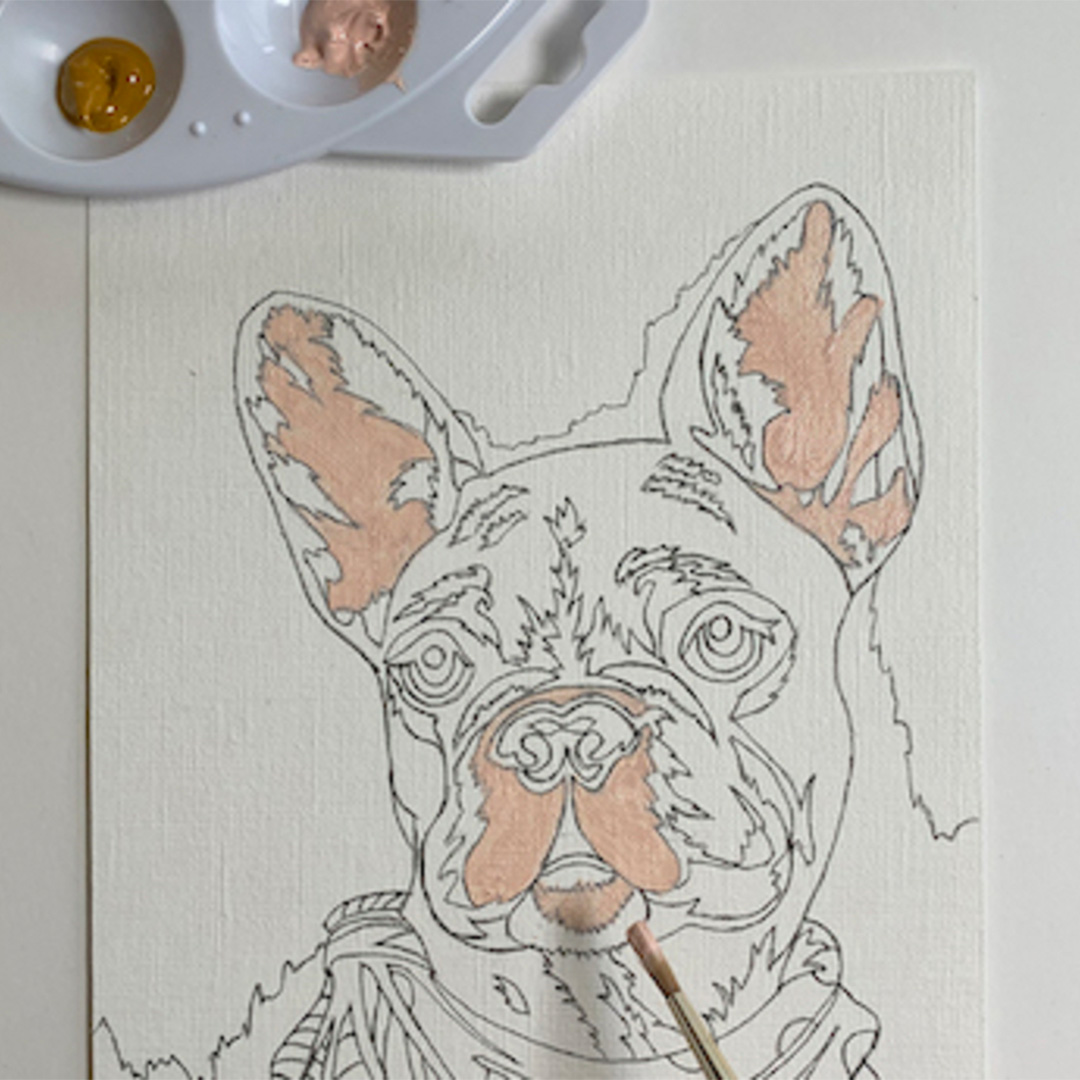
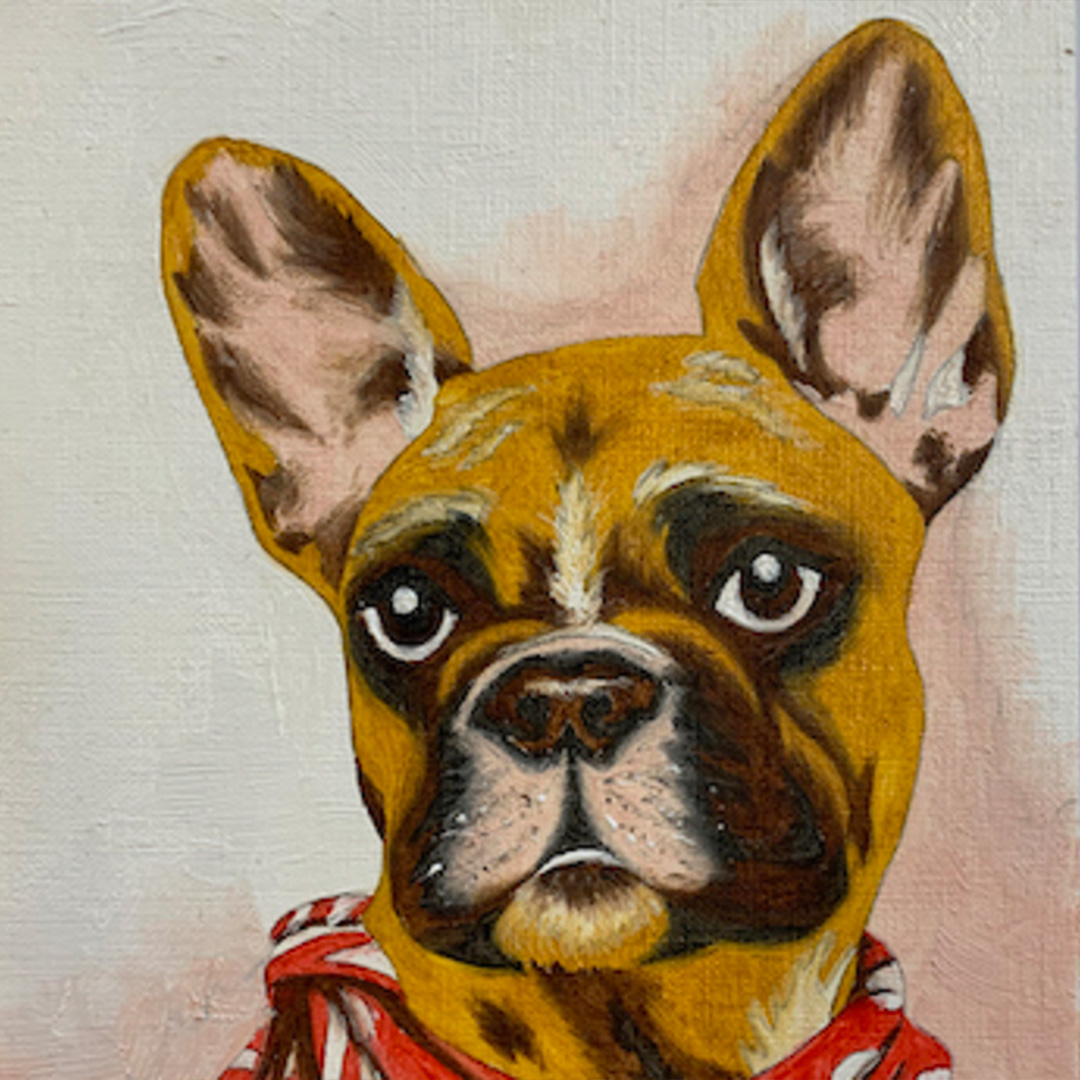
To begin - squeeze a small amount of Peach Pink onto your palette. Paint in the pink areas; ears, muzzle and chin.
Tip: Remove excess paint from the brush with a paper towel. Next, clean your brush with the thinners and dry on a paper towel. Do this each time you change colour.
To begin - squeeze a small amount of Peach Pink onto your palette. Paint in the pink areas; ears, muzzle and chin.
Tip: Remove excess paint from the brush with a paper towel. Next, clean your brush with the thinners and dry on a paper towel. Do this each time you change colour.
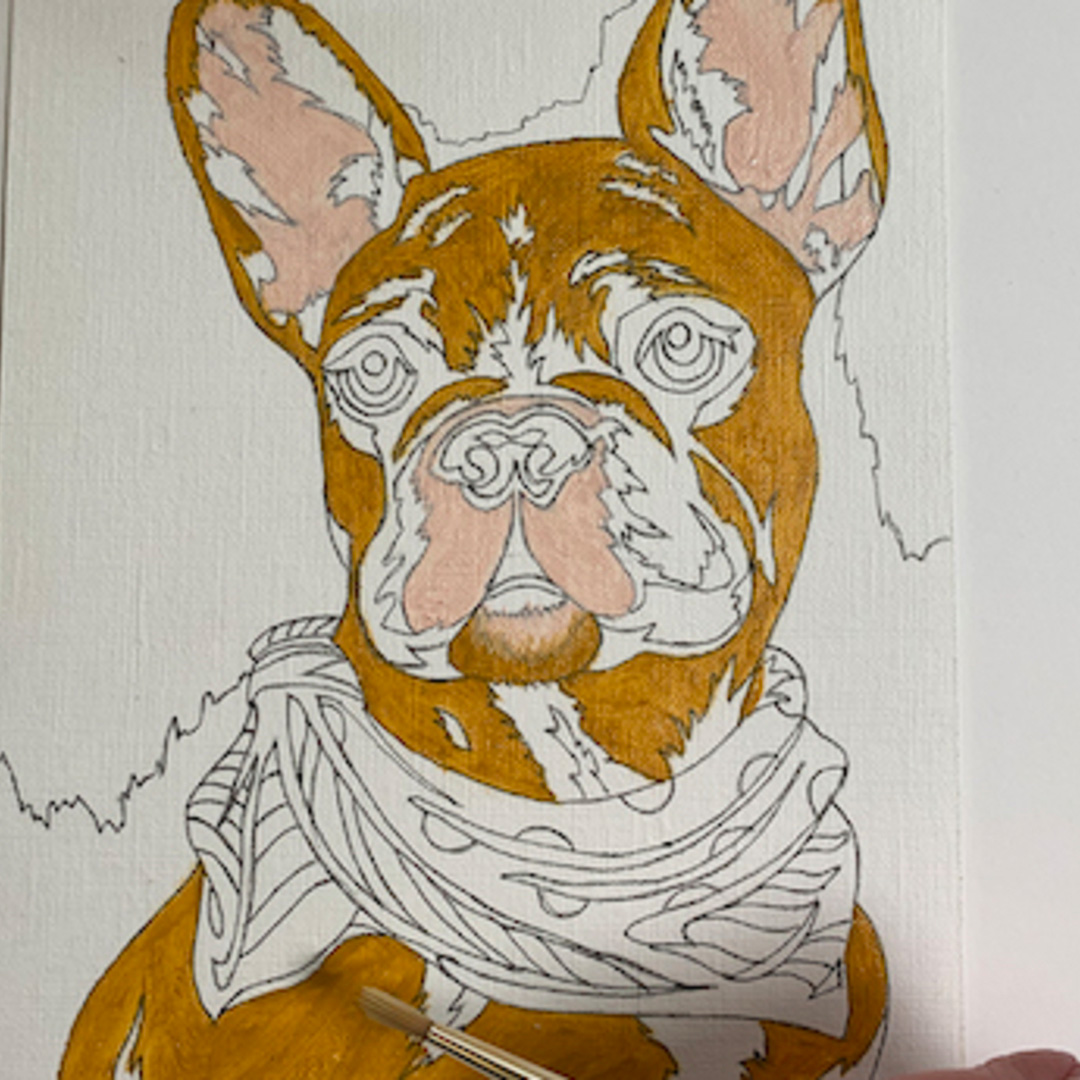
Squeeze a small amount of Yellow Ochre onto your palette and paint in the areas on the face, shoulders and ears.
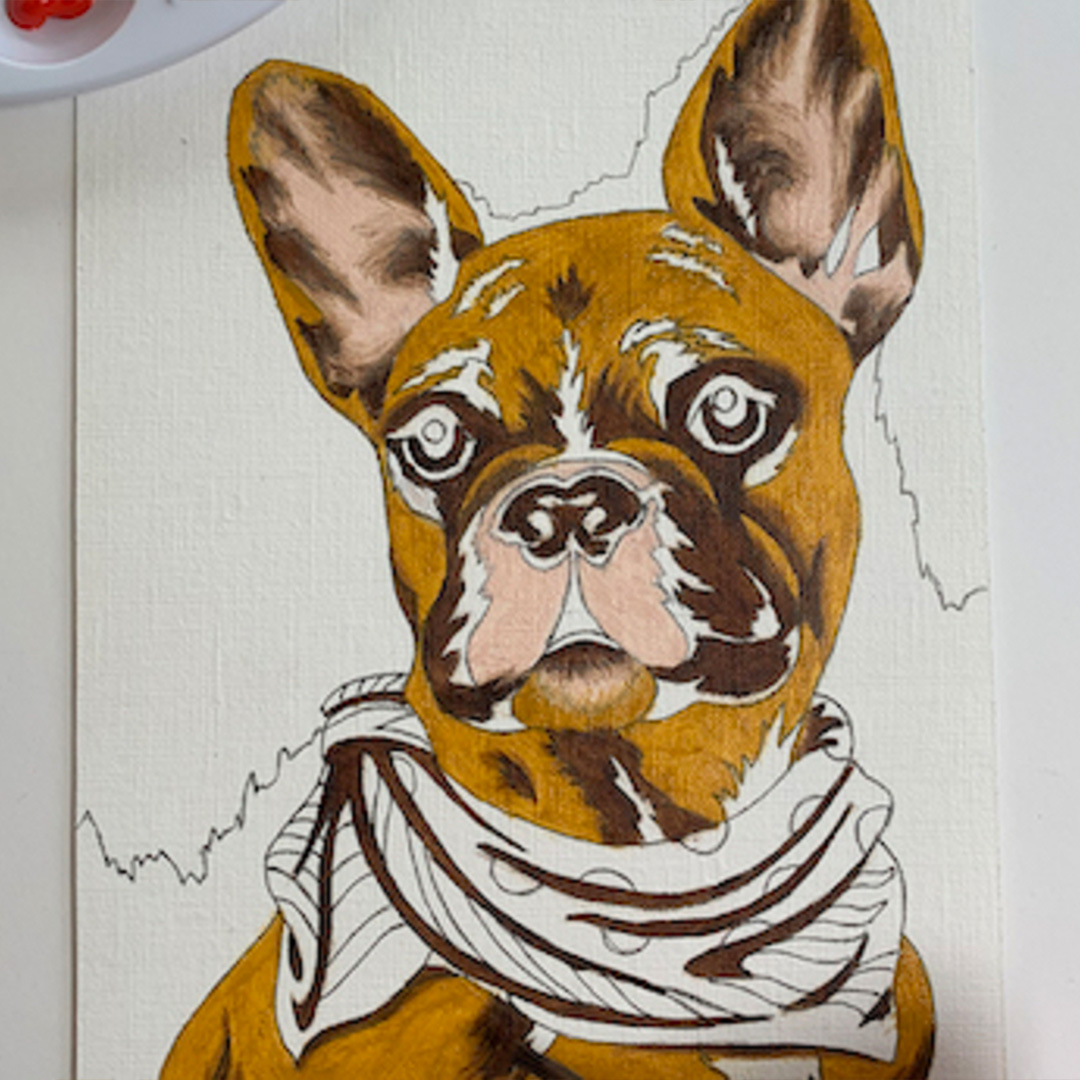
Squeeze a small amount of Burnt Umber onto your palette and use the picture as a guide paint in the dark brown areas including the shadows on the neckerchief. For the more intricate areas e.g. the eyes, add a tiny drop of thinners to your paint to make it flow.
Tip: to create the impression of fur, clean and dry off your brush, then blend the edges of your paint colours where they meet. The beauty of oil paint is that it stays wet for longer allowing time to do this.

Squeeze a small amount of Black onto your palette. Fill in all the Black areas, mainly around the muzzle and eyes. Again you may need to thin the paint a little to keep the eyes nice and sharp. Clean and dry off your brush, then blend the Black where it meets the Pink on the muzzle to create a soft grey.
Squeeze a small amount of Black onto your palette. Fill in all the Black areas, mainly around the muzzle and eyes. Again you may need to thin the paint a little to keep the eyes nice and sharp. Clean and dry off your brush, then blend the Black where it meets the Pink on the muzzle to create a soft grey.
Squeeze a small amount of Brilliant Red onto your palette. Paint in the Red areas of the neckerchief.
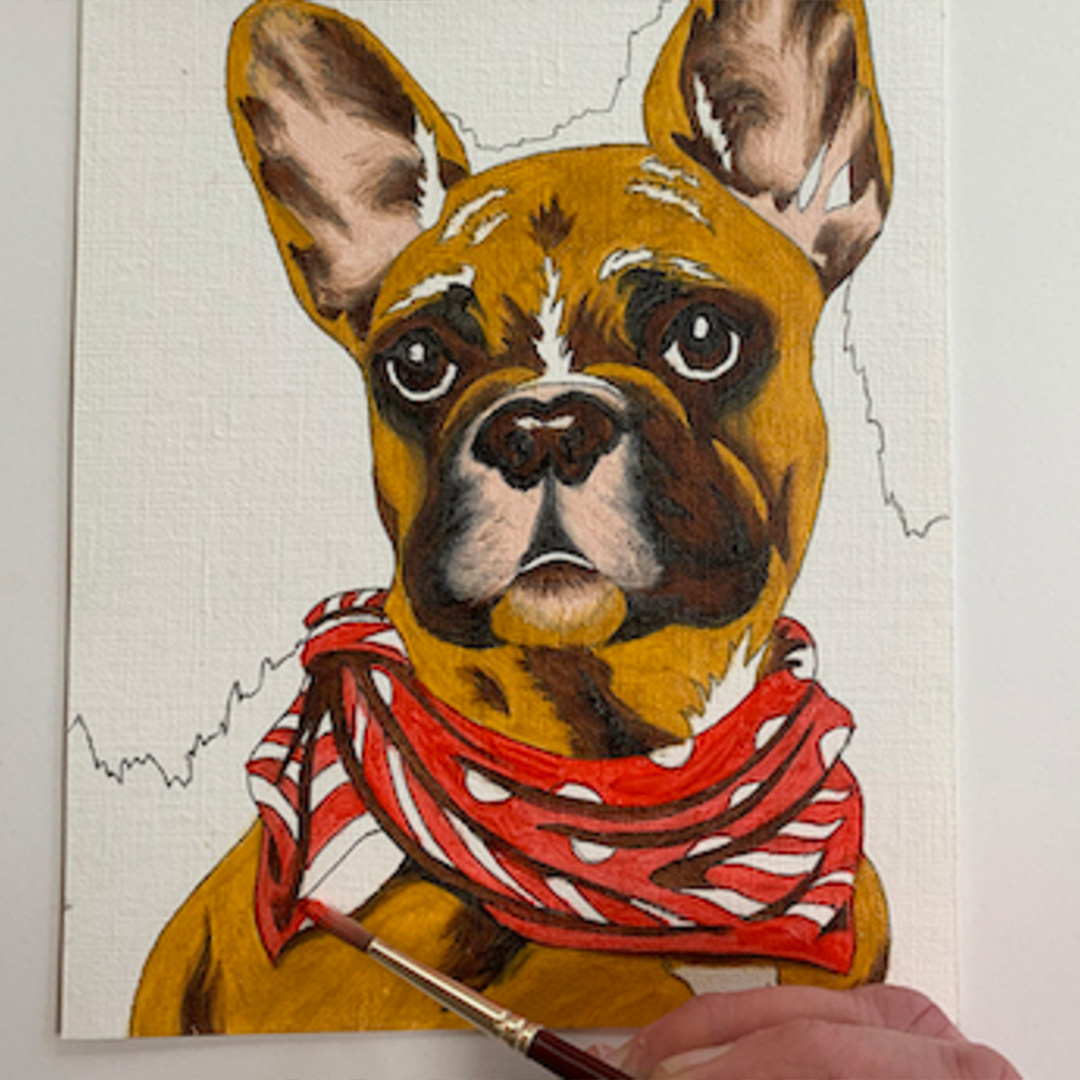
Squeeze a small amount of White onto your palette. Clean your brush well to ensure the White does not become dirty from the other colours. Following the guide, paint in all White areas. Don’t forget the dot in your dog’s eyes to really bring it to life.
Squeeze a small amount of White onto your palette. Clean your brush well to ensure the White does not become dirty from the other colours. Following the guide, paint in all White areas. Don’t forget the dot in your dog’s eyes to really bring it to life.
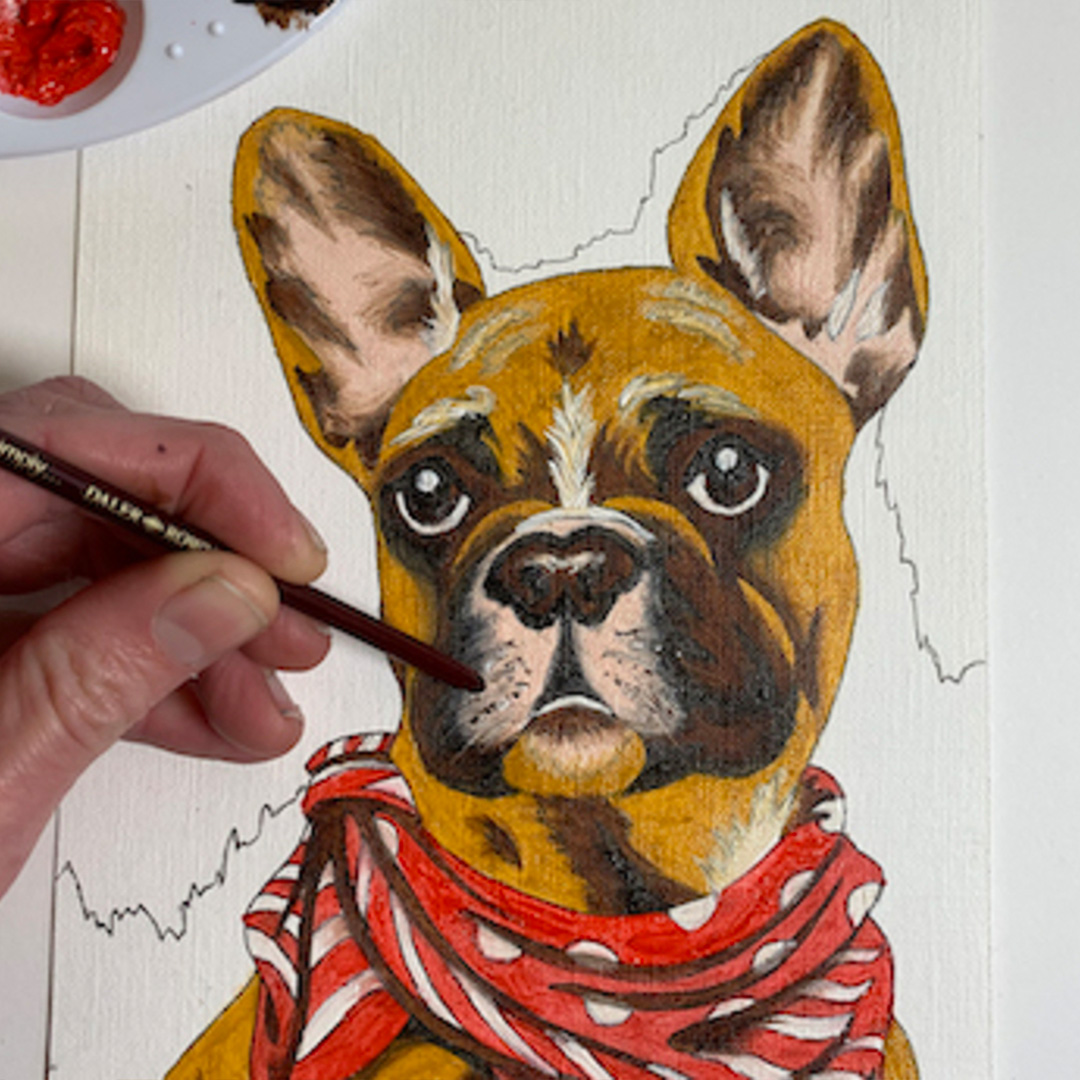
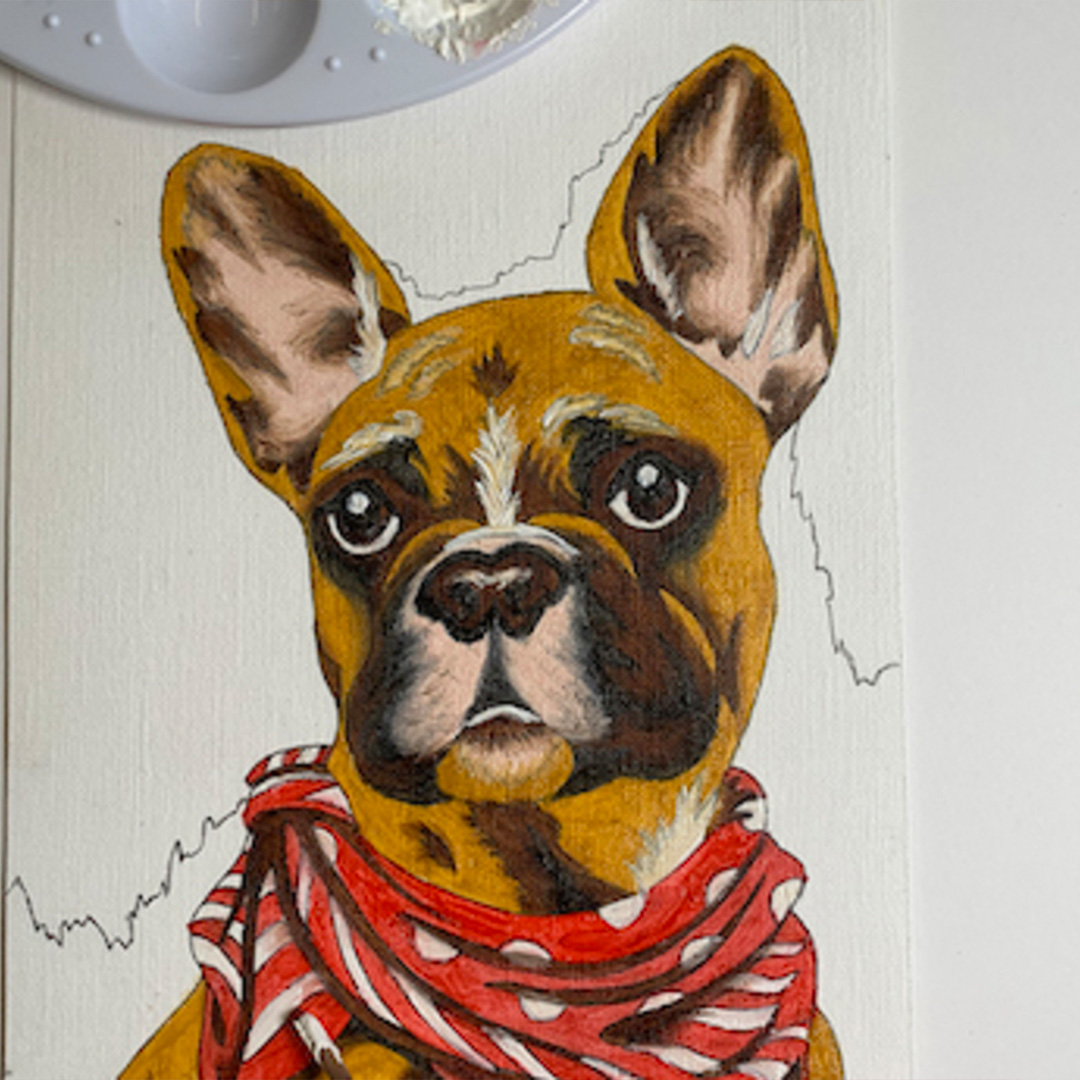
Using the wooden tip of the brush handle, create dots on your dog's muzzle alternately using tiny amounts of White and Burnt Umber. Dab any excess off on paper before dotting it onto your painting.
Tip: practice on a piece of paper first to avoid splodges! Why not use a toothpick to scratch through the wet paint to create the effect of whiskers? Also very good for signing your name at the bottom!
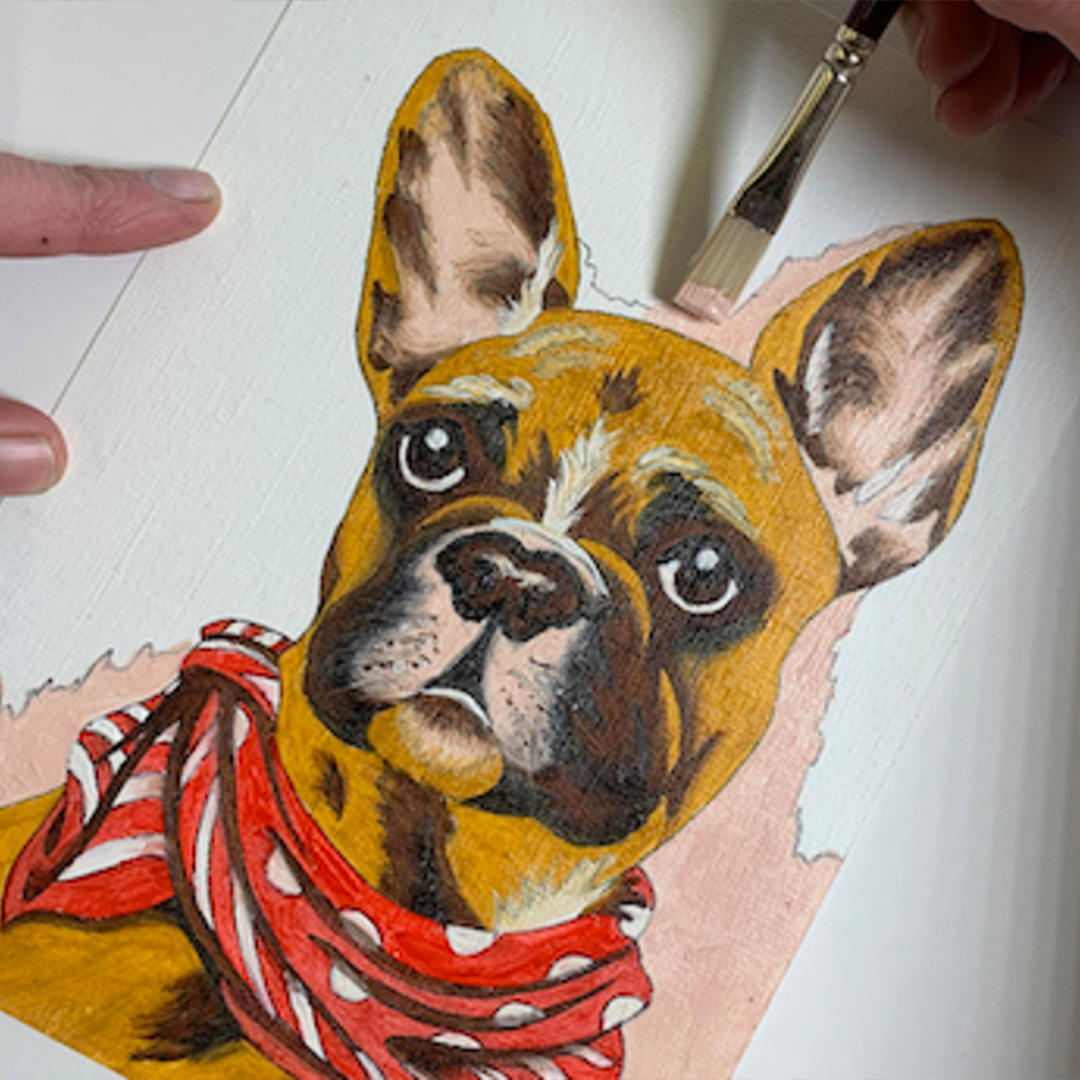
Painting the background. You will need a large brush (4). Using Peach Pink, paint in the shadow areas around your dog. Use the flat edge of the brush to create a nice crisp edge around your dog. Fill in the rest of the background using the White, blending this with the Pink where they meet.
Painting the background. You will need a large brush (4). Using Peach Pink, paint in the shadow areas around your dog. Use the flat edge of the brush to create a nice crisp edge around your dog. Fill in the rest of the background using the White, blending this with the Pink where they meet.
Leave to dry – approx. 3 days.
Congratulations!
Your step by step guide
To begin - squeeze a small amount of Peach Pink onto your palette. Paint in the pink areas; ears, muzzle and chin.
Tip: Remove excess paint from the brush with a paper towel. Next, clean your brush with the thinners and dry on a paper towel. Do this each time you change colour.
To begin - squeeze a small amount of Peach Pink onto your palette. Paint in the pink areas; ears, muzzle and chin.
Tip: Remove excess paint from the brush with a paper towel. Next, clean your brush with the thinners and dry on a paper towel. Do this each time you change colour.
Squeeze a small amount of Yellow Ochre onto your palette and paint in the areas on the face, shoulders and ears.
Squeeze a small amount of Burnt Umber onto your palette and use the picture as a guide paint in the dark brown areas including the shadows on the neckerchief. For the more intricate areas e.g. the eyes, add a tiny drop of thinners to your paint to make it flow.
Tip: to create the impression of fur, clean and dry off your brush, then blend the edges of your paint colours where they meet. The beauty of oil paint is that it stays wet for longer allowing time to do this.
Squeeze a small amount of Black onto your palette. Fill in all the Black areas, mainly around the muzzle and eyes. Again you may need to thin the paint a little to keep the eyes nice and sharp. Clean and dry off your brush, then blend the Black where it meets the Pink on the muzzle to create a soft grey.
Squeeze a small amount of Black onto your palette. Fill in all the Black areas, mainly around the muzzle and eyes. Again you may need to thin the paint a little to keep the eyes nice and sharp. Clean and dry off your brush, then blend the Black where it meets the Pink on the muzzle to create a soft grey.
Squeeze a small amount of Brilliant Red onto your palette. Paint in the Red areas of the neckerchief.
Squeeze a small amount of White onto your palette. Clean your brush well to ensure the White does not become dirty from the other colours. Following the guide, paint in all White areas. Don’t forget the dot in your dog’s eyes to really bring it to life.
Squeeze a small amount of White onto your palette. Clean your brush well to ensure the White does not become dirty from the other colours. Following the guide, paint in all White areas. Don’t forget the dot in your dog’s eyes to really bring it to life.
Using the wooden tip of the brush handle, create dots on your dog's muzzle alternately using tiny amounts of White and Burnt Umber. Dab any excess off on paper before dotting it onto your painting.
Tip: practice on a piece of paper first to avoid splodges! Why not use a toothpick to scratch through the wet paint to create the effect of whiskers? Also very good for signing your name at the bottom!
Painting the background. You will need a large brush (4). Using Peach Pink, paint in the shadow areas around your dog. Use the flat edge of the brush to create a nice crisp edge around your dog. Fill in the rest of the background using the White, blending this with the Pink where they meet.
Painting the background. You will need a large brush (4). Using Peach Pink, paint in the shadow areas around your dog. Use the flat edge of the brush to create a nice crisp edge around your dog. Fill in the rest of the background using the White, blending this with the Pink where they meet.
Leave to dry – approx. 3 days.
Congratulations!
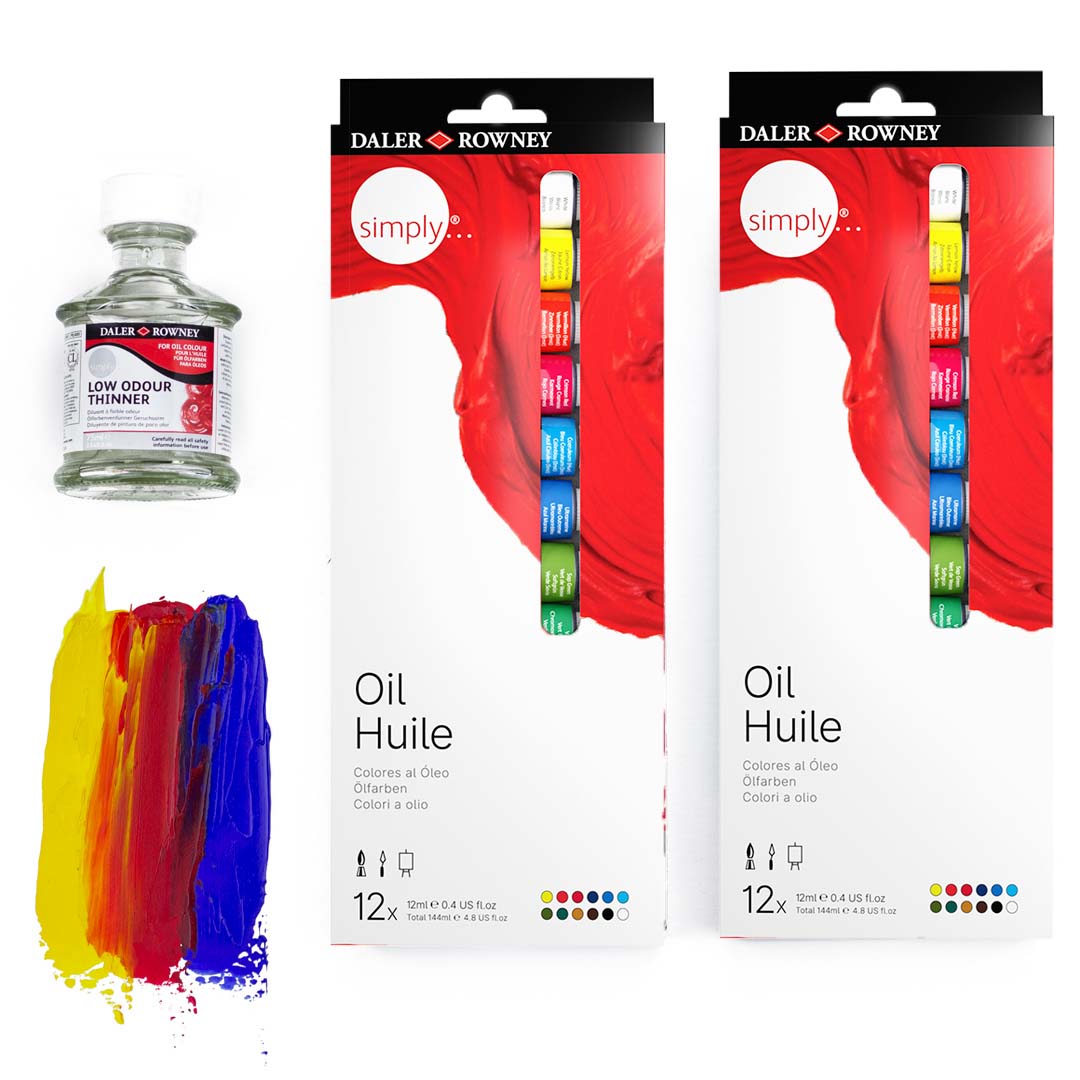
Simply Oil Colour
Daler-Rowney Simply Oil colours are a perfect starting point for artists and hobbyists looking to experiment with oils. These smooth colours can be used straight from the tube or thinned down to create glazes for a great, low price.
MORE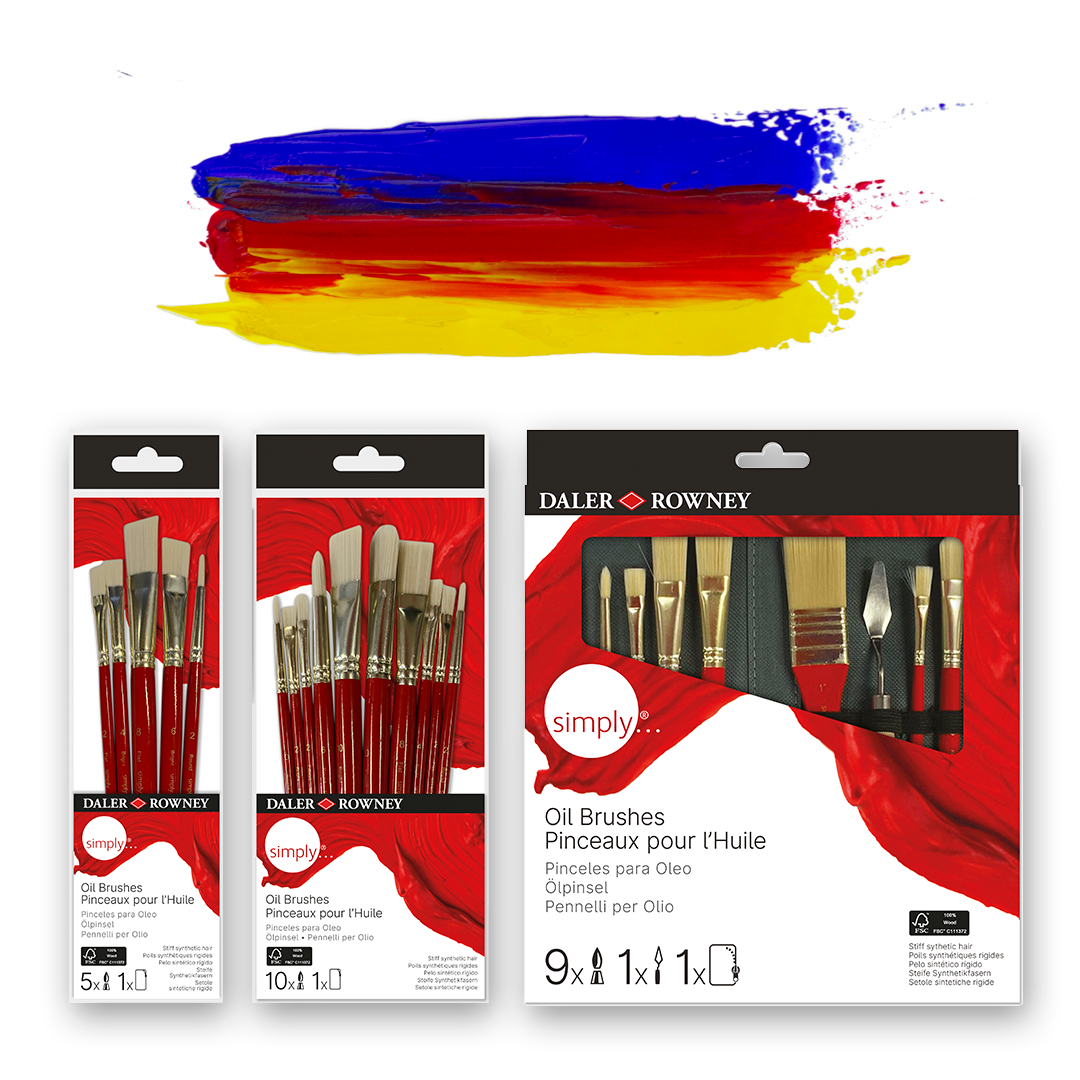
Simply Oil Brushes
Daler-Rowney Simply Oil brushes are made of synthetic hairs and represent an excellent value for money offer for beginners. Simply Oil brushes are available in a variety of sets.
MORE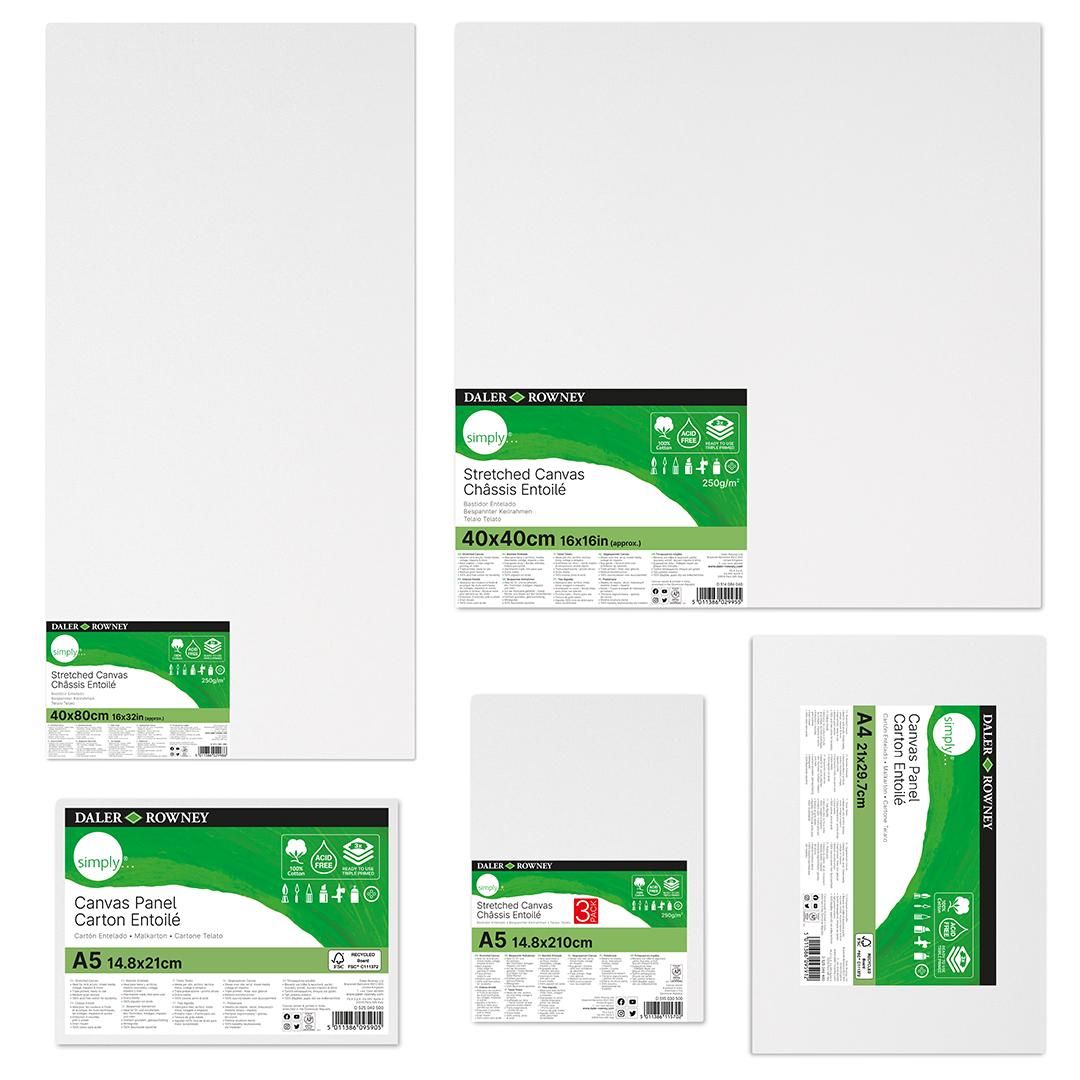
Simply Canvas & Panels
Daler-Rowney Simply Stretched Canvases & Canvas Panels feature a 250gsm, 100% cotton, triple primed, acid-free canvas. The medium grain textured surface is ready for use and the range is available in a comprehensive assortment of shapes and sizes.
MOREAbout the artist:
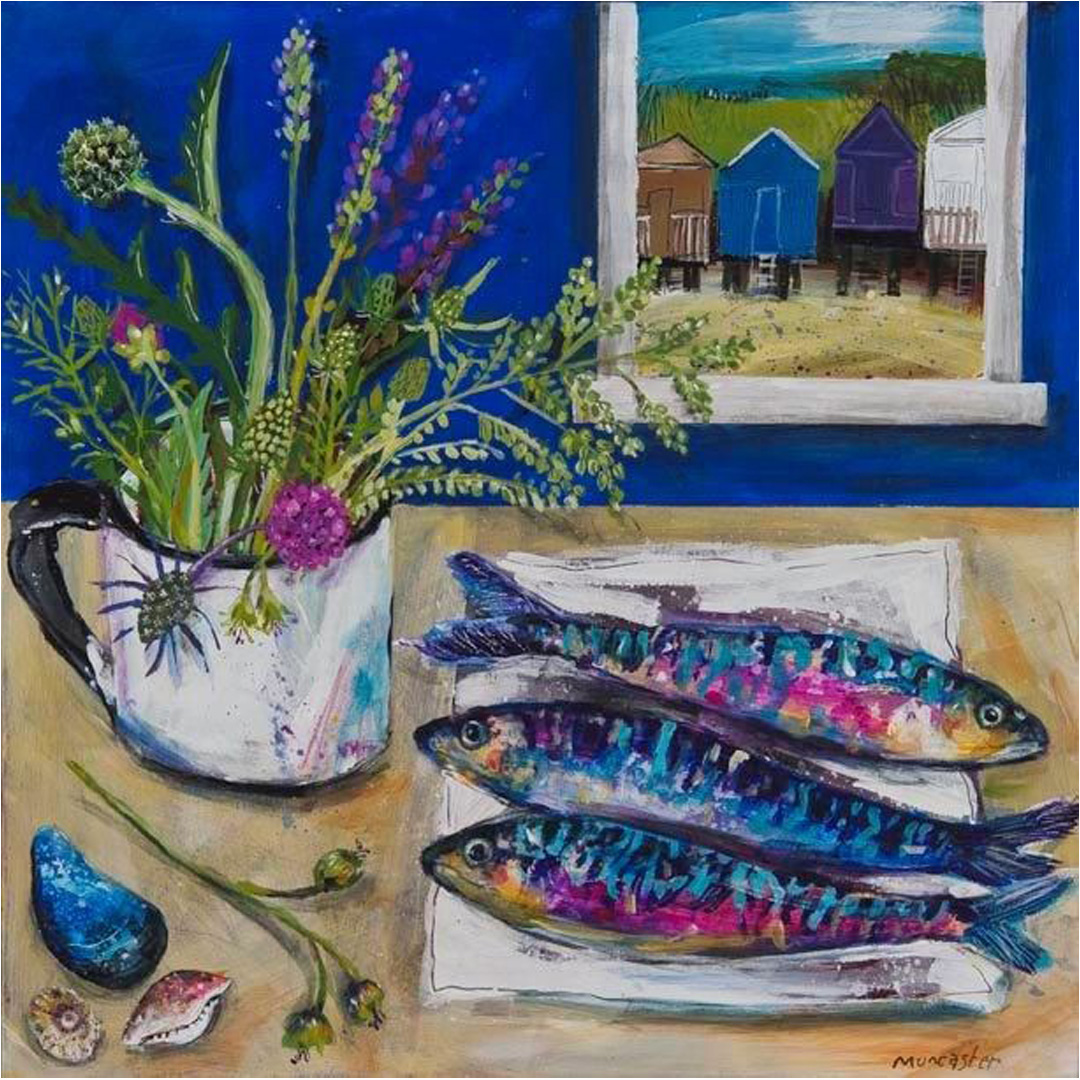
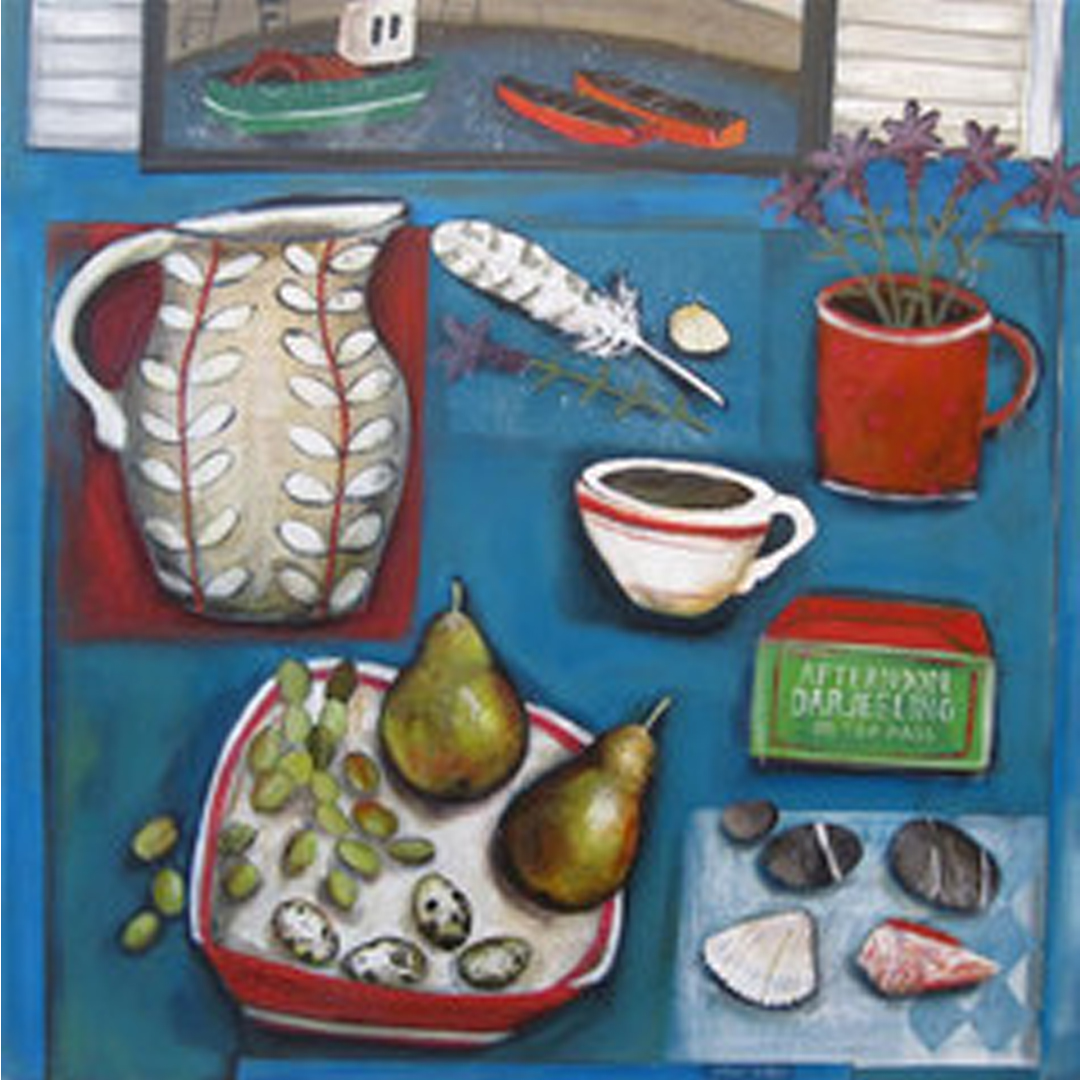
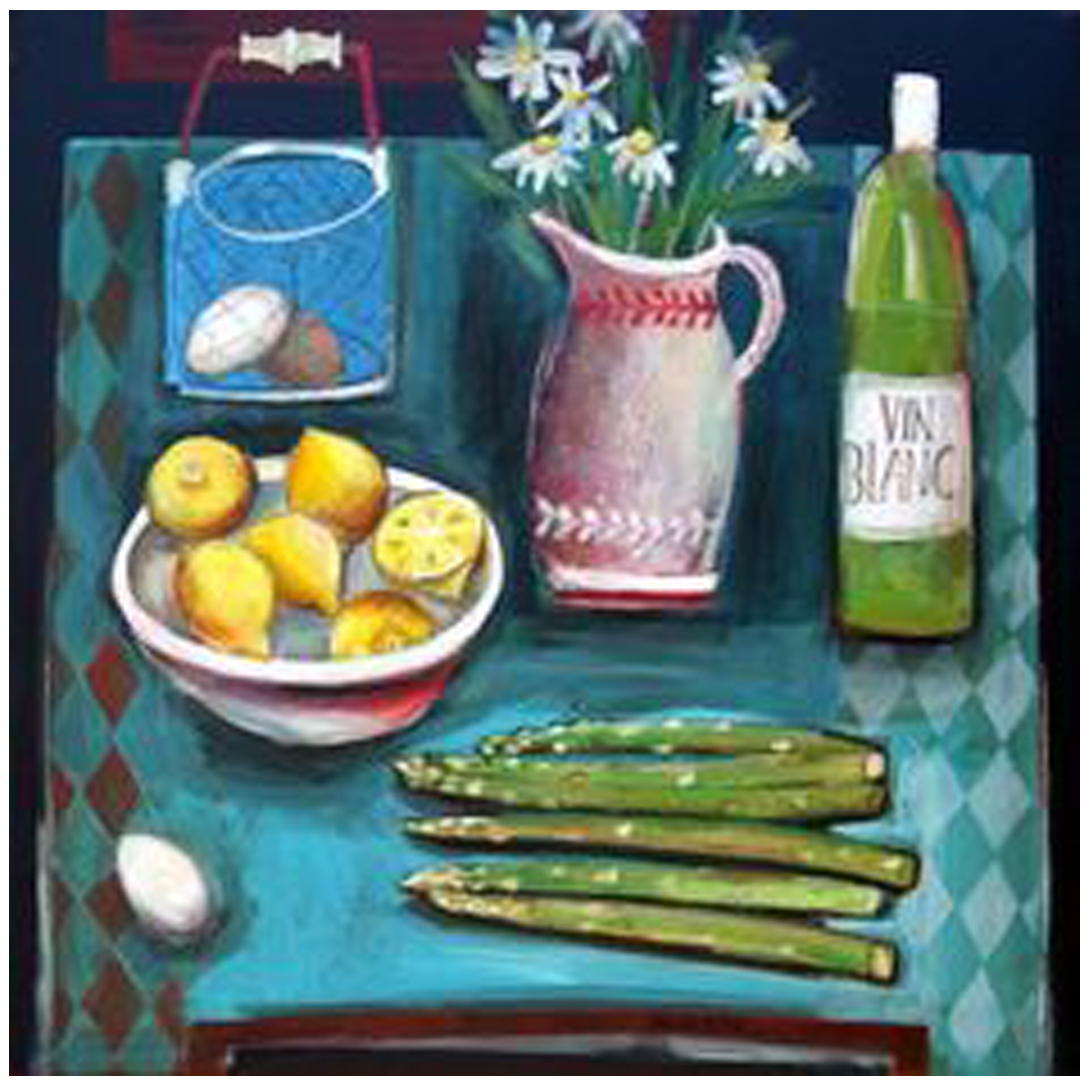
The artist Jenny Muncaster is a graduate of the Winchester School of Art and has a studio in Winchester, The Colour Factory Studios and Gallery, which she set up in 1994.