#simplycreate a Rainbow Cat
How To Paint a Rainbow Cat with Gouache
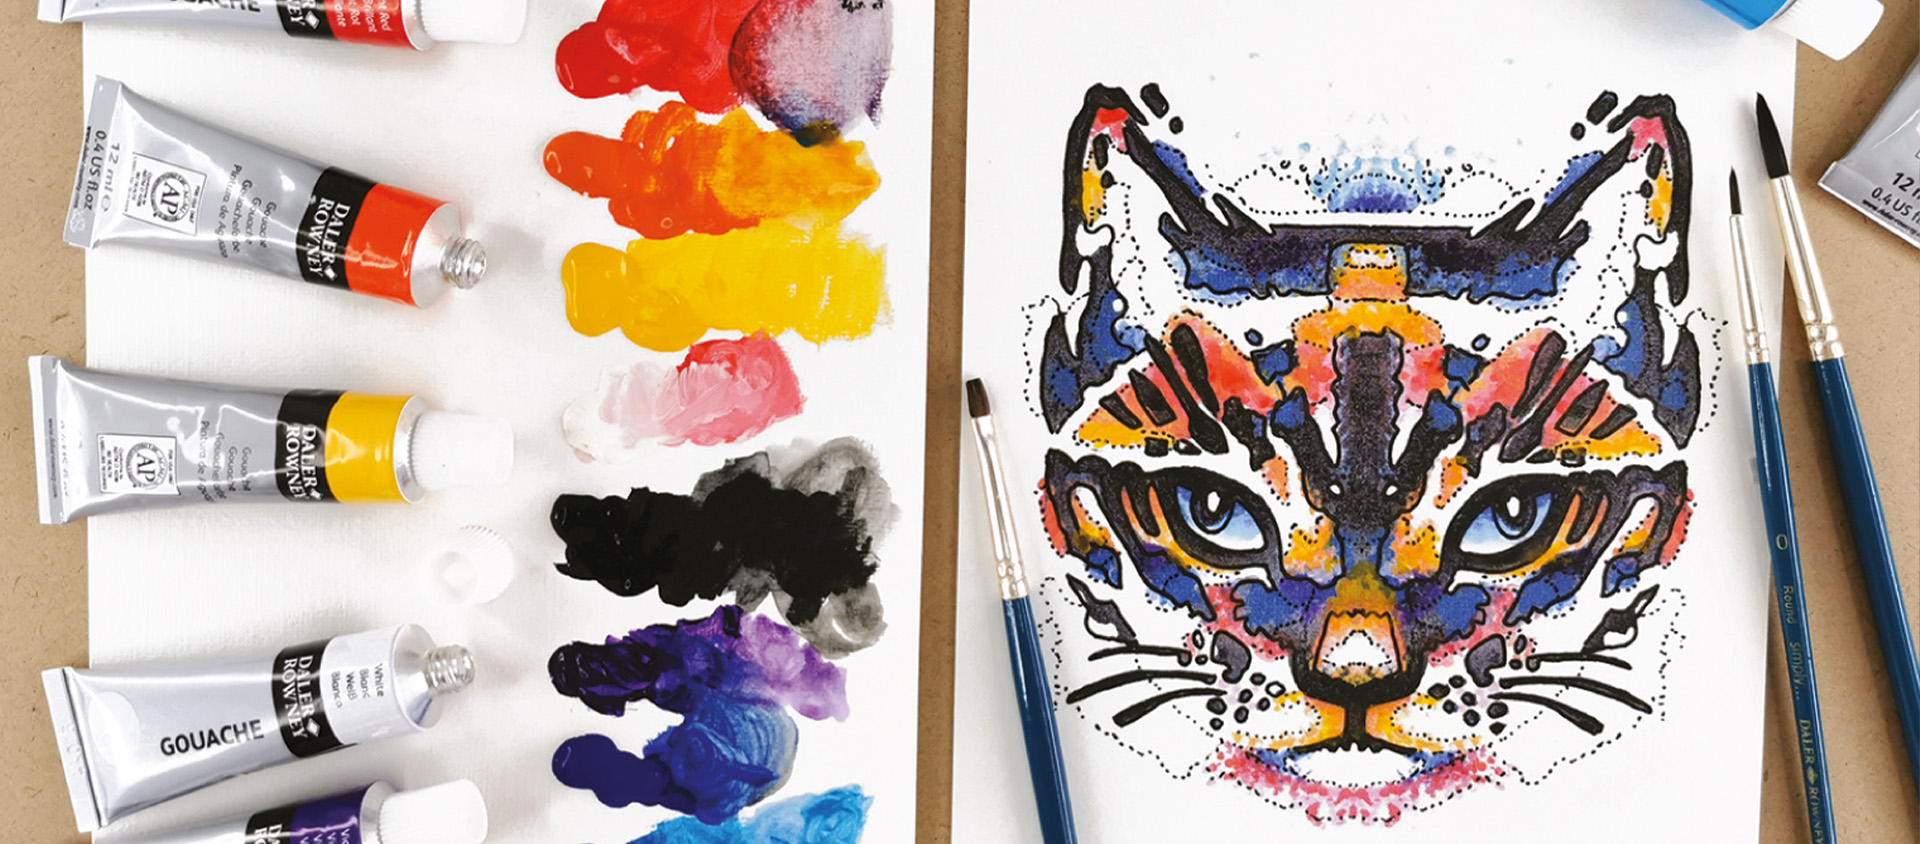
Learn how to use Opaque Watercolour Gouache Paints with the Simply Cat Painting Activity Set. This set includes the template, paint brushes and gouache paint that you will need to create a rainbow cat! This step-by-step guide has been created by Daler-Rowney artist Amylee Paris and is easy for artists to follow and to explore with gouache paint!
How To Paint a Rainbow Cat with Gouache
Learn how to use Opaque Watercolour Gouache Paints with the Simply Cat Painting Activity Set. This set includes the template, paint brushes and gouache paint that you will need to create a rainbow cat! This step-by-step guide has been created by Daler-Rowney artist Amylee Paris and is easy for artists to follow and to explore with gouache paint!
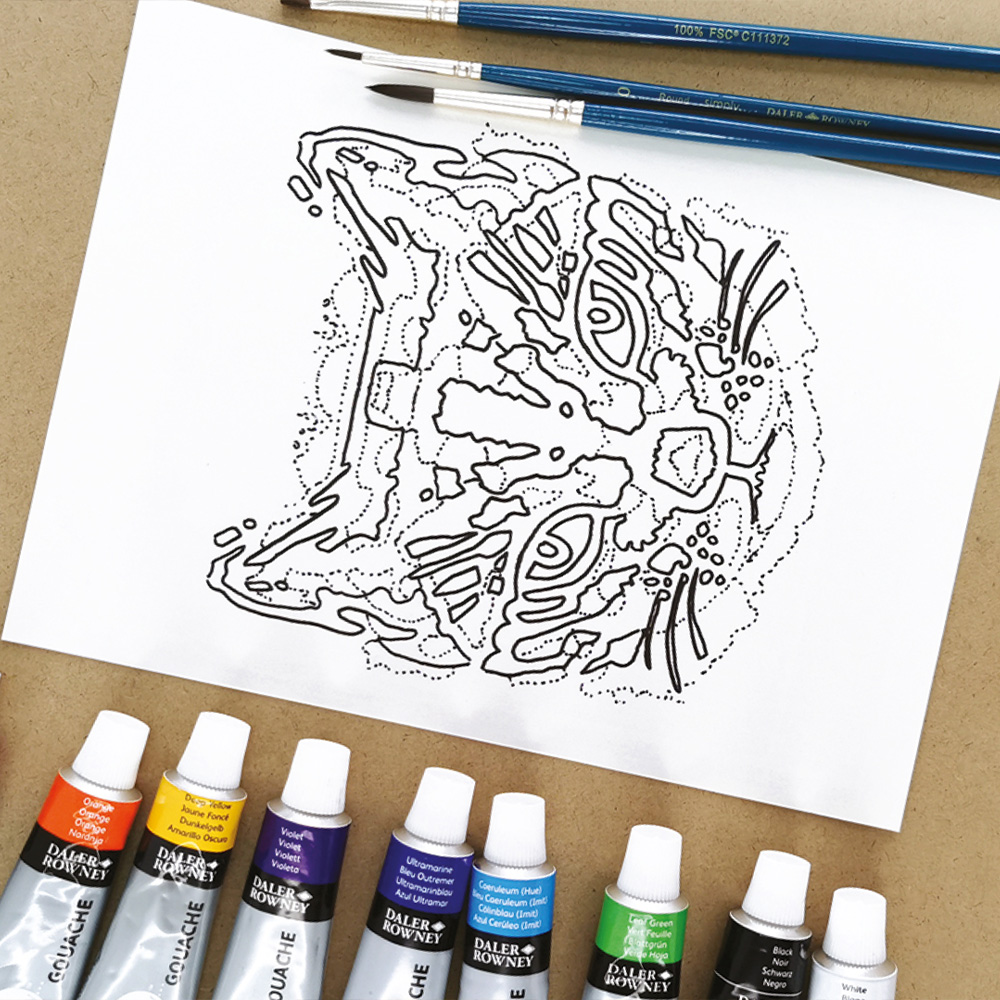
The materials in your kit
Your step by step guide
Sit comfortably at a table with all the equipment provided within the kit. Firstly, squeeze a small amount of each colour onto a piece of paper or an artist’s palette. Then, use the pre-printed template provided to help you create your painting. In this demonstration, we will produce an animal portrait painting with a cat design using Simply Gouache Paints.
GOOD TO KNOW: Your Colour Mixing Guide is here to help you with the mixing of your colours!
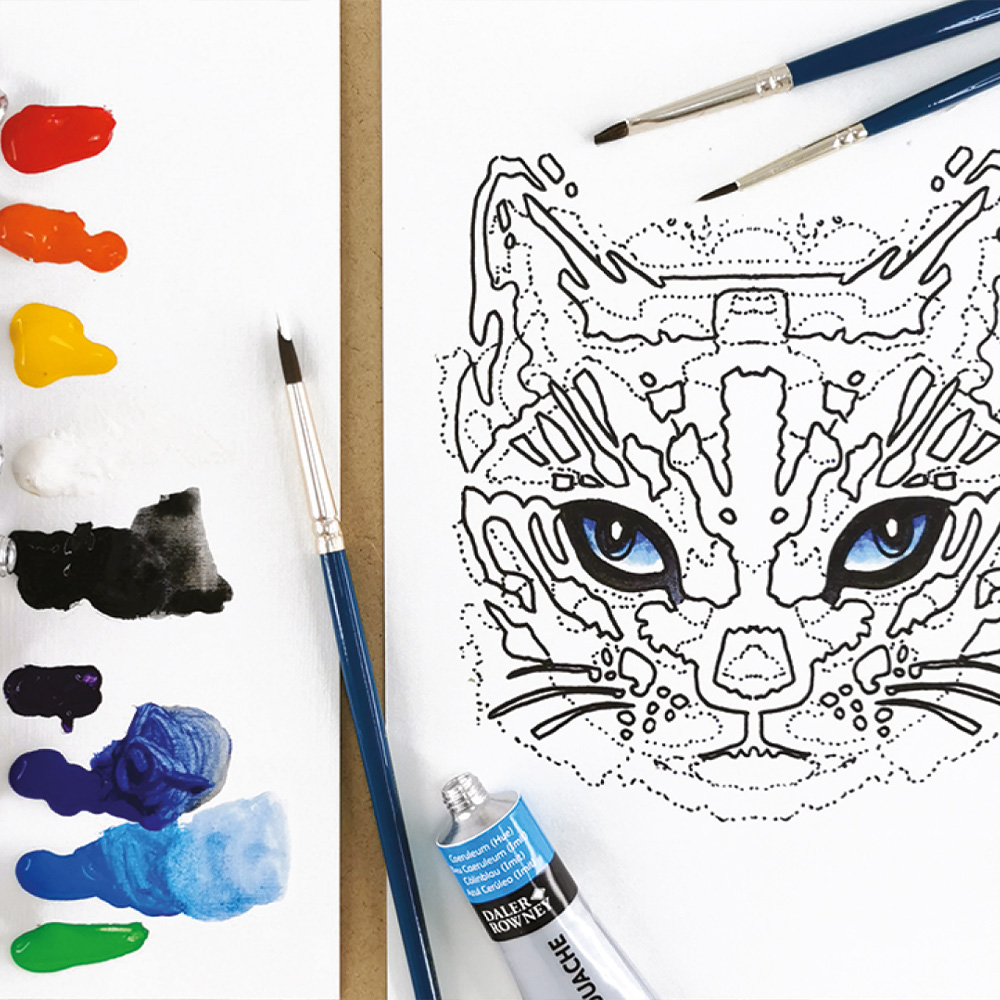
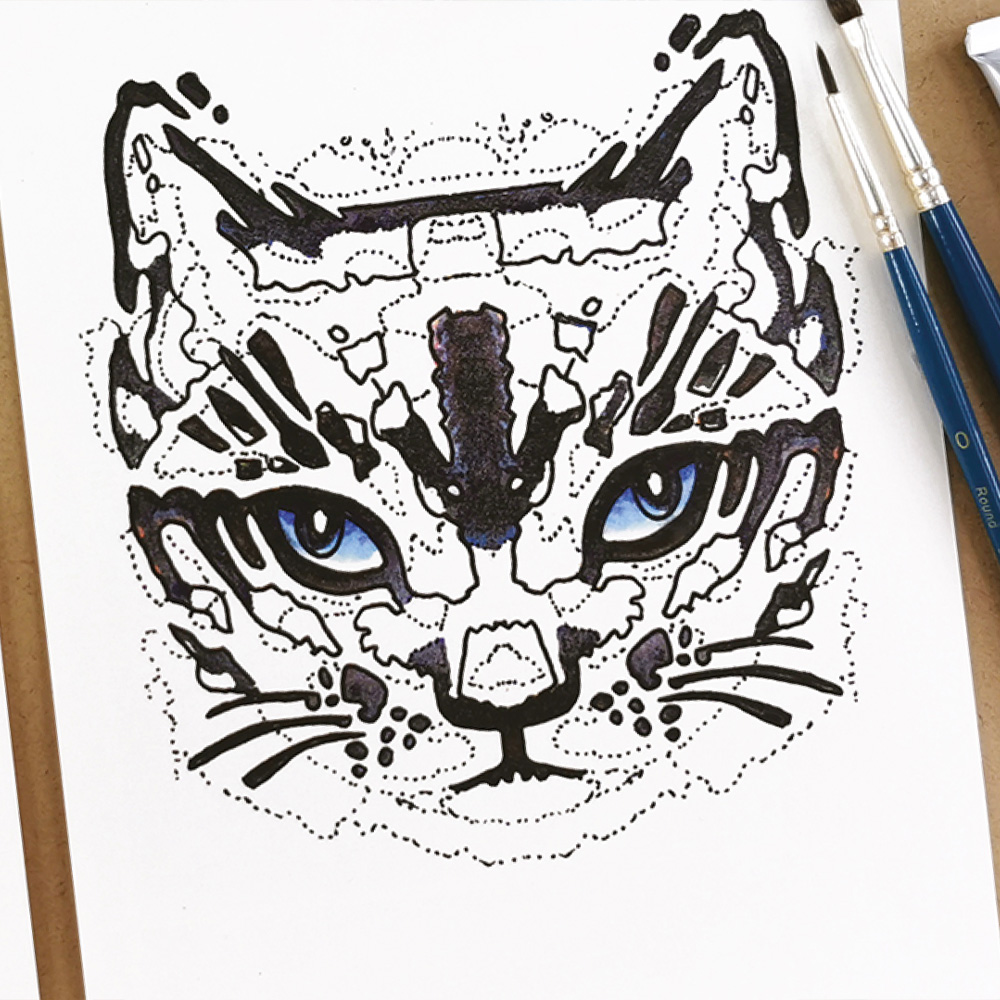
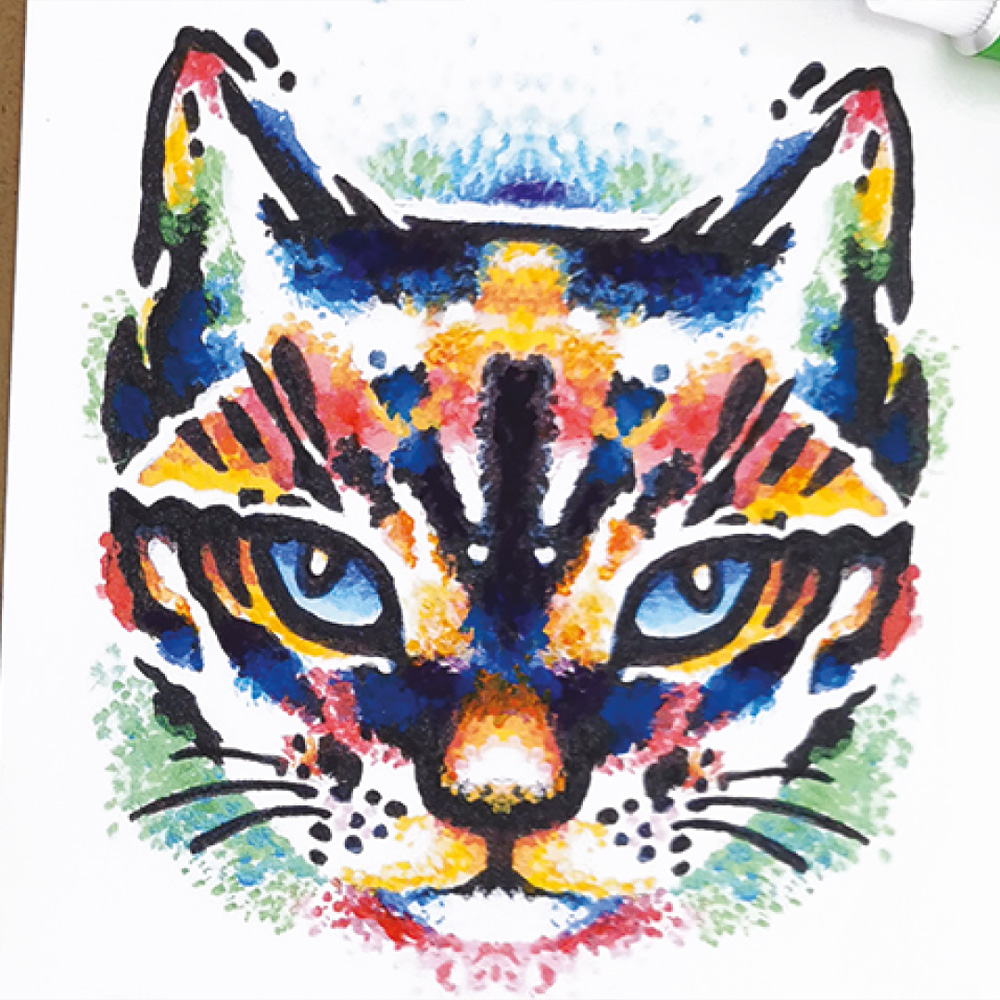
Using black and blue paint, follow the continuous lines to make the cat's eyes stand out.
Still using the black paint, use the pre-printed paper to create the upper face and show the pattern of the cat. Use the round brushes for the details and the flat shader brush for the larger area.
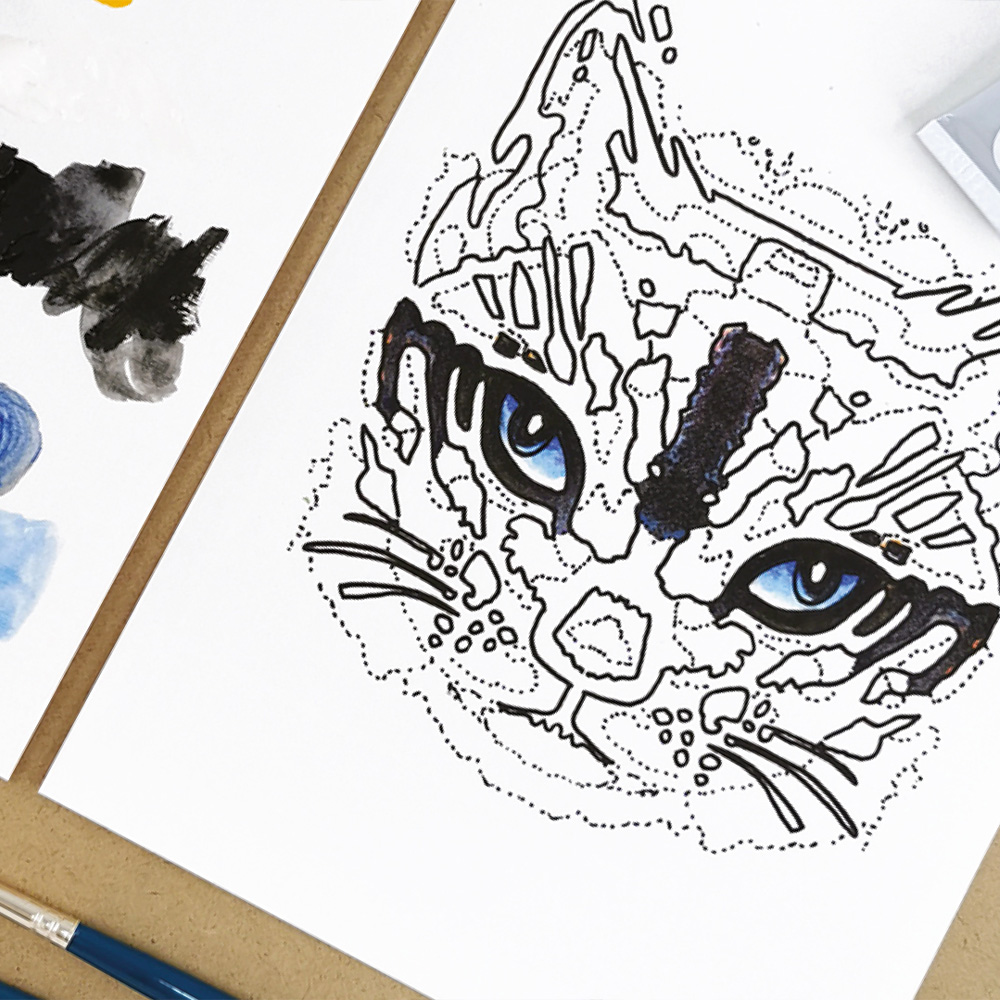
Then, paint the lower part of the cat's head detailing the mouth and whiskers in black paint.
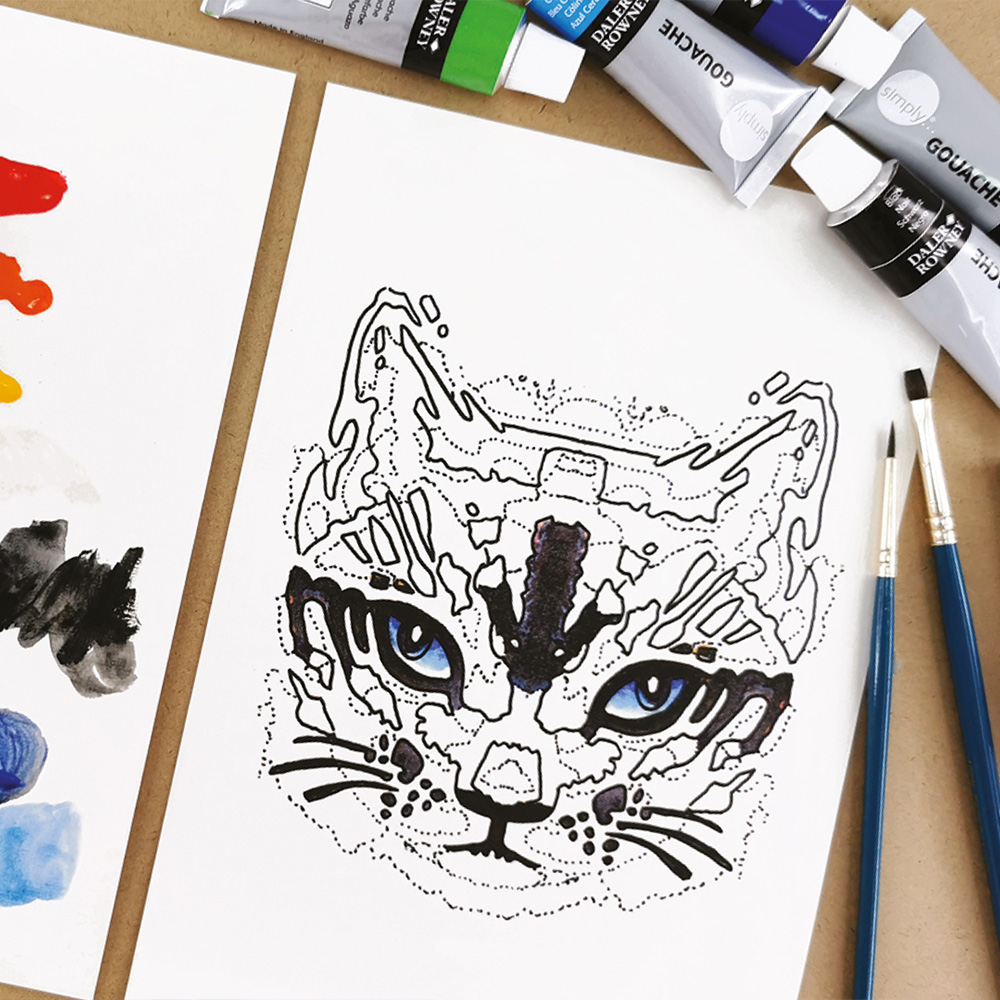
Finish the head of the cat by adding the ears. And voilà, the cat already seems to be taking shape!
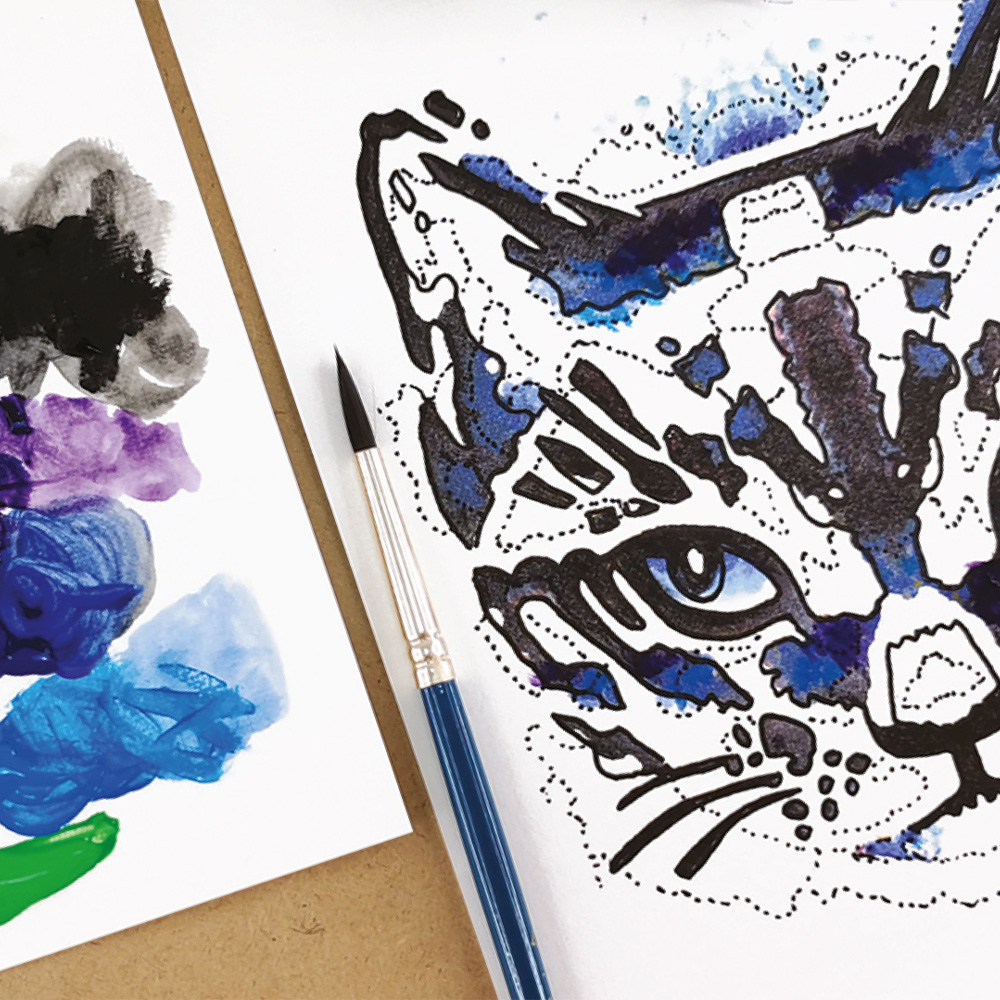
Using the two blues and the violet paint from the range offered in this set, add blue gradations to the eyes, mouth and ears as shown in the picture.
By mixing red and white, add a little pink or red colour to the ears, cheeks, and forehead. For the mouth, simply add small dots of colour to create a pointillist effect!
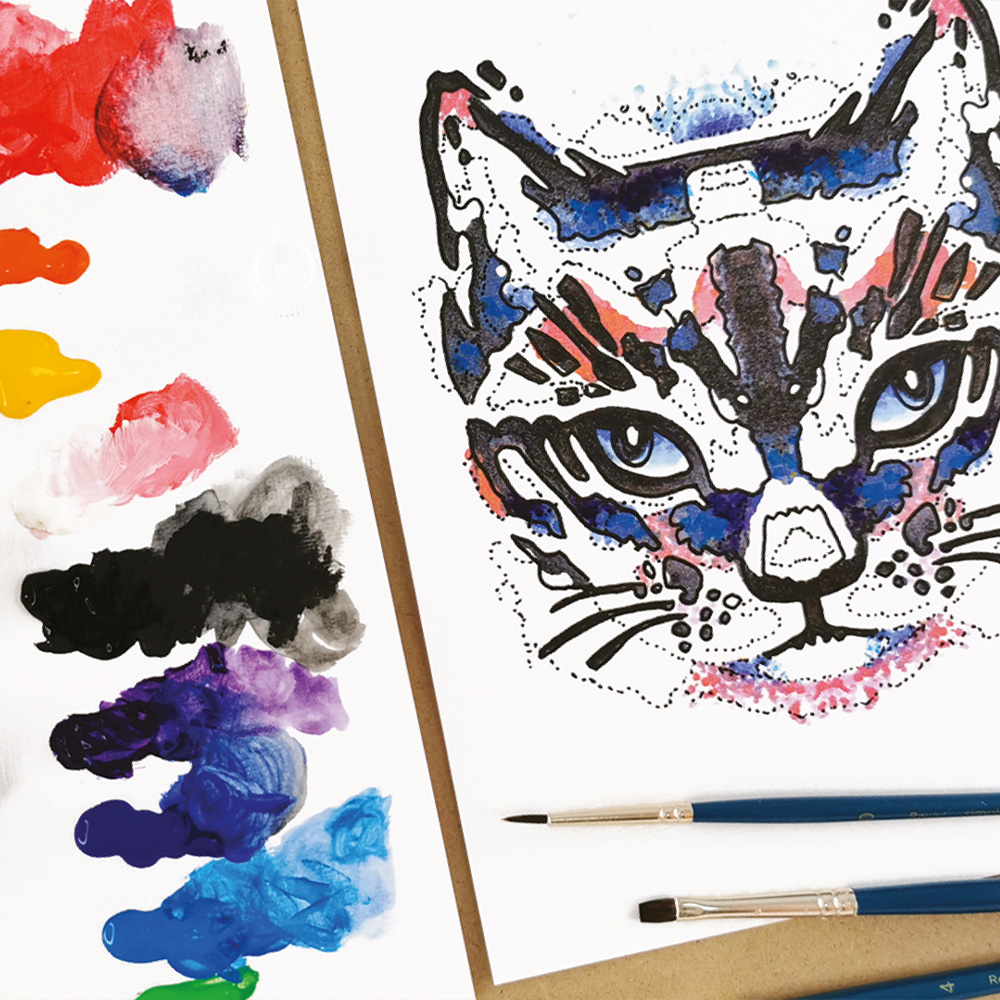
The cat's head is really starting to take shape. With yellow and orange paint, add a luminous touch following the pinkish areas. This step gives volume to the whole cat's head.
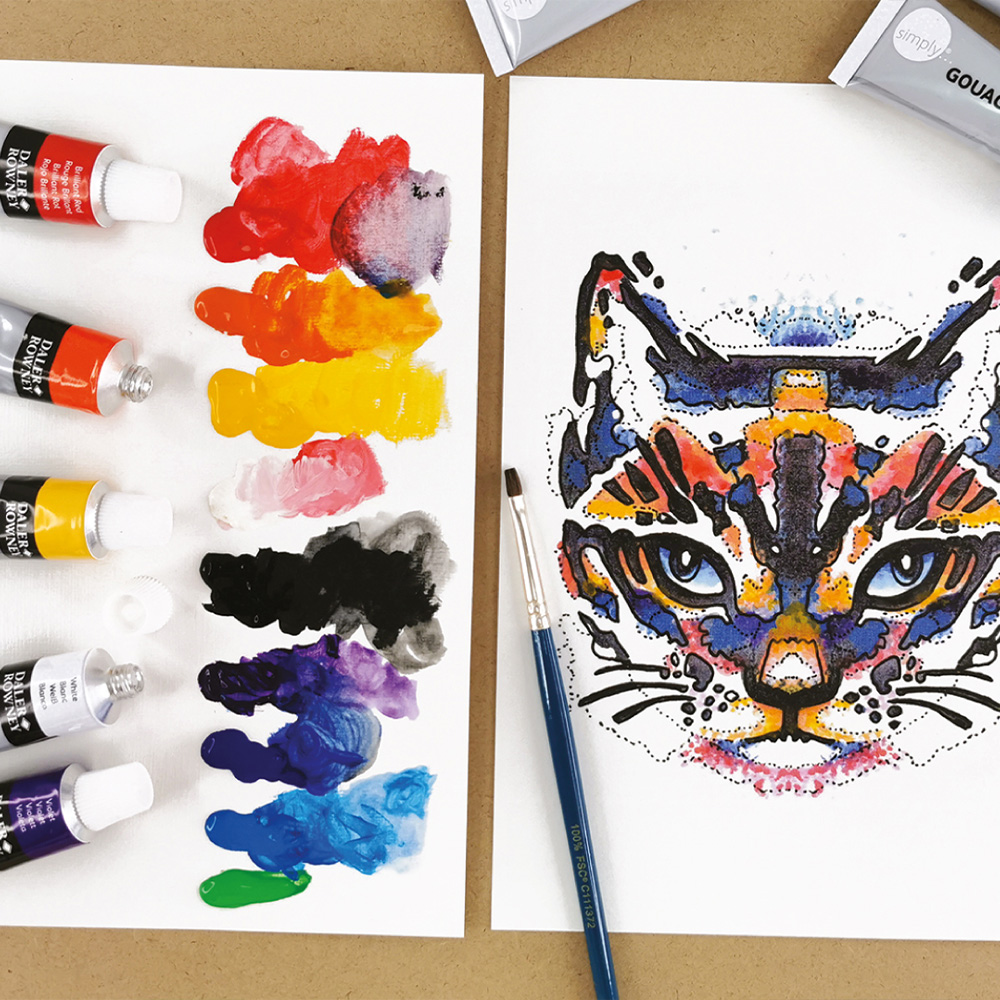
Adding green and blue paint in small touches around the cat's head, makes the animal stand out. He's so cute, don’t you think?
GOOD TO KNOW: Feel free to use violet paint to create darker areas in the black parts.
Your step by step guide
Sit comfortably at a table with all the equipment provided within the kit. Firstly, squeeze a small amount of each colour onto a piece of paper or an artist’s palette. Then, use the pre-printed template provided to help you create your painting. In this demonstration, we will produce an animal portrait painting with a cat design using Simply Gouache Paints.
GOOD TO KNOW: Your Colour Mixing Guide is here to help you with the mixing of your colours!
Sit comfortably at a table with all the equipment provided within the kit. Firstly, squeeze a small amount of each colour onto a piece of paper or an artist’s palette. Then, use the pre-printed template provided to help you create your painting. In this demonstration, we will produce an animal portrait painting with a cat design using Simply Gouache Paints.
GOOD TO KNOW: Your Colour Mixing Guide is here to help you with the mixing of your colours!
Using black and blue paint, follow the continuous lines to make the cat's eyes stand out.
Still using the black paint, use the pre-printed paper to create the upper face and show the pattern of the cat. Use the round brushes for the details and the flat shader brush for the larger area.
Then, paint the lower part of the cat's head detailing the mouth and whiskers in black paint.
Finish the head of the cat by adding the ears. And voilà, the cat already seems to be taking shape!
Using the two blues and the violet paint from the range offered in this set, add blue gradations to the eyes, mouth and ears as shown in the picture.
By mixing red and white, add a little pink or red colour to the ears, cheeks, and forehead. For the mouth, simply add small dots of colour to create a pointillist effect!
The cat's head is really starting to take shape. With yellow and orange paint, add a luminous touch following the pinkish areas. This step gives volume to the whole cat's head.
Adding green and blue paint in small touches around the cat's head, makes the animal stand out. He's so cute, don’t you think?
GOOD TO KNOW: Feel free to use violet paint to create darker areas in the black parts.
What you'll need
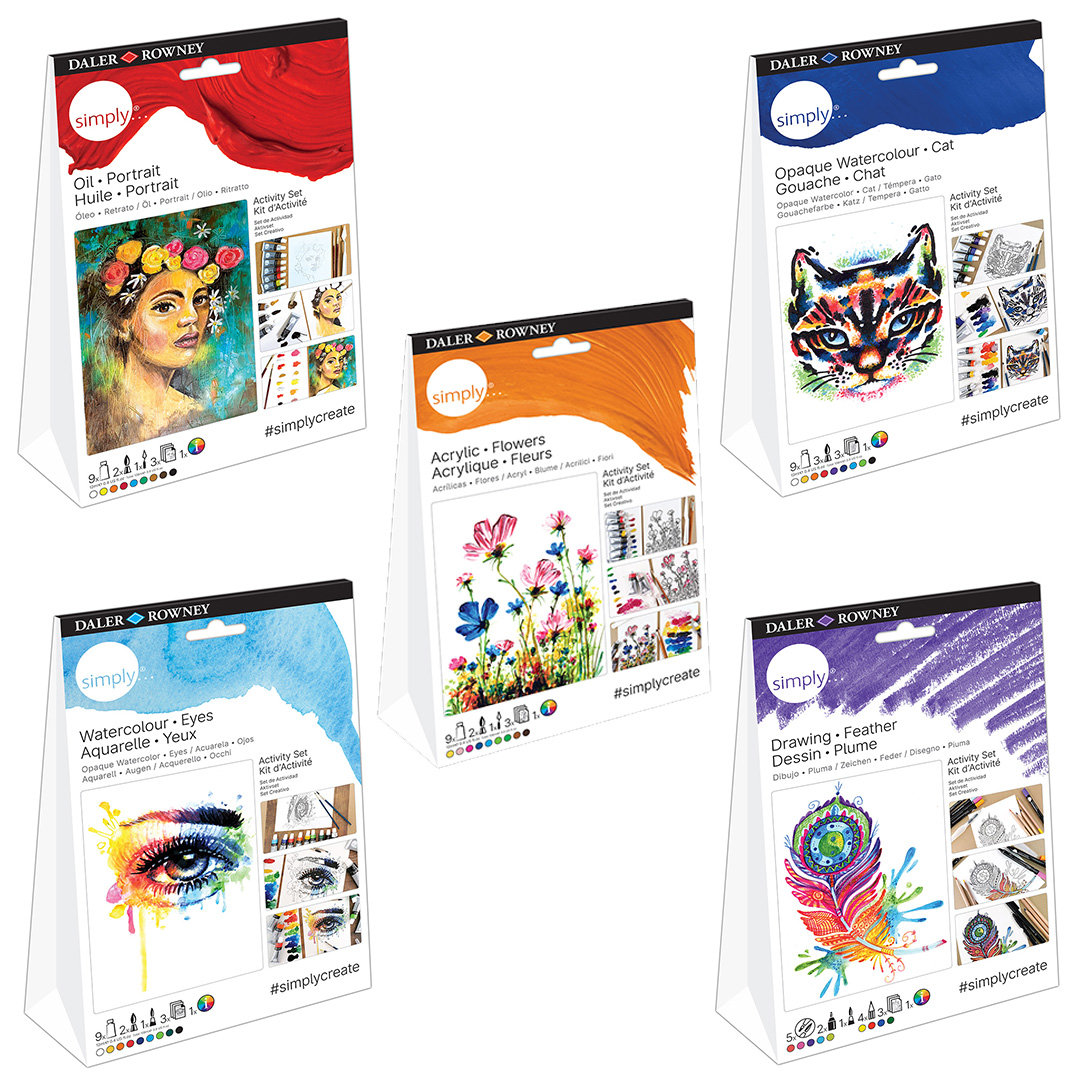
Simply Activity Sets
Daler-Rowney Simply Activity Sets provide a perfect activity for beginner artists and hobbyists to start working with different paint types.
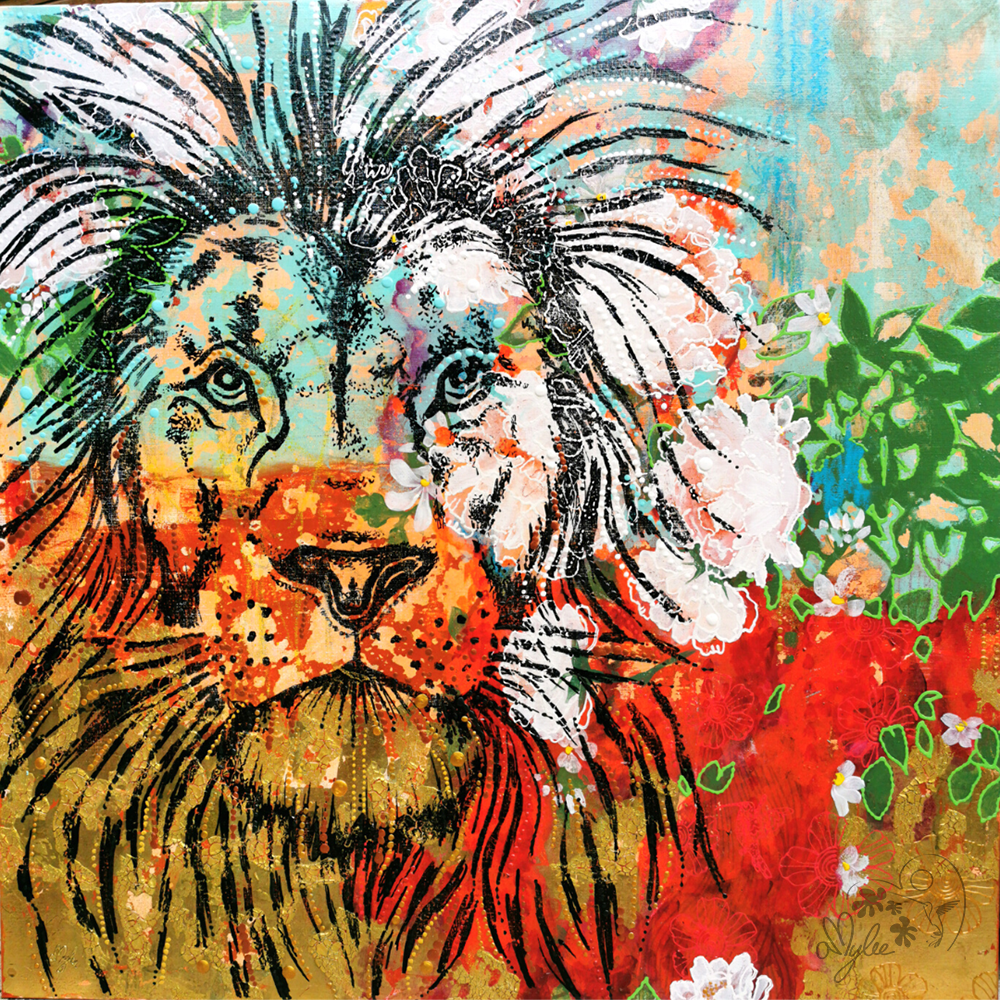
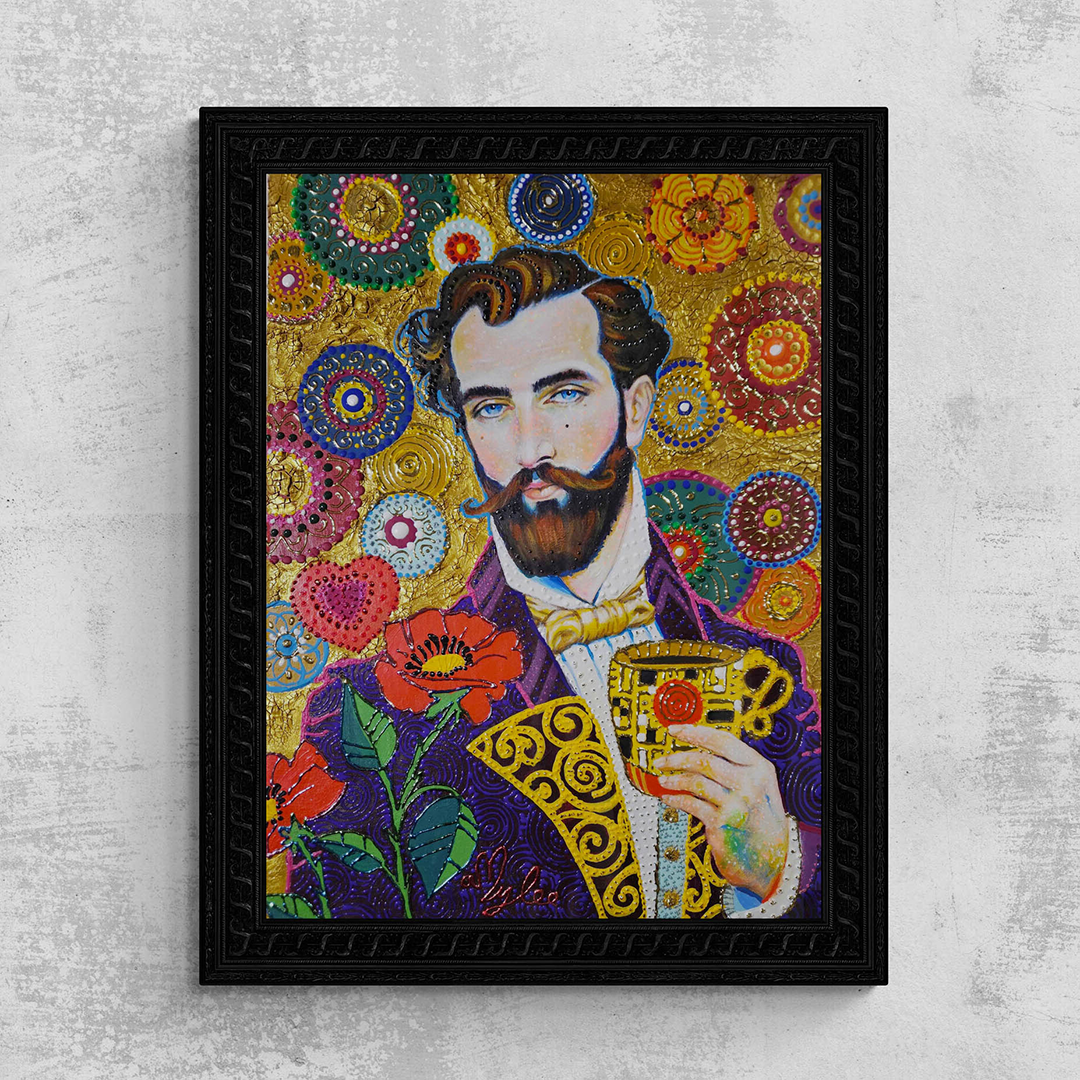
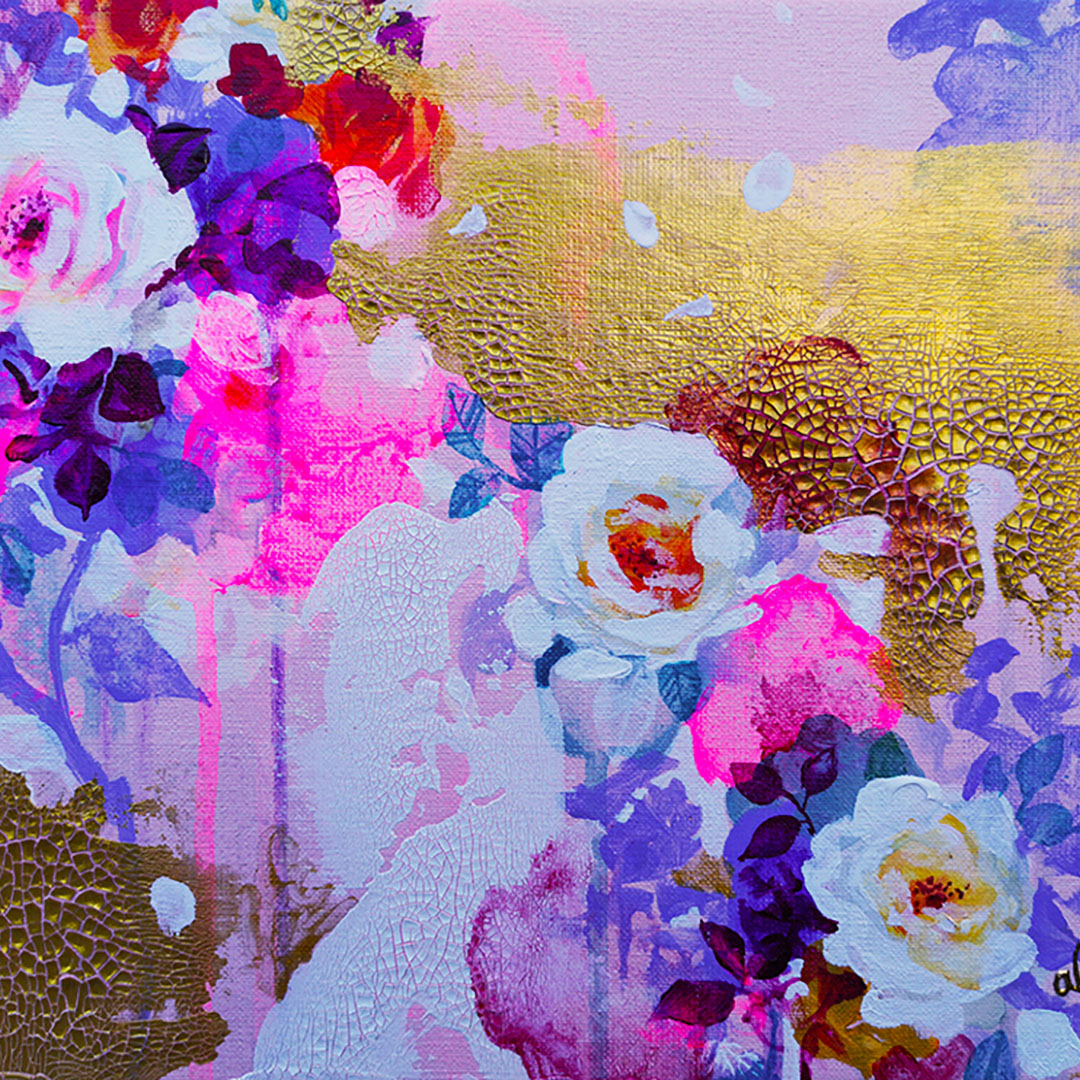
MOREAbout the artist
The painter Amylee Paris tirelessly finds her inspiration in colour and nature. Her abstract blooms and portraits shine in several art galleries in the UK.