#simplycreate Feather Colour Splash
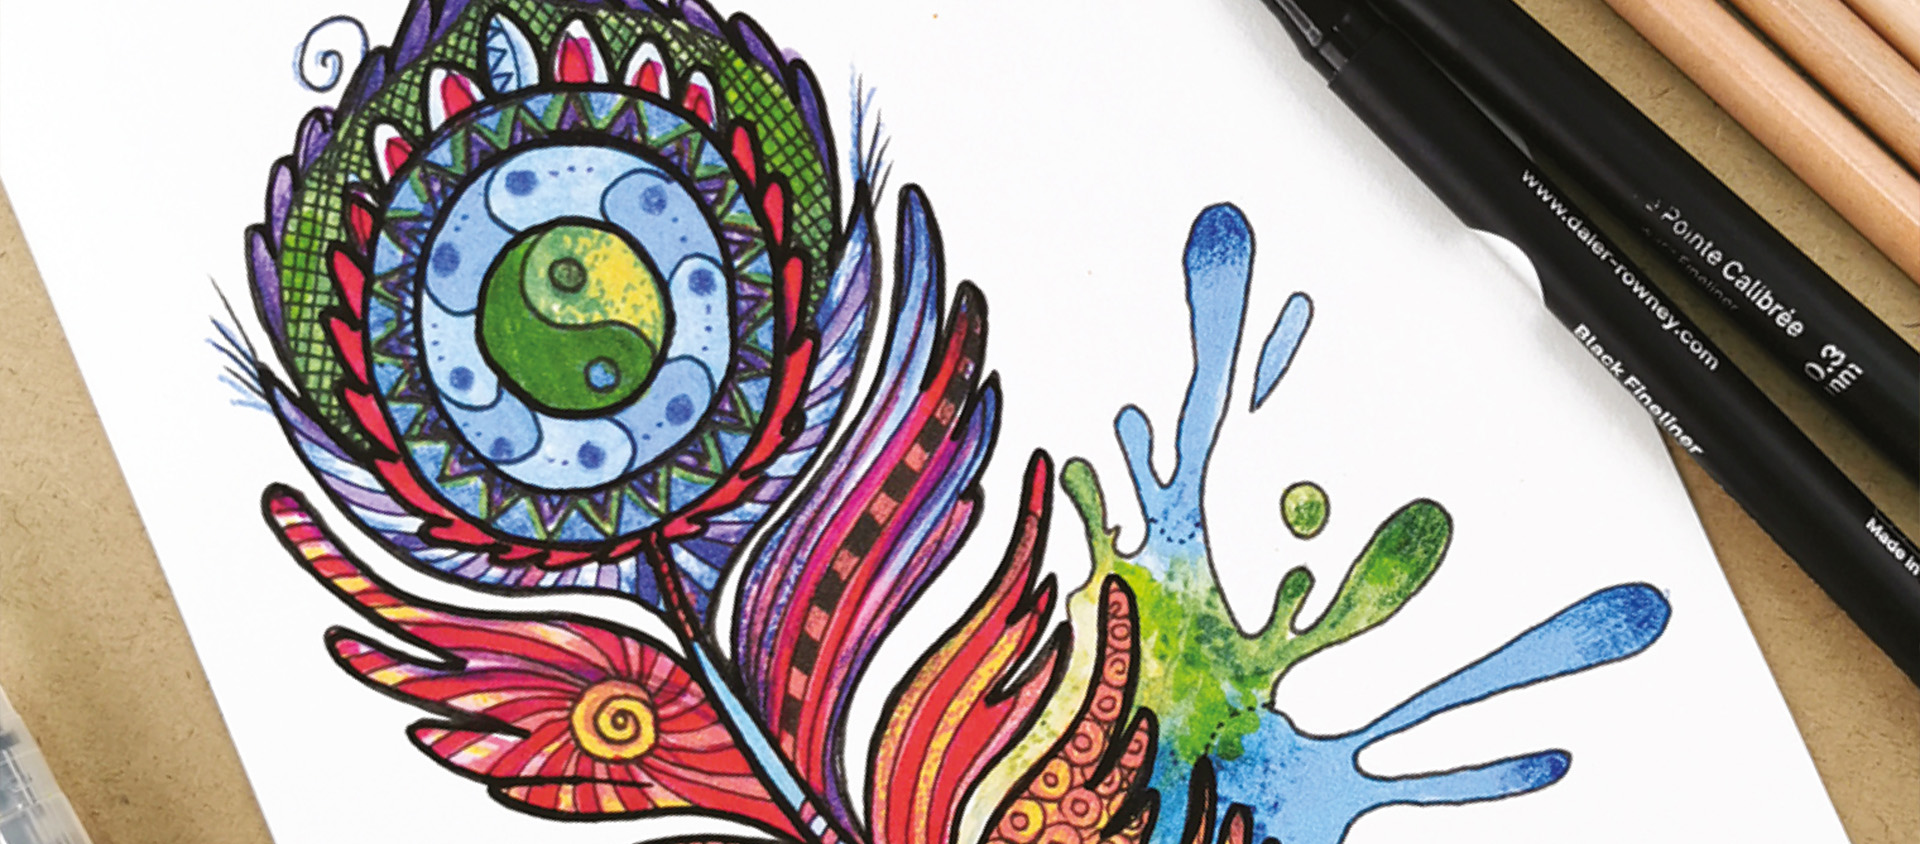
How To Draw a Feather Colour Splash with Watercolour Pencils & Markers
Learn how to use watercolour pencils and double-tip markers with the Simply Feather Drawing Activity Set. This also includes the template, waterbrush pen and black fineliners needed to create a feather colour splash! This step-by-step guide has been created by Daler-Rowney artist Amylee Paris and is easy for artists to follow and explore drawing with pencils and markers!
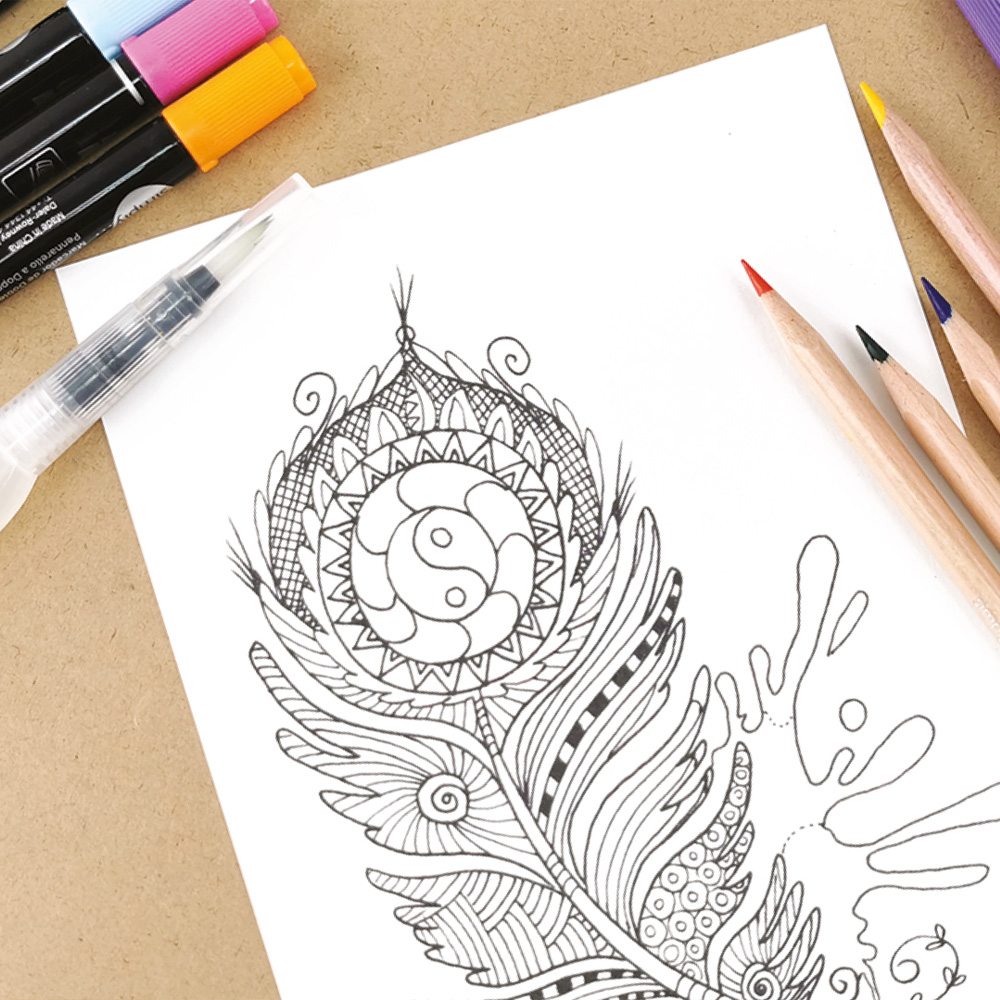
The materials in your kit
Your step by step guide
Sit comfortably at a table with all the equipment provided within the kit. Use the pre-printed template provided to help you create your drawing. The water brush pen can be filled with water to facilitate the use of watercolour pencils. In this demonstration, we will produce a feather colour splash with a feather design using Simply pencils, fineliners and double-tip markers.
GOOD TO KNOW: Your Colour Mixing Guide is here to help you with the mixing of your colours!
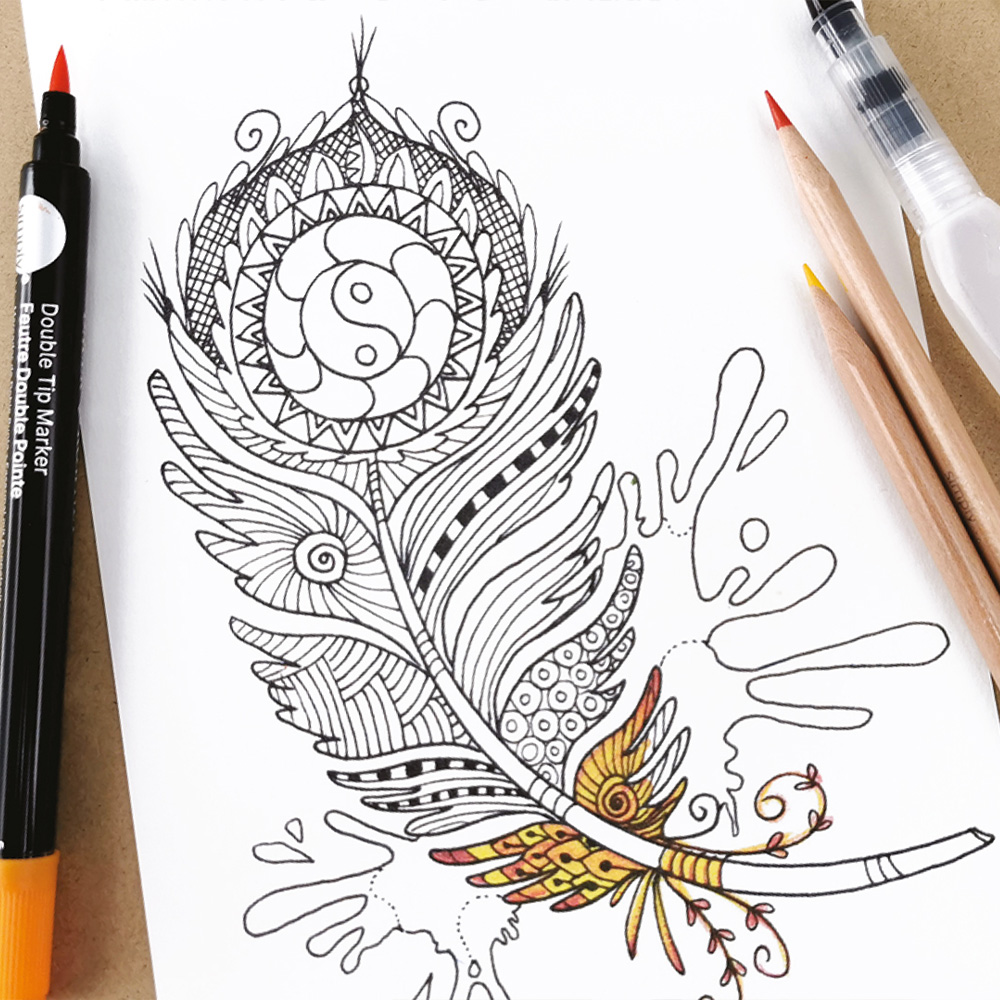
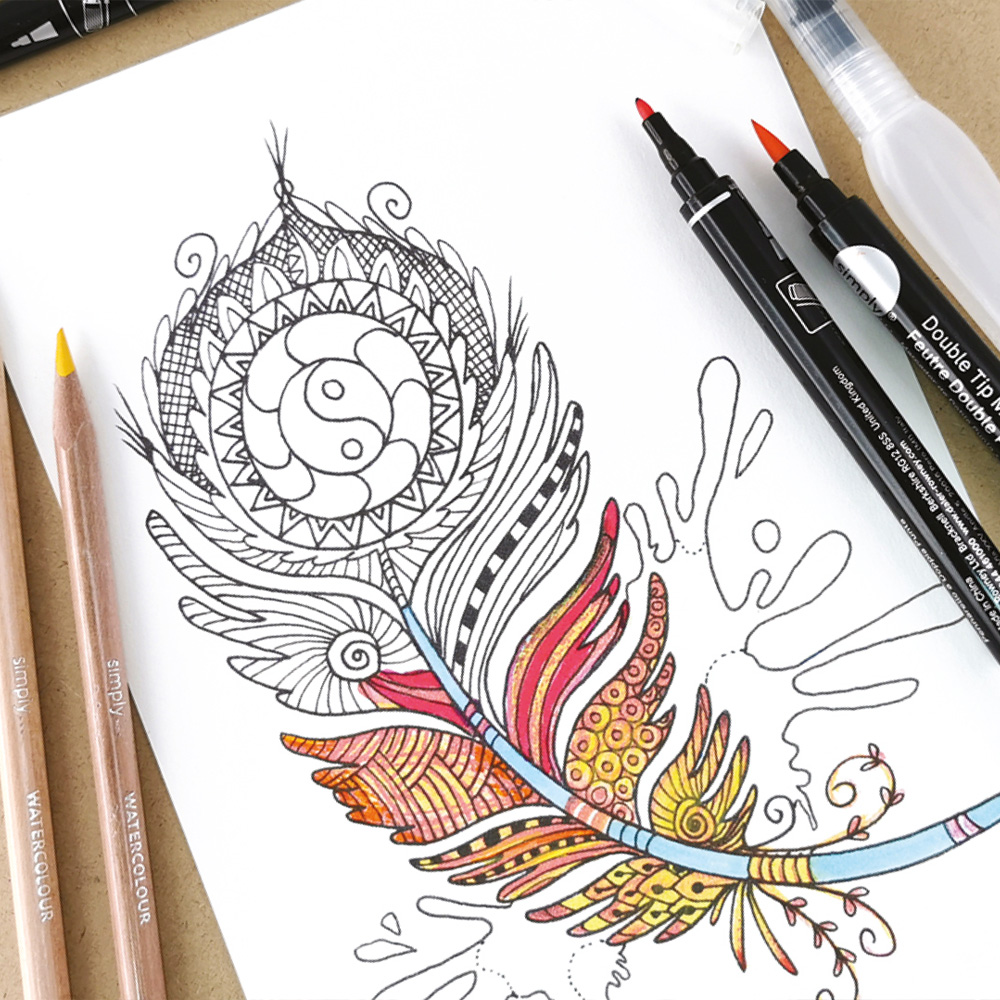
Using the template to place the first colours, use the yellow watercolour pencil and orange double-tipped marker to start colouring the feather. Mix them together or add water with the waterbrush pen to make them lighter.
GOOD TO KNOW: If you want to draw the black outlines, I recommend that you do so at the very end of the drawing to prevent the colours from smudging.
With the light blue marker, colour the entire shaft of the feather from top to bottom. The hollow shaft is decorated with small stripes to give more volume to the feather, feel free to add different colours to these stripes.
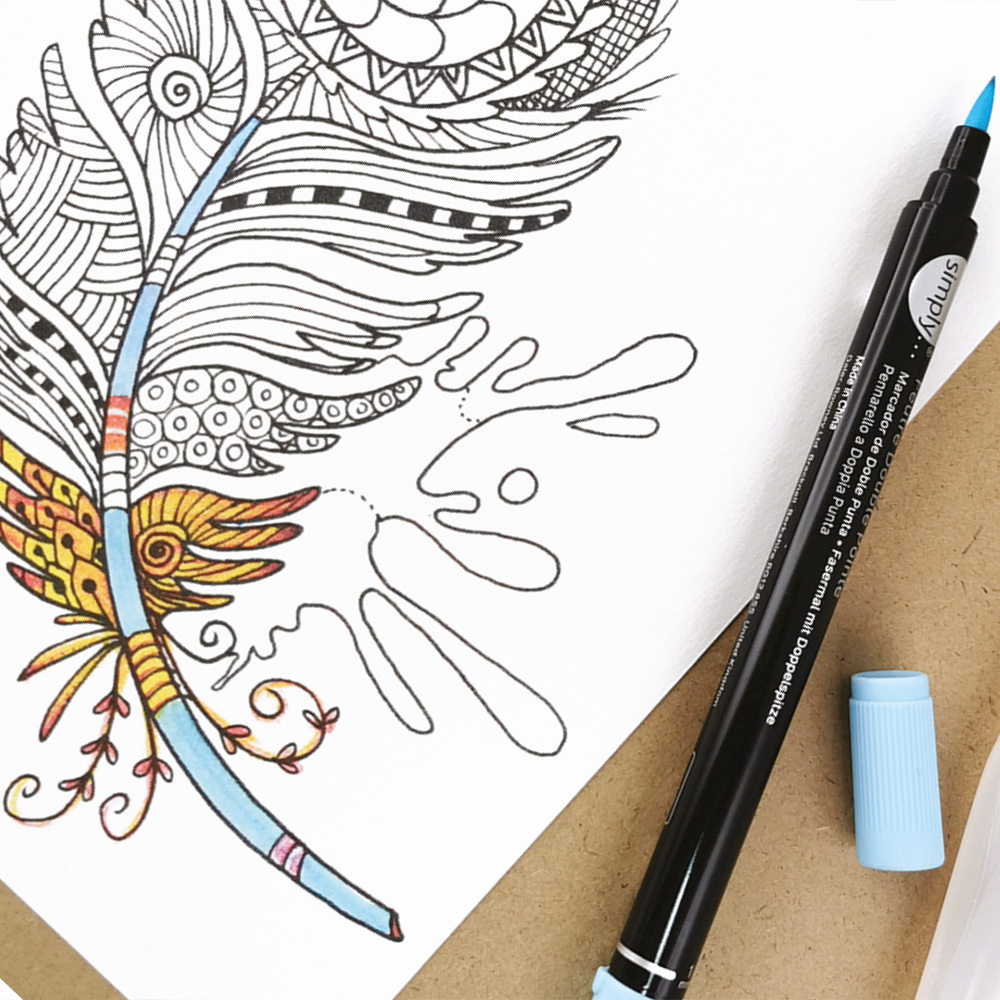
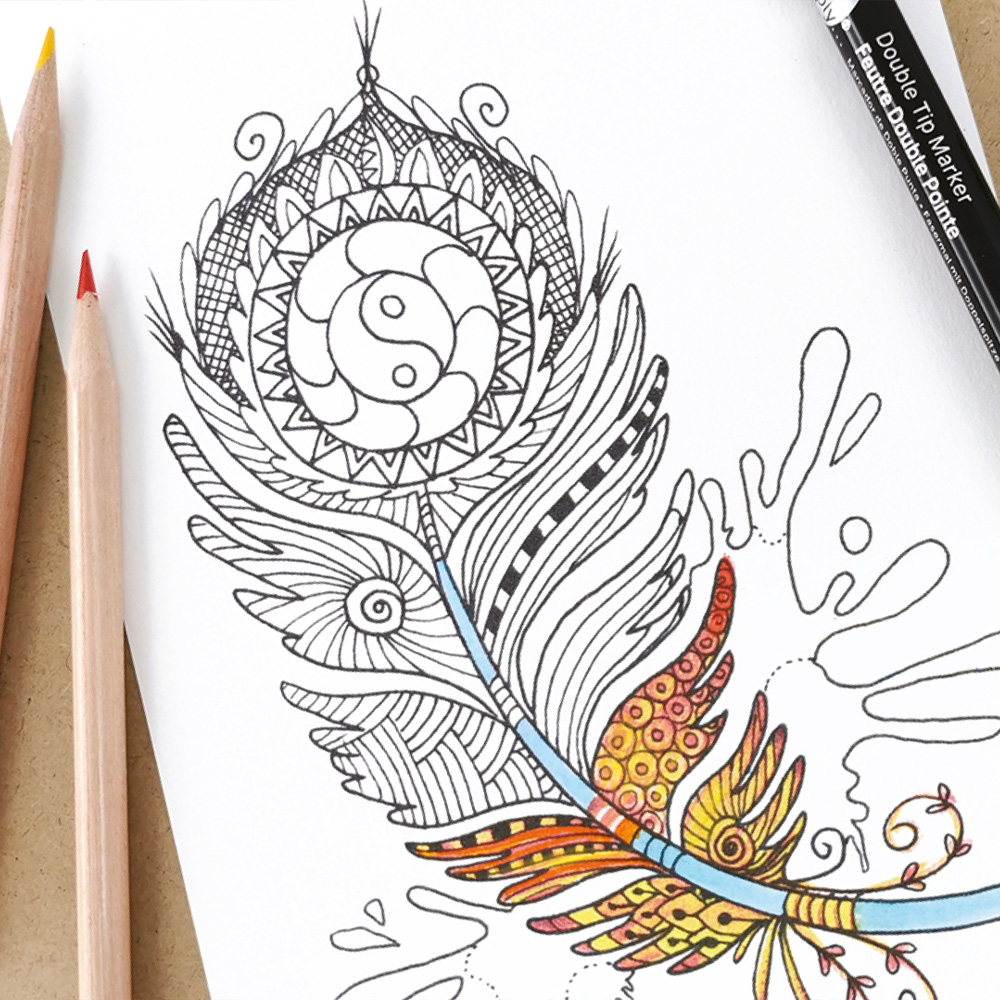
Using the red watercolour pencil and orange double-tip marker, colour the second part of the drawing. The feather is made up of gradients. The higher you go, the darker the colours should become. The inside of the feather is composed of multiple graphics inspired by the Zentangle technique, feel free to follow their shapes.
Using the red watercolour pencil and orange double-tip marker, colour the second part of the drawing. The feather is made up of gradients. The higher you go, the darker the colours should become. The inside of the feather is composed of multiple graphics inspired by the Zentangle technique, feel free to follow their shapes.
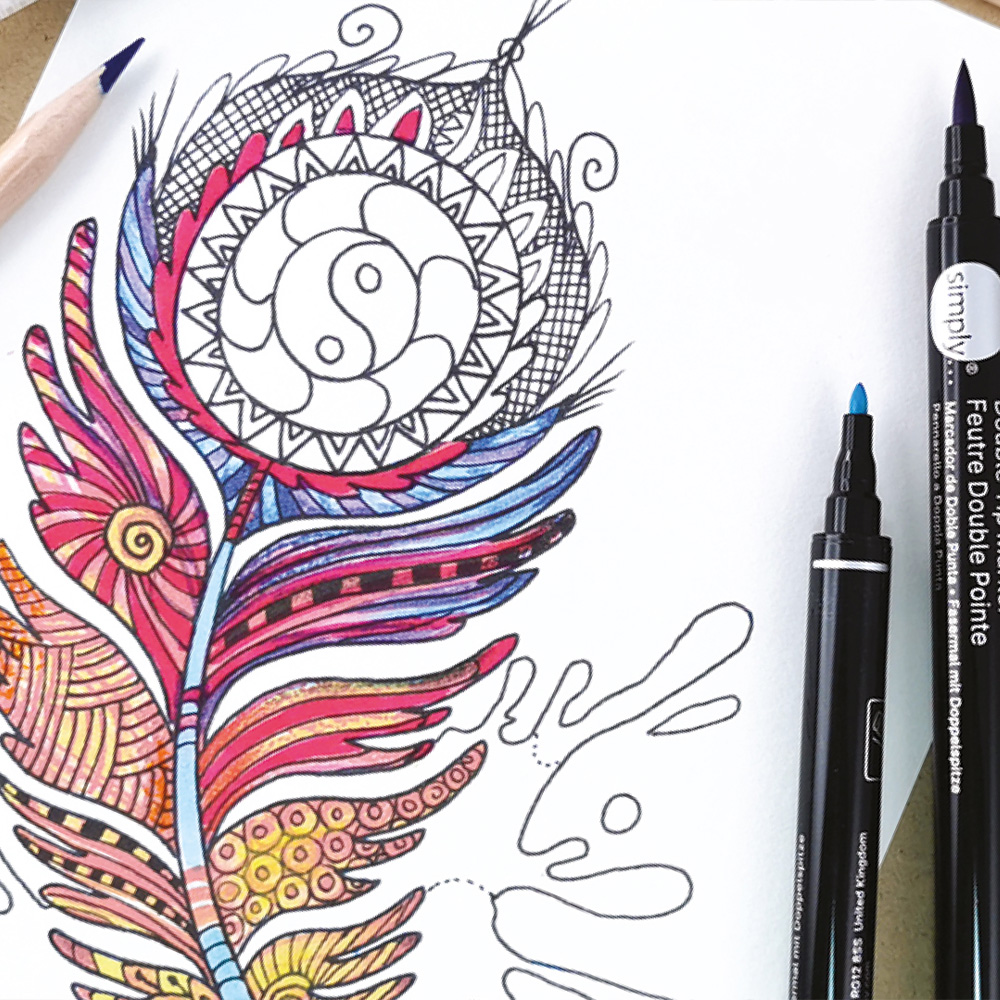
Use the yellow watercolour pencil to colour the background shape and then apply red and pink colours, following the template.
Then, alternate with pink and orange markers. The blue and purple will be very useful to create the feather with a darker tip.
Add deep green and deep blue using the pencils to complete the tip of the feather. Dilute the colour with the waterbrush pen to play with gradations.
GOOD TO KNOW: Don’t forget to wash the tip of the brush thoroughly when changing colours to avoid dirtying the colours.
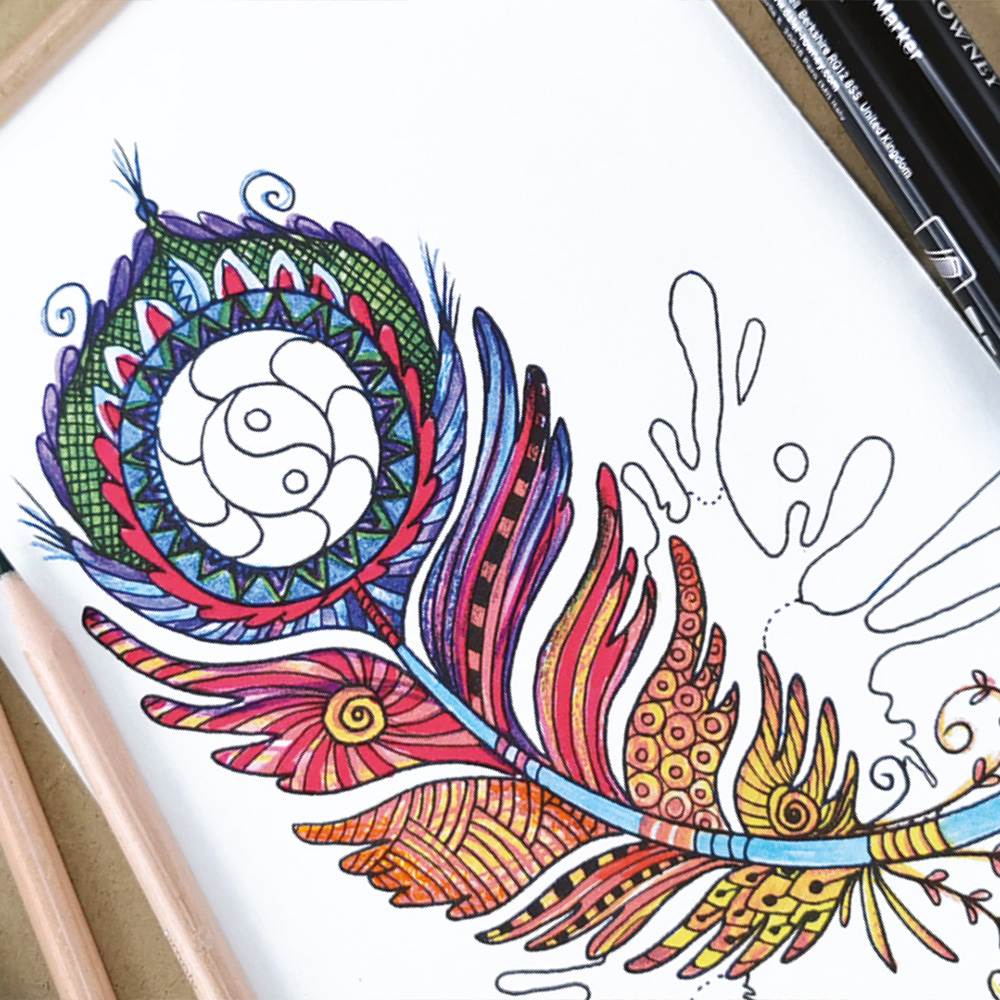
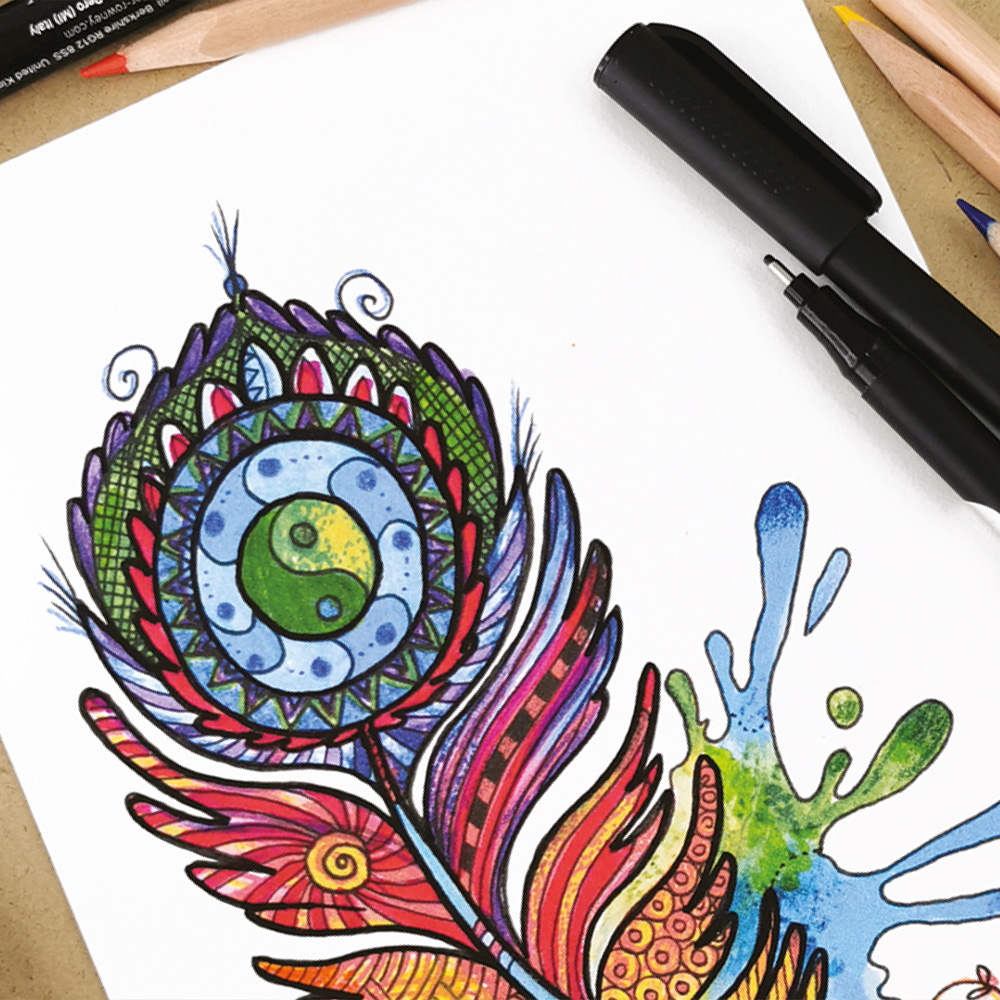
Finish the drawing by colouring the eye of the feather, and alternate colours to bring out the crowns around the eye.
Regarding the background, use the blue and green watercolour pencils at the back of the feather.
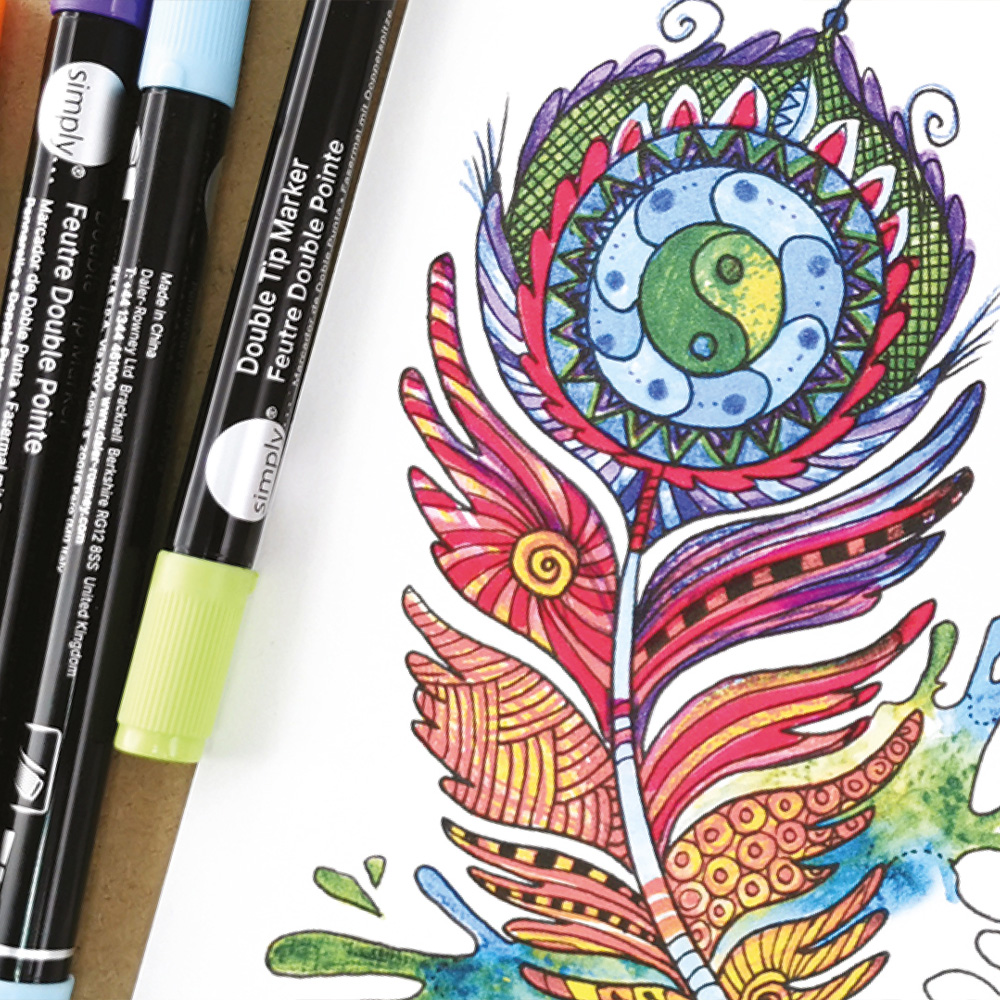
Once the drawing is completely set and dry, use the 0.3mm fineliner for small details and the thicker 0.8mm fineliner to outline the feather so it stands out better.
Your step by step guide
Sit comfortably at a table with all the equipment provided within the kit. Use the pre-printed template provided to help you create your drawing. The water brush pen can be filled with water to facilitate the use of watercolour pencils. In this demonstration, we will produce a feather colour splash with a feather design using Simply pencils, fineliners and double-tip markers.
GOOD TO KNOW: Your Colour Mixing Guide is here to help you with the mixing of your colours!
Sit comfortably at a table with all the equipment provided within the kit. Use the pre-printed template provided to help you create your drawing. The water brush pen can be filled with water to facilitate the use of watercolour pencils. In this demonstration, we will produce a feather colour splash with a feather design using Simply pencils, fineliners and double-tip markers.
GOOD TO KNOW: Your Colour Mixing Guide is here to help you with the mixing of your colours!
Using the template to place the first colours, use the yellow watercolour pencil and orange double-tipped marker to start colouring the feather. Mix them together or add water with the waterbrush pen to make them lighter.
GOOD TO KNOW: If you want to draw the black outlines, I recommend that you do so at the very end of the drawing to prevent the colours from smudging.
With the light blue marker, colour the entire shaft of the feather from top to bottom. The hollow shaft is decorated with small stripes to give more volume to the feather, feel free to add different colours to these stripes.
Using the red watercolour pencil and orange double-tip marker, colour the second part of the drawing. The feather is made up of gradients. The higher you go, the darker the colours should become. The inside of the feather is composed of multiple graphics inspired by the Zentangle technique, feel free to follow their shapes.
Using the red watercolour pencil and orange double-tip marker, colour the second part of the drawing. The feather is made up of gradients. The higher you go, the darker the colours should become. The inside of the feather is composed of multiple graphics inspired by the Zentangle technique, feel free to follow their shapes.
Use the yellow watercolour pencil to colour the background shape and then apply red and pink colours, following the template.
Then, alternate with pink and orange markers. The blue and purple will be very useful to create the feather with a darker tip.
Add deep green and deep blue using the pencils to complete the tip of the feather. Dilute the colour with the waterbrush pen to play with gradations.
GOOD TO KNOW: Don’t forget to wash the tip of the brush thoroughly when changing colours to avoid dirtying the colours.
Finish the drawing by colouring the eye of the feather, and alternate colours to bring out the crowns around the eye.
Regarding the background, use the blue and green watercolour pencils at the back of the feather.
Once the drawing is completely set and dry, use the 0.3mm fineliner for small details and the thicker 0.8mm fineliner to outline the feather so it stands out better.
What you'll need
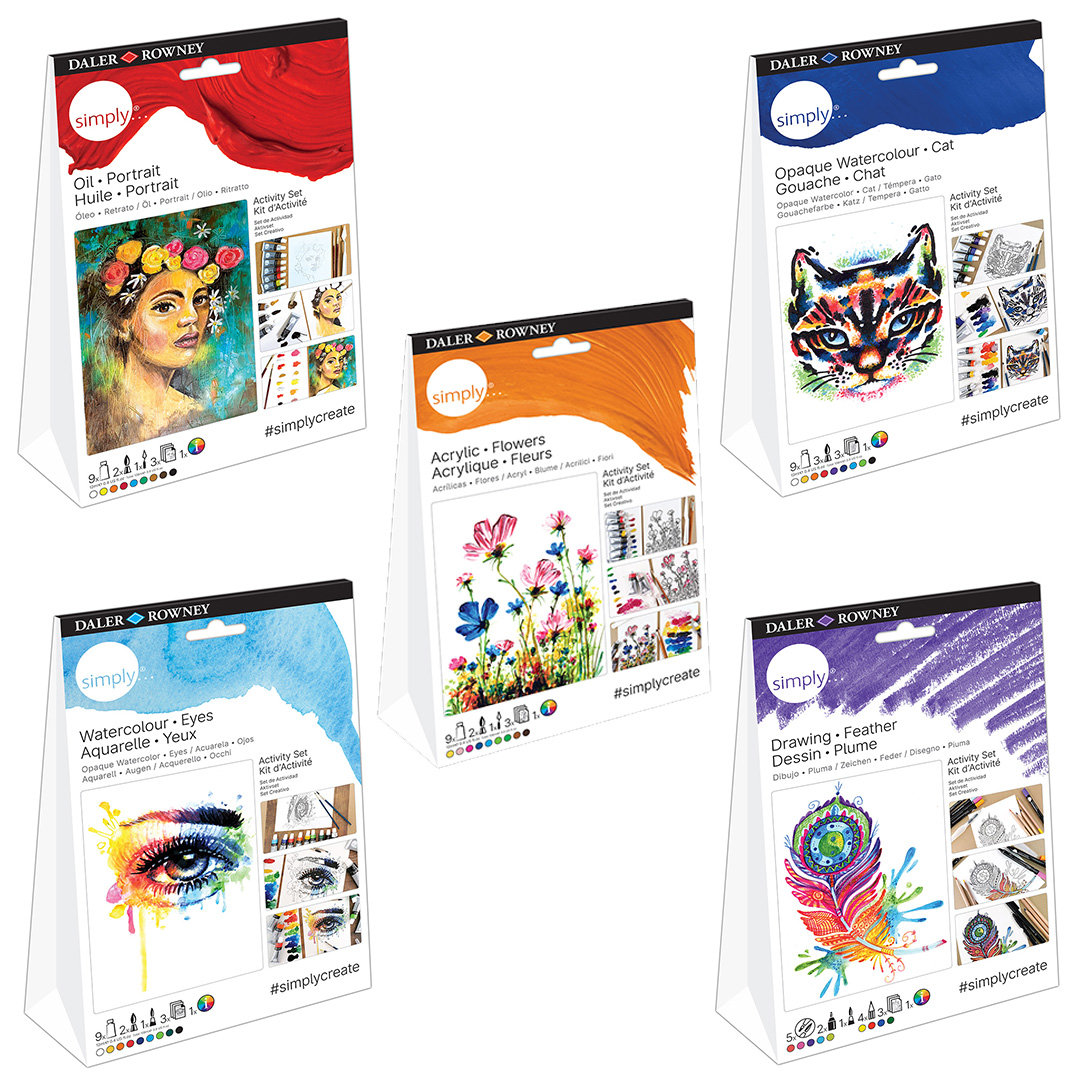
Simply Activity Sets
Daler-Rowney Simply Activity Sets provide a perfect activity for beginner artists and hobbyists to start working with different paint types.
MOREAbout the artist
The painter Amylee Paris tirelessly finds her inspiration in colour and nature. Her abstract blooms and portraits shine in several art galleries in the UK.