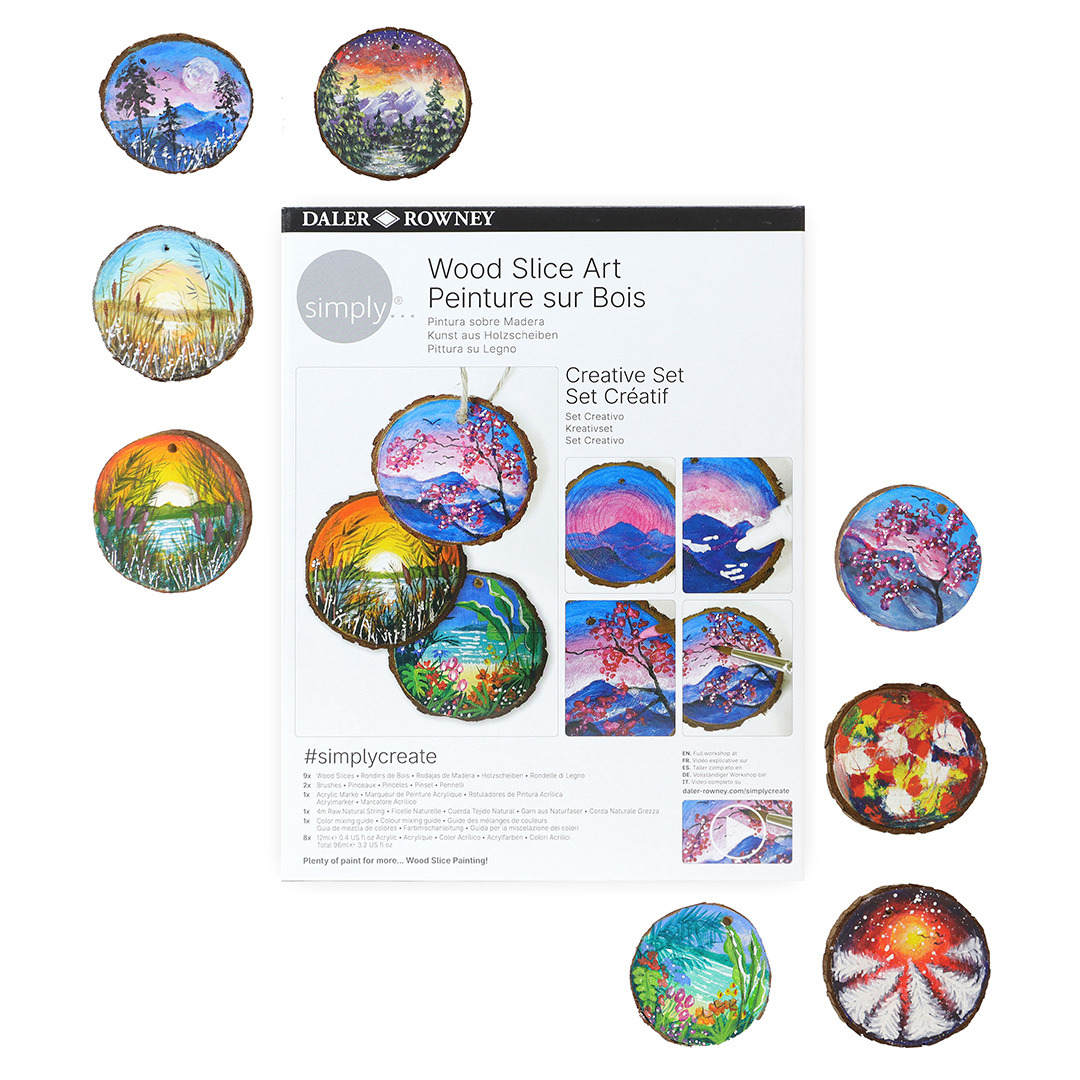
#simplycreate Creative Wood Slice Art Set
"I love this kit - it’s one of my favourites!
The little mini paintings are completely doable, you’re just following step by step. I’m breaking down the process of the painting showing lots of techniques... it’s really easy!
There’s an incredible selection of acrylic colours, really good quality paints, acrylic pens which are lovely to use, & your brushes.
This is a really enjoyable painting; I think people will be really proud of the results." - Jenny Muncaster
How to paint blossom on wood
Your step by step guide
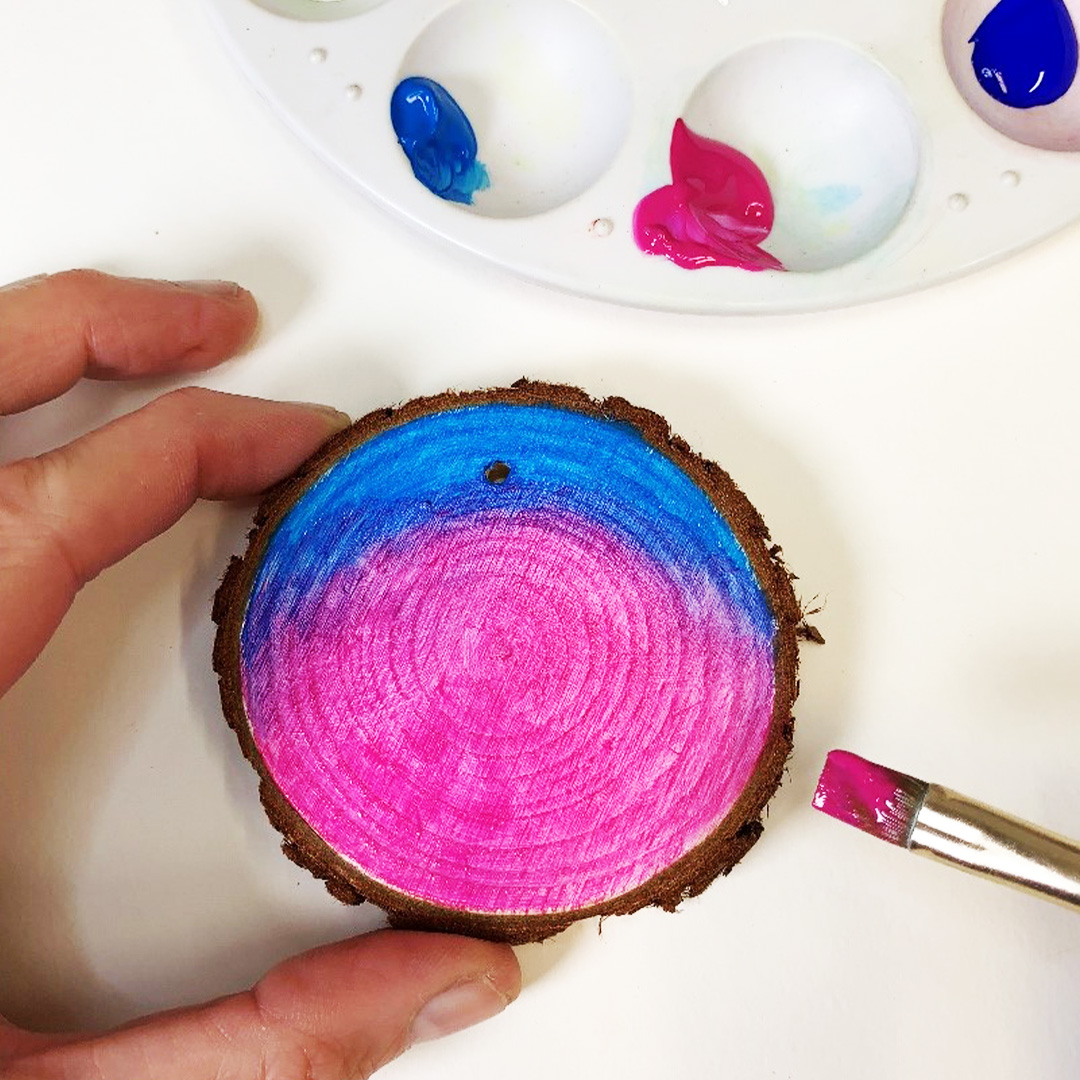
Using the flat wash brush begin by painting approximately ¾ of the wood slice with magenta paint in an arc leaving the top free. Fill the uppermost section in with light blue and blend this into the magenta while the paint is still wet to create the sky.
TIP: First give your wood slice a thin coat of white paint before starting your picture. This acts as a primer and helps to keep your colours bright. When this is dry squeeze a little of each of the paint colours out onto your plate; magenta, light blue, ultramarine, scarlet, white and black. Have some water handy for cleaning your brush in between painting and a separate cup of water for blending the white paint from the acrylic paint marker.
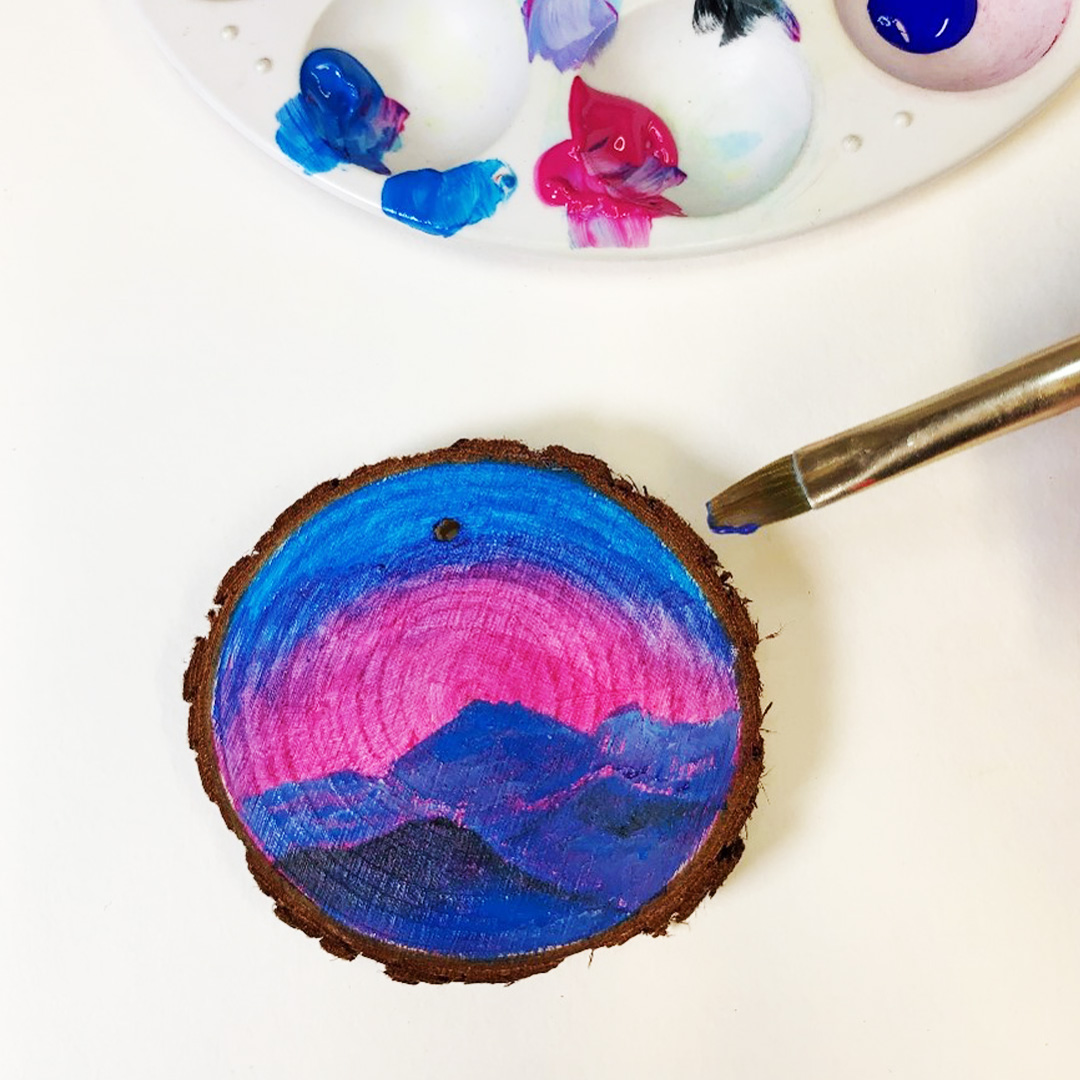
Block in the mountains with the flat wash brush using light blue and ultramarine. Create about 5 or 6 mountain shapes. Use a little black to darken the tops of the nearest mountains to suggest distance.
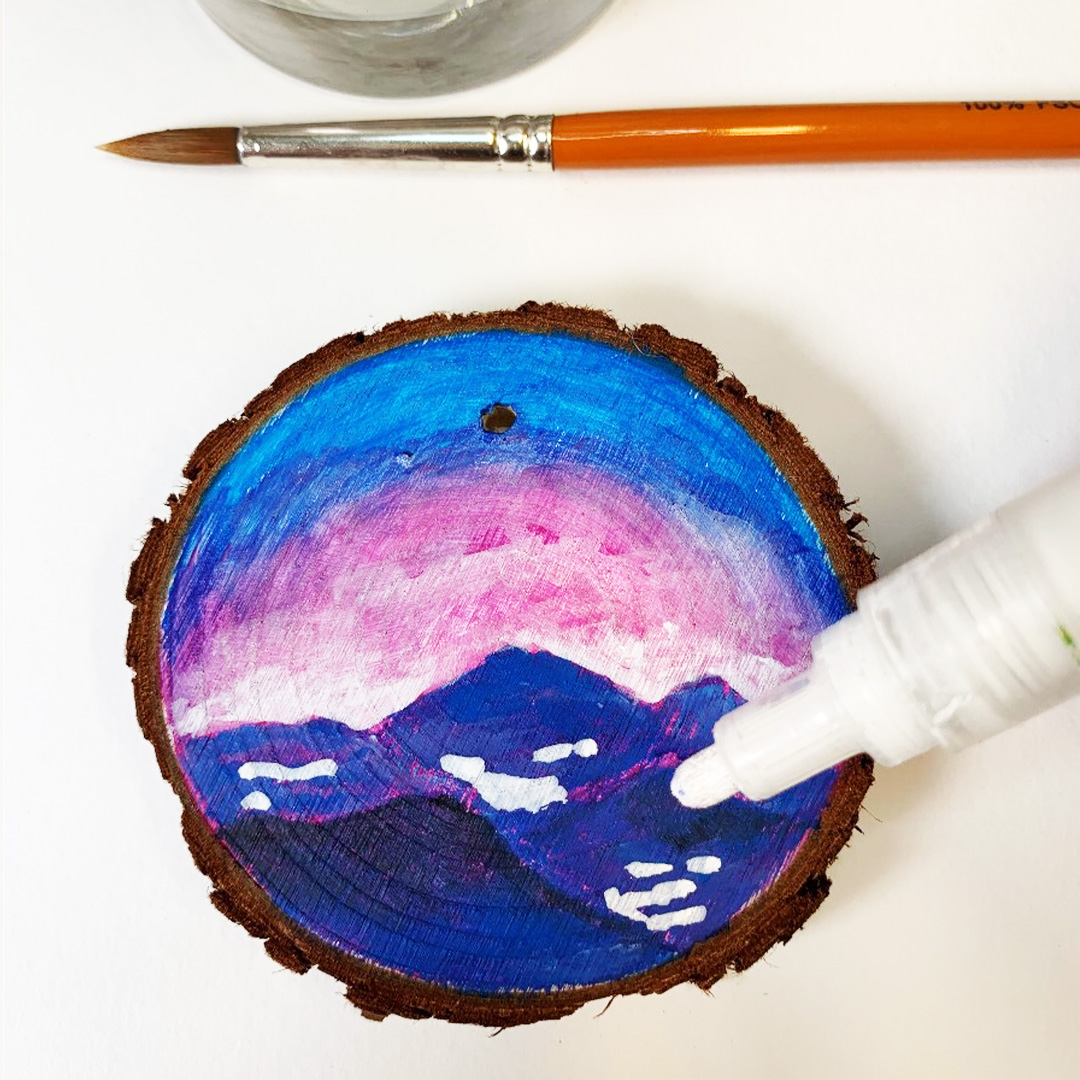
When dry use the white acrylic paint marker to outline the tops of the mountains where they meet the sky. Use the round brush dipped in a little clean water to blend the white paint from the marker pen up into the sky. This will soften it and give the effect of early morning light. Repeat this technique at the base of the mountains for clouds and mist. Add some thin washes of colour over the top for extra depth.
When dry use the white acrylic paint marker to outline the tops of the mountains where they meet the sky. Use the round brush dipped in a little clean water to blend the white paint from the marker pen up into the sky. This will soften it and give the effect of early morning light. Repeat this technique at the base of the mountains for clouds and mist. Add some thin washes of colour over the top for extra depth.
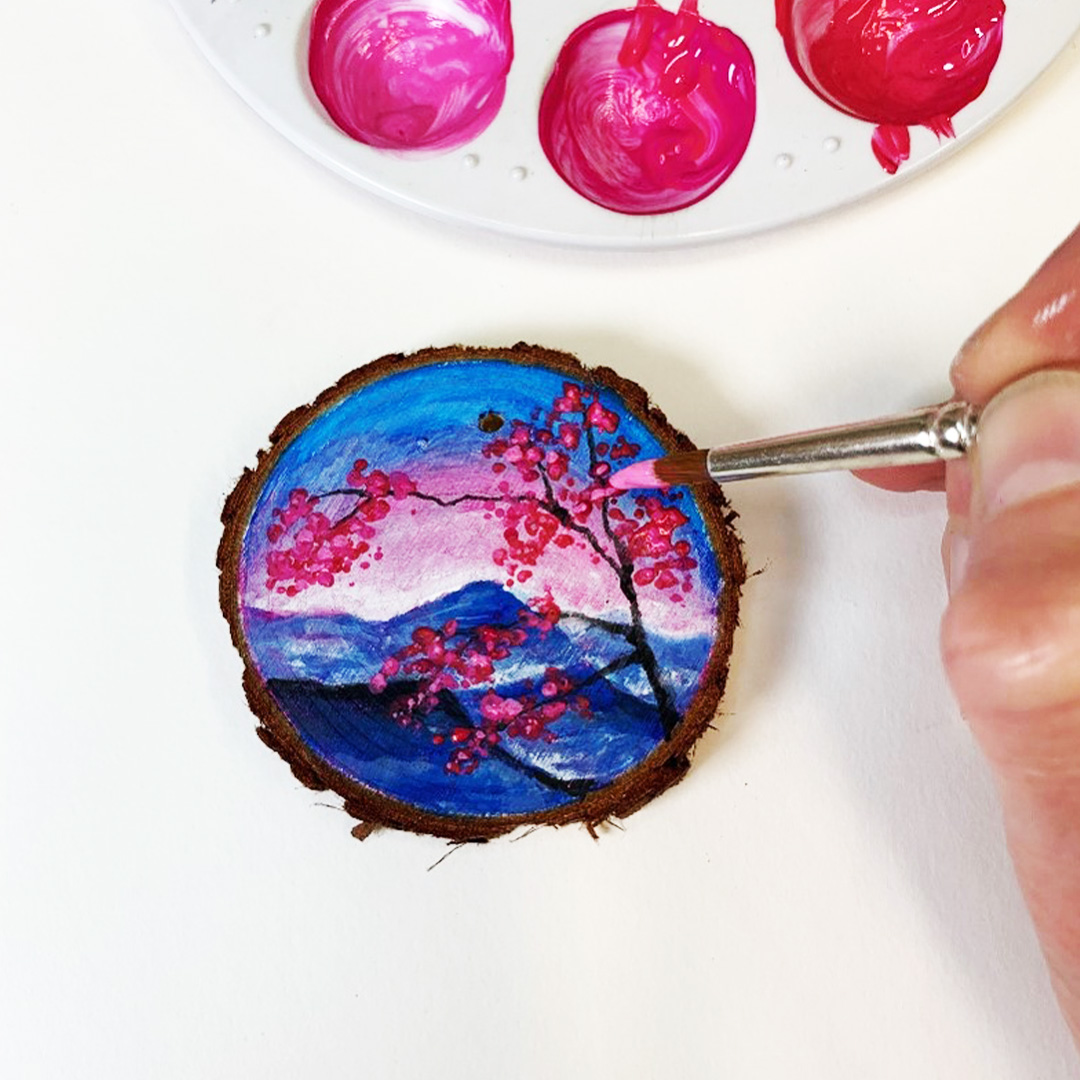
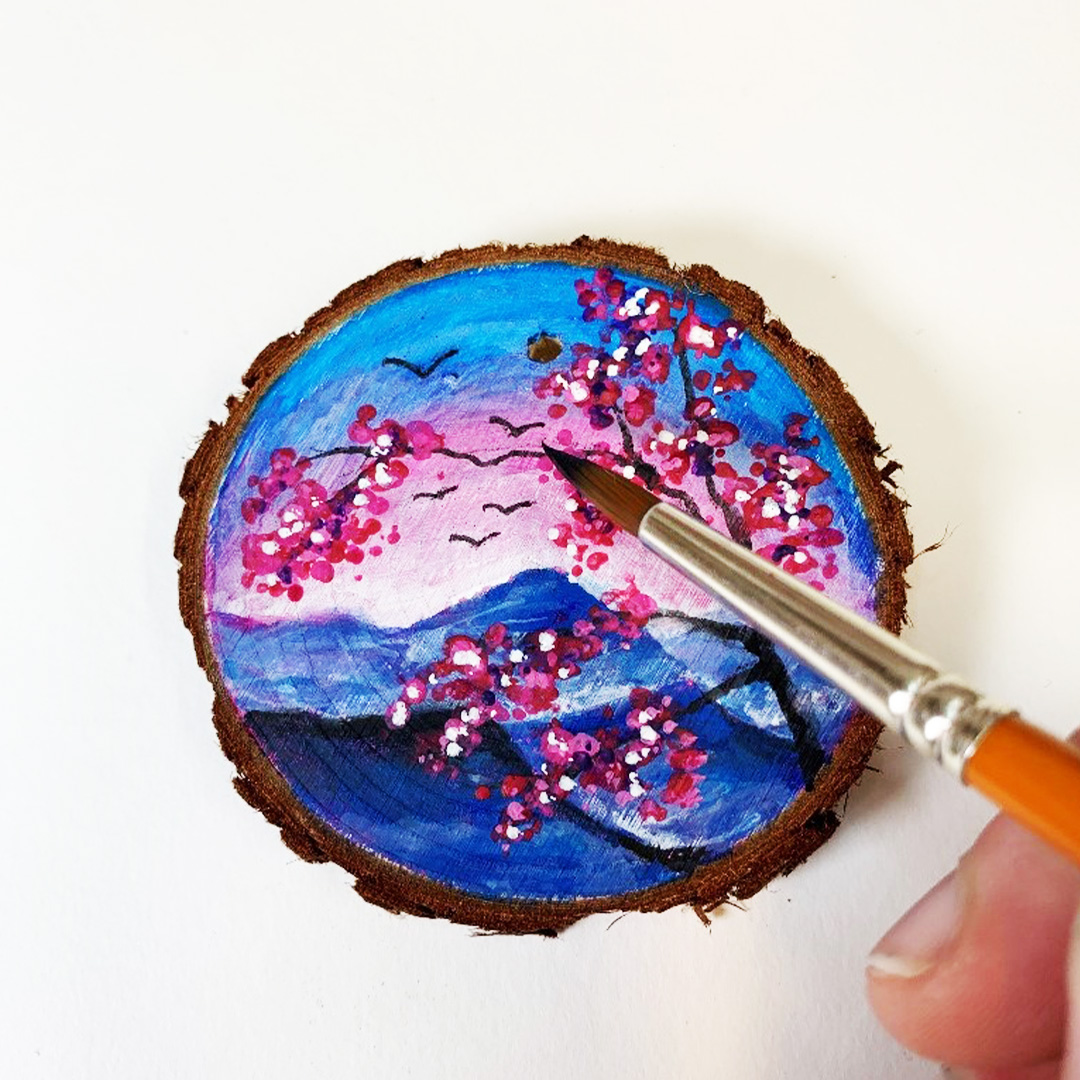
Mix some water with the black paint enough to create a fluid consistency for painting some finer detail. Using the round brush paint a tree with branches bending across the landscape. Mix up a few separate variations of pink for the blossom, experimenting with mixing different shades of magenta with white, scarlet and a little ultramarine. Paint the blossom on the tree using the tip of the round brush to create tiny petals in various colours.
Mix some water with the black paint enough to create a fluid consistency for painting some finer detail. Using the round brush paint a tree with branches bending across the landscape. Mix up a few separate variations of pink for the blossom, experimenting with mixing different shades of magenta with white, scarlet and a little ultramarine. Paint the blossom on the tree using the tip of the round brush to create tiny petals in various colours.
Finish the effect of the blossom by adding a few tiny dots for highlights using the white acrylic paint marker.
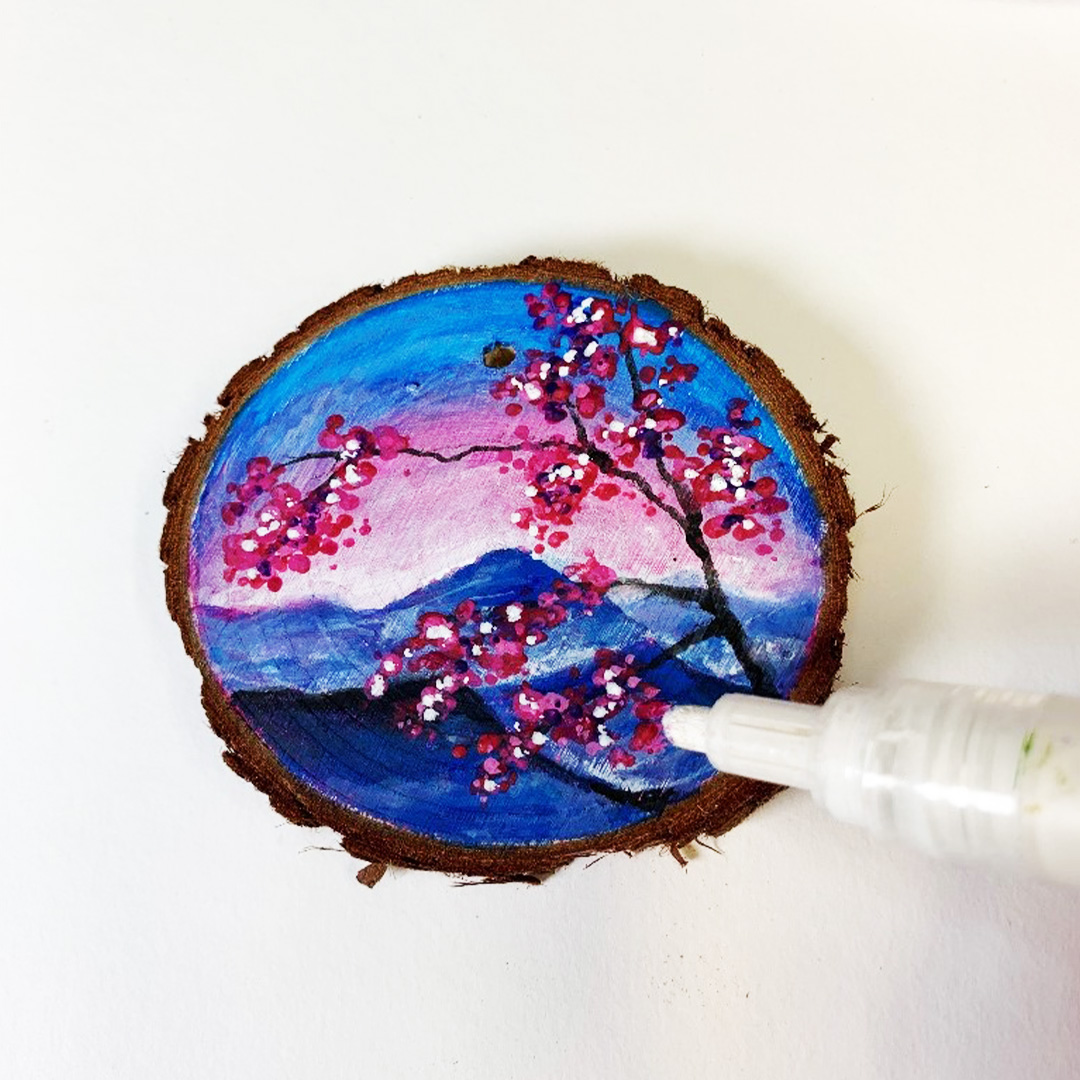
Finally, paint a few birds in the sky using the tip of the round brush and some black paint.
Your step by step guide
Using the flat wash brush begin by painting approximately ¾ of the wood slice with magenta paint in an arc leaving the top free. Fill the uppermost section in with light blue and blend this into the magenta while the paint is still wet to create the sky.
TIP: First give your wood slice a thin coat of white paint before starting your picture. This acts as a primer and helps to keep your colours bright. When this is dry squeeze a little of each of the paint colours out onto your plate; magenta, light blue, ultramarine, scarlet, white and black. Have some water handy for cleaning your brush in between painting and a separate cup of water for blending the white paint from the acrylic paint marker.
Block in the mountains with the flat wash brush using light blue and ultramarine. Create about 5 or 6 mountain shapes. Use a little black to darken the tops of the nearest mountains to suggest distance.
When dry use the white acrylic paint marker to outline the tops of the mountains where they meet the sky. Use the round brush dipped in a little clean water to blend the white paint from the marker pen up into the sky. This will soften it and give the effect of early morning light. Repeat this technique at the base of the mountains for clouds and mist. Add some thin washes of colour over the top for extra depth.
When dry use the white acrylic paint marker to outline the tops of the mountains where they meet the sky. Use the round brush dipped in a little clean water to blend the white paint from the marker pen up into the sky. This will soften it and give the effect of early morning light. Repeat this technique at the base of the mountains for clouds and mist. Add some thin washes of colour over the top for extra depth.
Mix some water with the black paint enough to create a fluid consistency for painting some finer detail. Using the round brush paint a tree with branches bending across the landscape. Mix up a few separate variations of pink for the blossom, experimenting with mixing different shades of magenta with white, scarlet and a little ultramarine. Paint the blossom on the tree using the tip of the round brush to create tiny petals in various colours.
Mix some water with the black paint enough to create a fluid consistency for painting some finer detail. Using the round brush paint a tree with branches bending across the landscape. Mix up a few separate variations of pink for the blossom, experimenting with mixing different shades of magenta with white, scarlet and a little ultramarine. Paint the blossom on the tree using the tip of the round brush to create tiny petals in various colours.
Finish the effect of the blossom by adding a few tiny dots for highlights using the white acrylic paint marker.
Finally, paint a few birds in the sky using the tip of the round brush and some black paint.
What you'll need

Simply Creative Sets
Daler-Rowney Simply Creative Sets are a range of project-based sets that offer inspiration and creativity.
VIEWHow to paint a river on wood
Your step by step guide
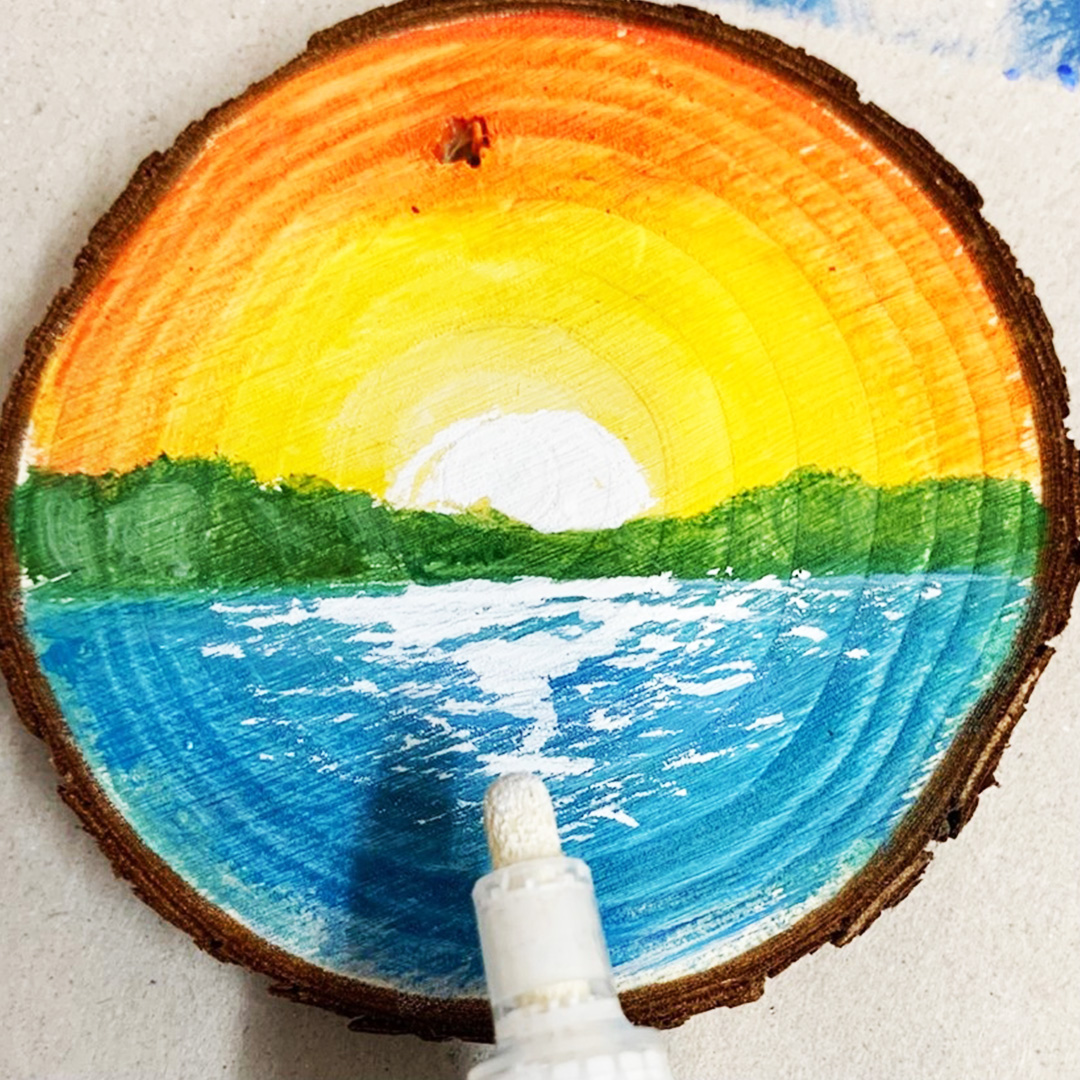
Prime your wood slice to keep your colours bright.
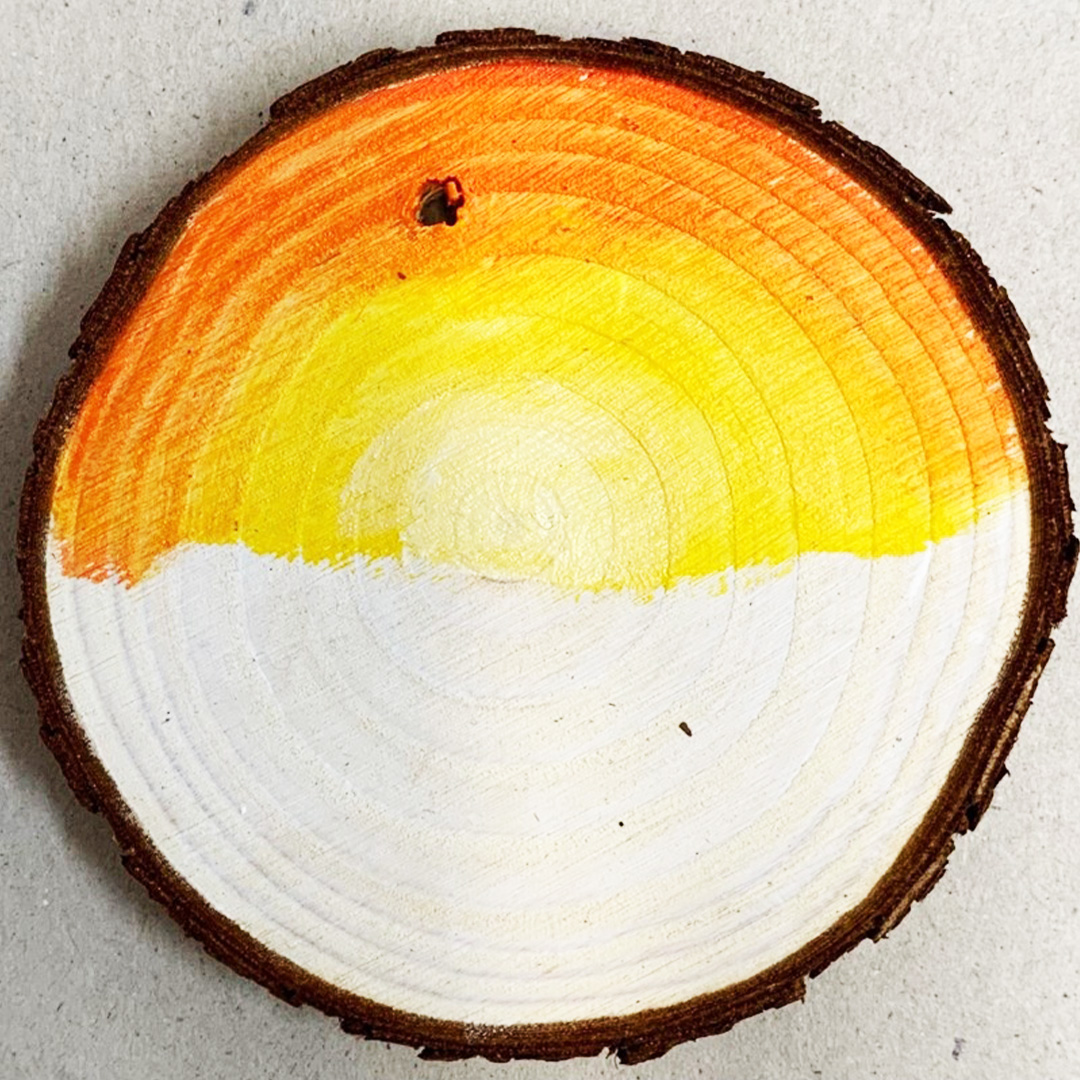
Using the flat wash brush begin by painting approximately 1/2 of the wood slice in yellow paint and blend the yellow into the scarlet top to create a sunrise effect.
Paint the tree lining by shading dark green and paint the river light blue and white.
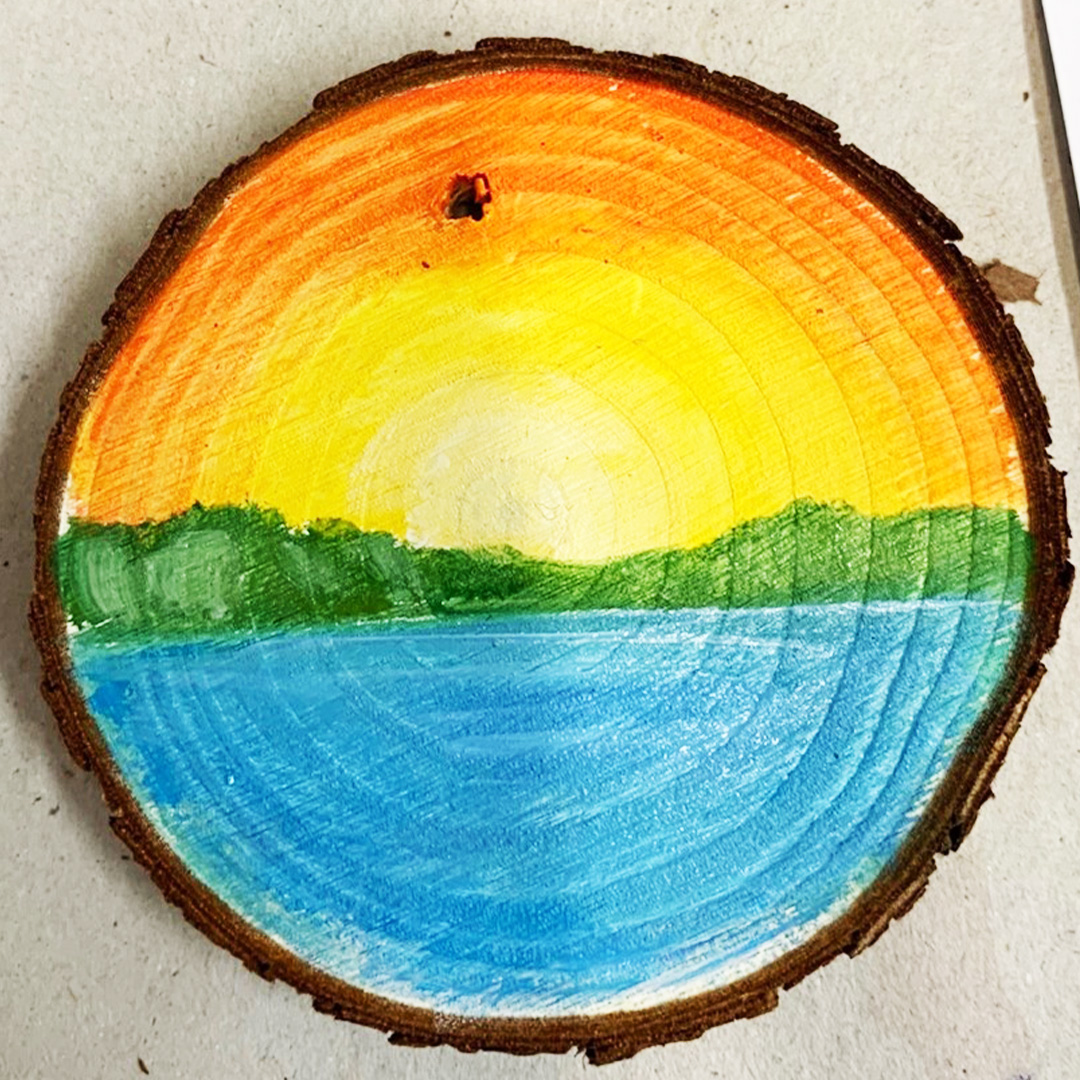
Use the white pen in the middle to create a semi-circle for the sunrise and add some reflection on the water.
Mix up an orange to create a background for adding details. Now mix a little scarlet into the dark green for painting in the rushes and grasses around the riverbank.
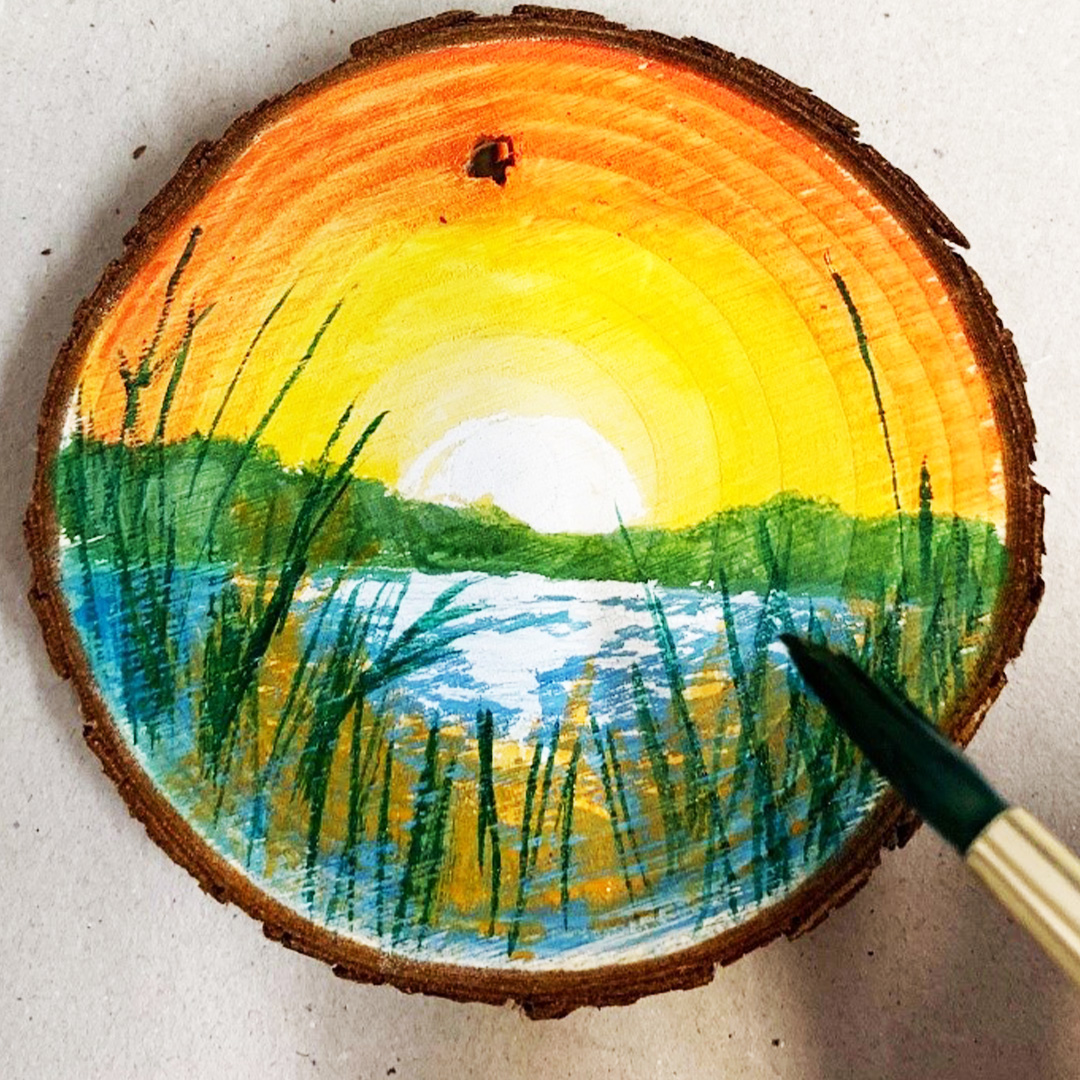
Carry on with lighter vertical upward strokes with the brush, building up the effect of soft grasses blowing in the wind.

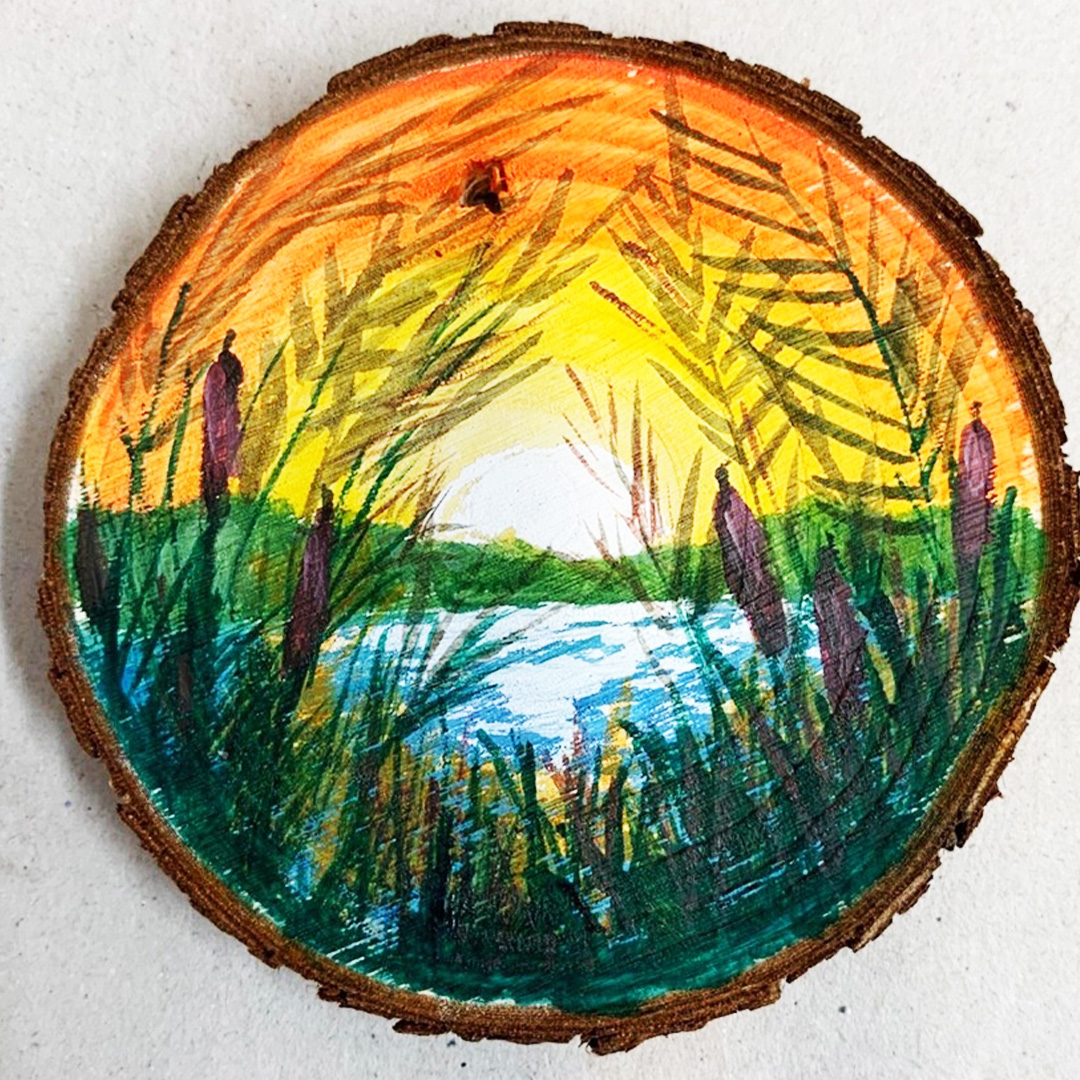
Paint in some bulrushes, add highlights with white and add a few more grasses using the same technique.
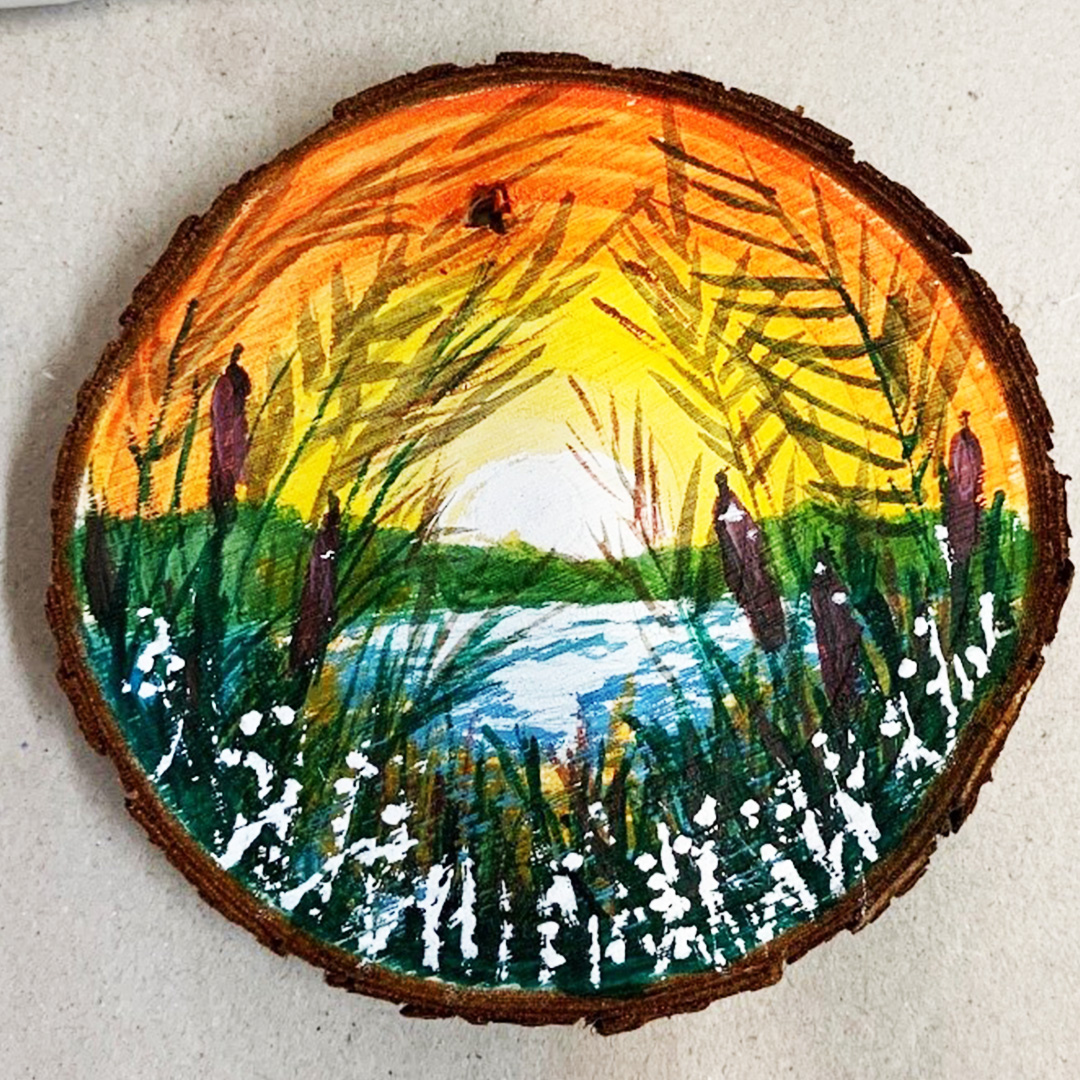
Using the white pen create tiny vertical lines for shimmering riverbank grasses.
Your step by step guide
Prime your wood slice to keep your colours bright.
Using the flat wash brush begin by painting approximately 1/2 of the wood slice in yellow paint and blend the yellow into the scarlet top to create a sunrise effect.
Paint the tree lining by shading dark green and paint the river light blue and white.
Use the white pen in the middle to create a semi-circle for the sunrise and add some reflection on the water.
Mix up an orange to create a background for adding details. Now mix a little scarlet into the dark green for painting in the rushes and grasses around the riverbank.
Carry on with lighter vertical upward strokes with the brush, building up the effect of soft grasses blowing in the wind.
Paint in some bulrushes, add highlights with white and add a few more grasses using the same technique.
Using the white pen create tiny vertical lines for shimmering riverbank grasses.
What you'll need
Simply Creative Sets
Daler-Rowney Simply Creative Sets are a range of project-based sets that offer inspiration and creativity.
VIEWHow to paint a tropical scene on wood
Your step by step guide
Prime your wood slice to keep your colours bright.
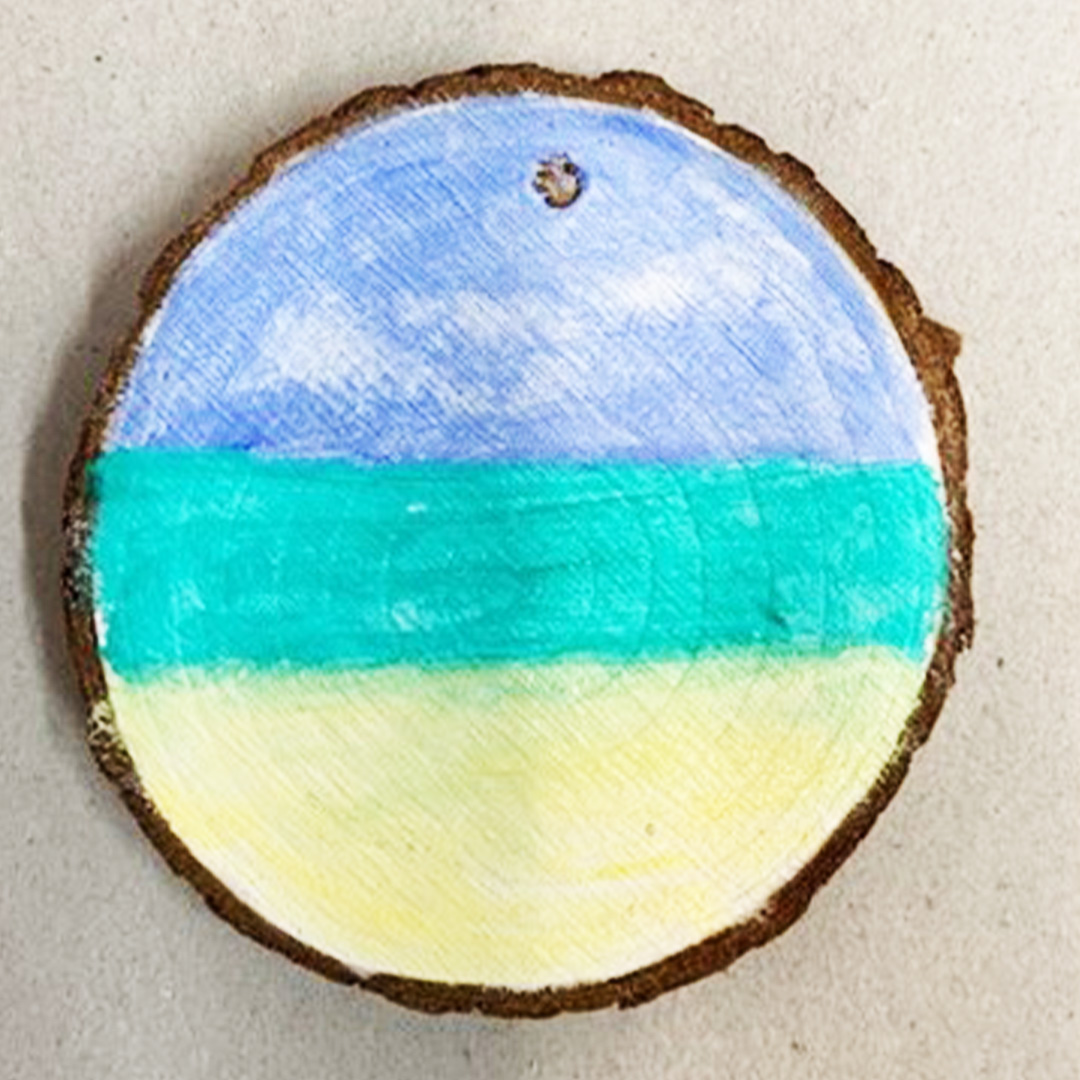
Design your background in 3 parts blue, turquoise and yellow to start with your beach scene.
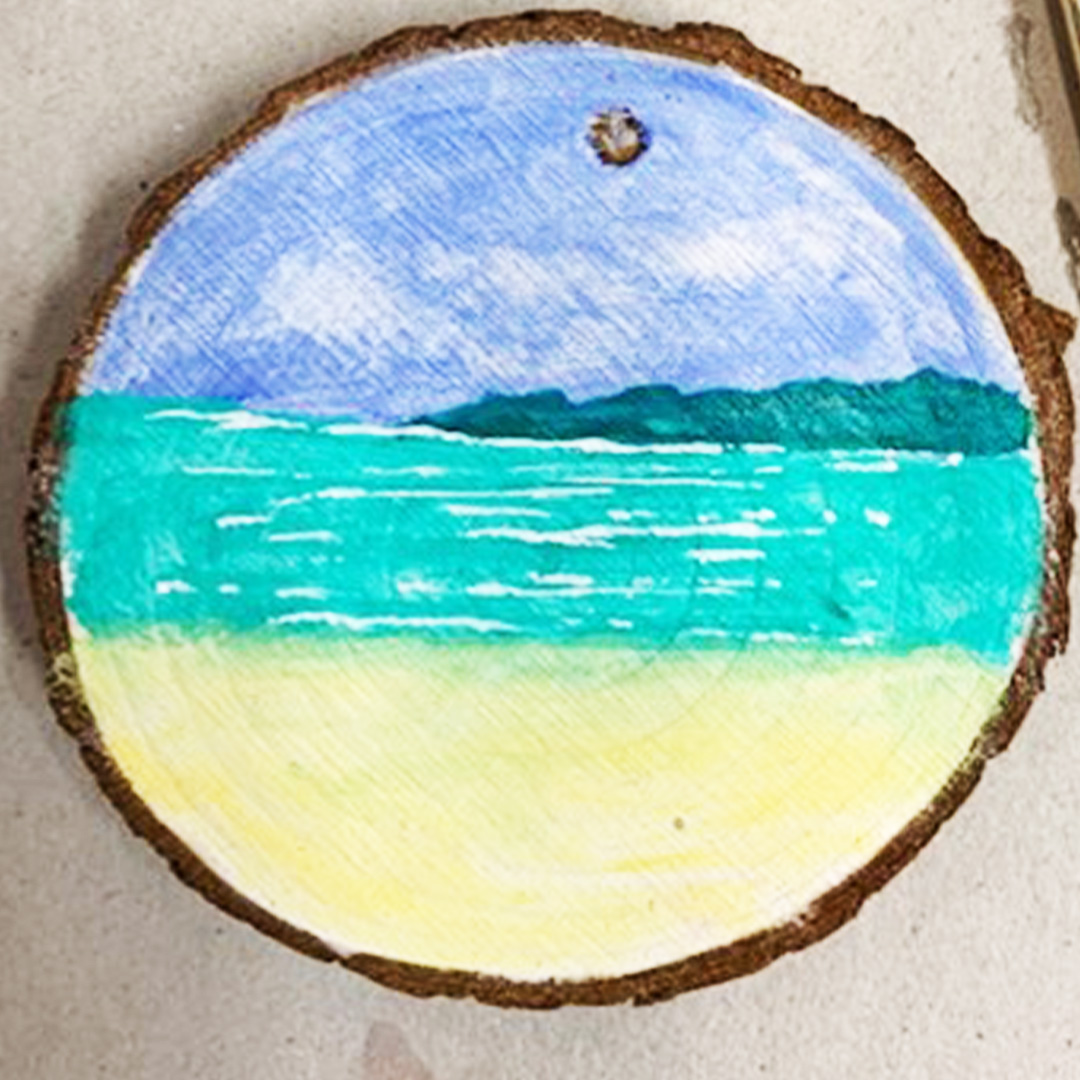
Put in the island using the no 5 brush with a mix of dark green and white. Use the white acrylic marker to suggest waves.
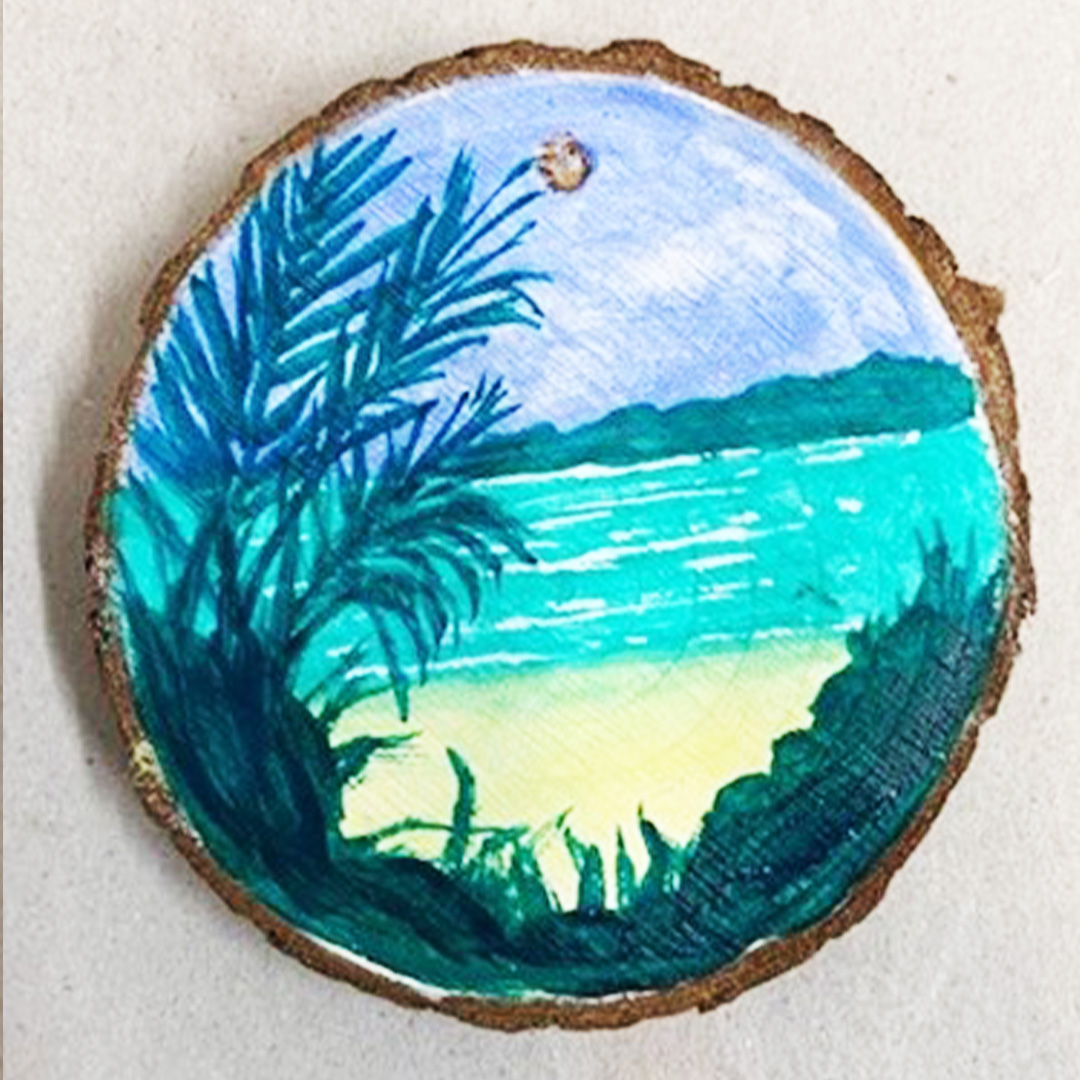
Mix up a darker green with ultramarine and paint in the foreground foliage and some palms.
Paint in some large banana leaves in shades of green to give it a tropical feel. Try varying shades of green by adding more white and yellow for lighter tones and dark green for darker tones.
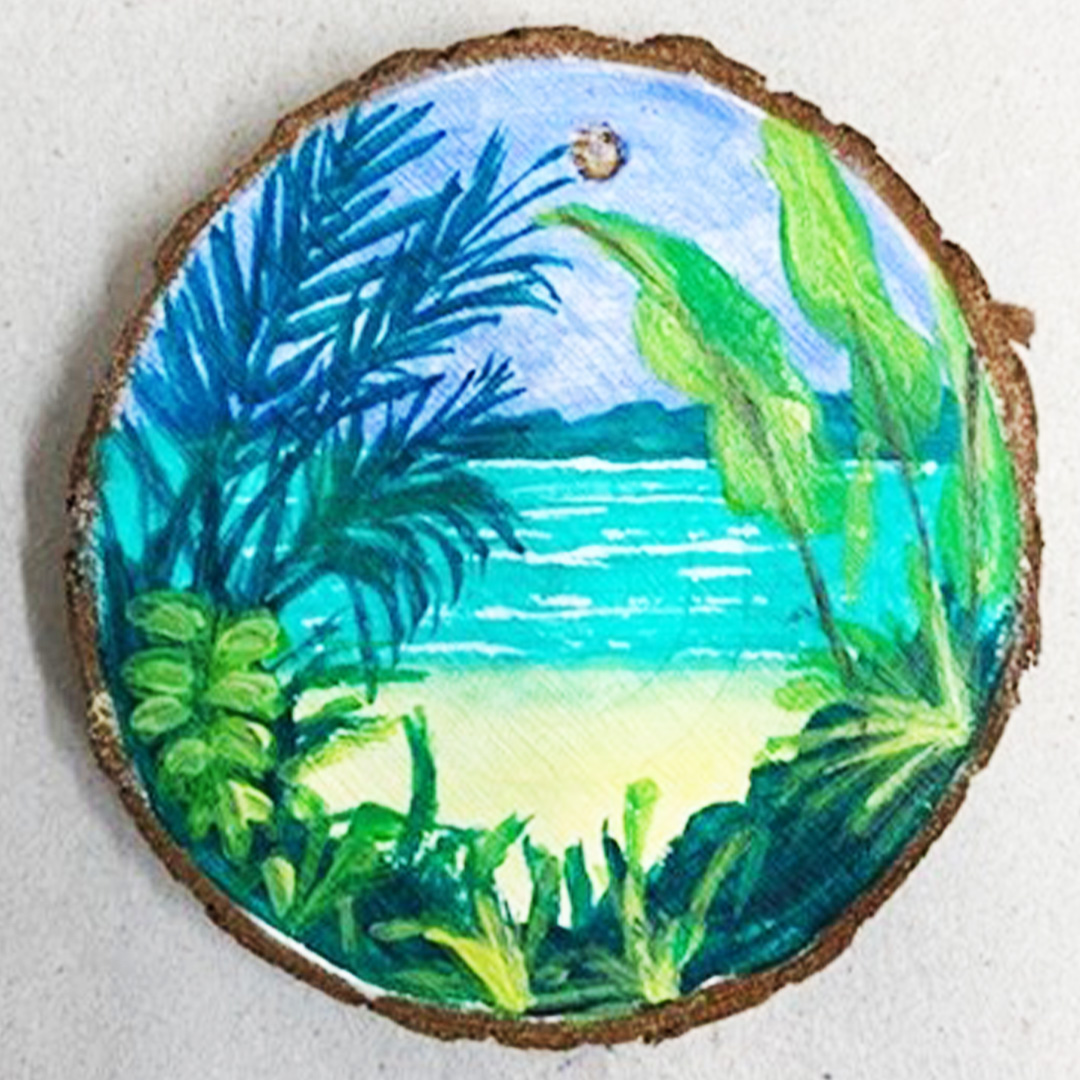
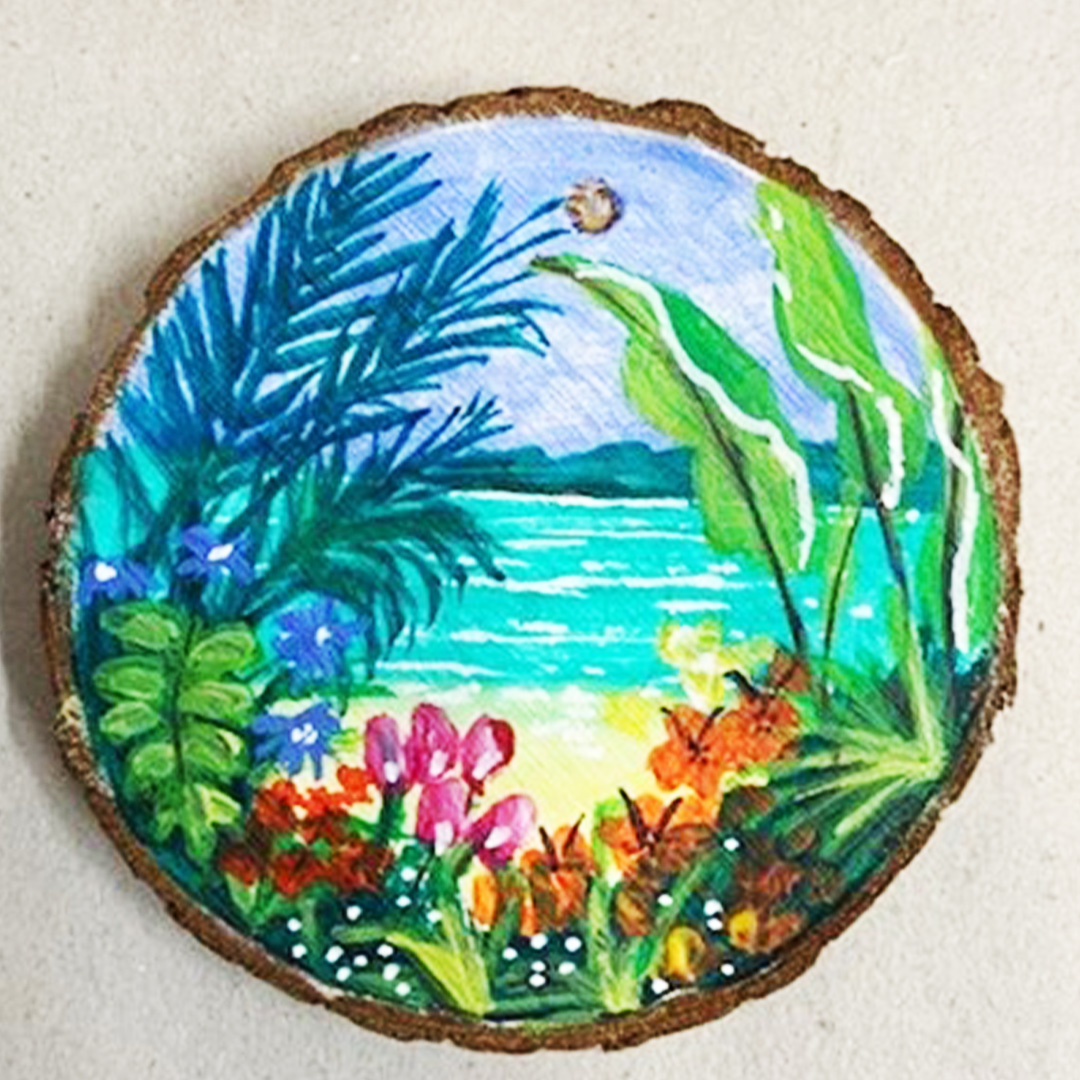
Using lots of bright colours to paint various flowers. This will bring your painting to life and add a burst of colour.
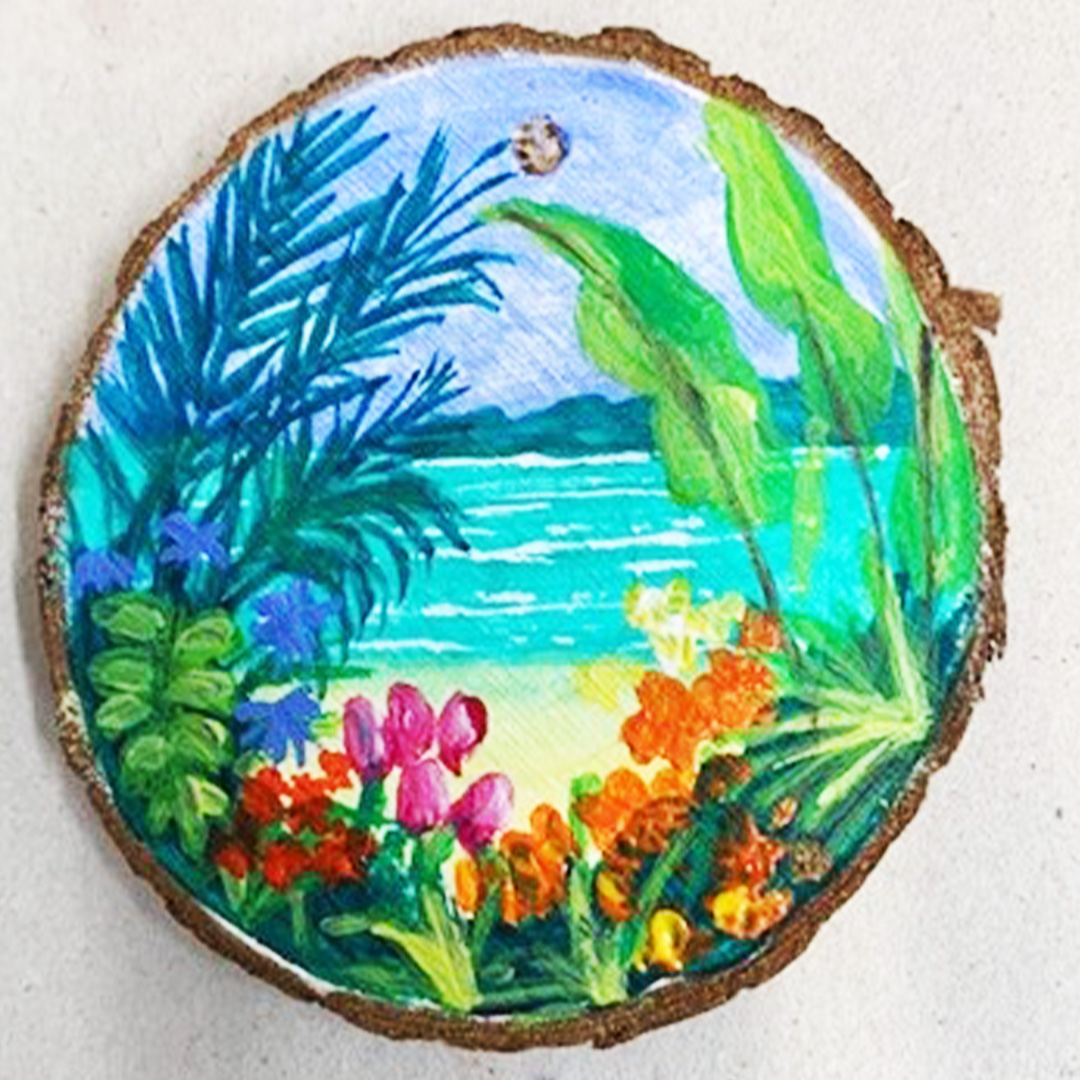
Use the white pen to add highlights to the leaves and create tiny flowers.
Your step by step guide
Prime your wood slice to keep your colours bright.
Design your background in 3 parts blue, turquoise and yellow to start with your beach scene.
Put in the island using the no 5 brush with a mix of dark green and white. Use the white acrylic marker to suggest waves.
Mix up a darker green with ultramarine and paint in the foreground foliage and some palms.
Paint in some large banana leaves in shades of green to give it a tropical feel. Try varying shades of green by adding more white and yellow for lighter tones and dark green for darker tones.
Using lots of bright colours to paint various flowers. This will bring your painting to life and add a burst of colour.
Use the white pen to add highlights to the leaves and create tiny flowers.
What you'll need
Simply Creative Sets
Daler-Rowney Simply Creative Sets are a range of project-based sets that offer inspiration and creativity.
VIEWAbout the artist