#simplycreate Still Life Painting
How to Paint a Still Life with Gouache
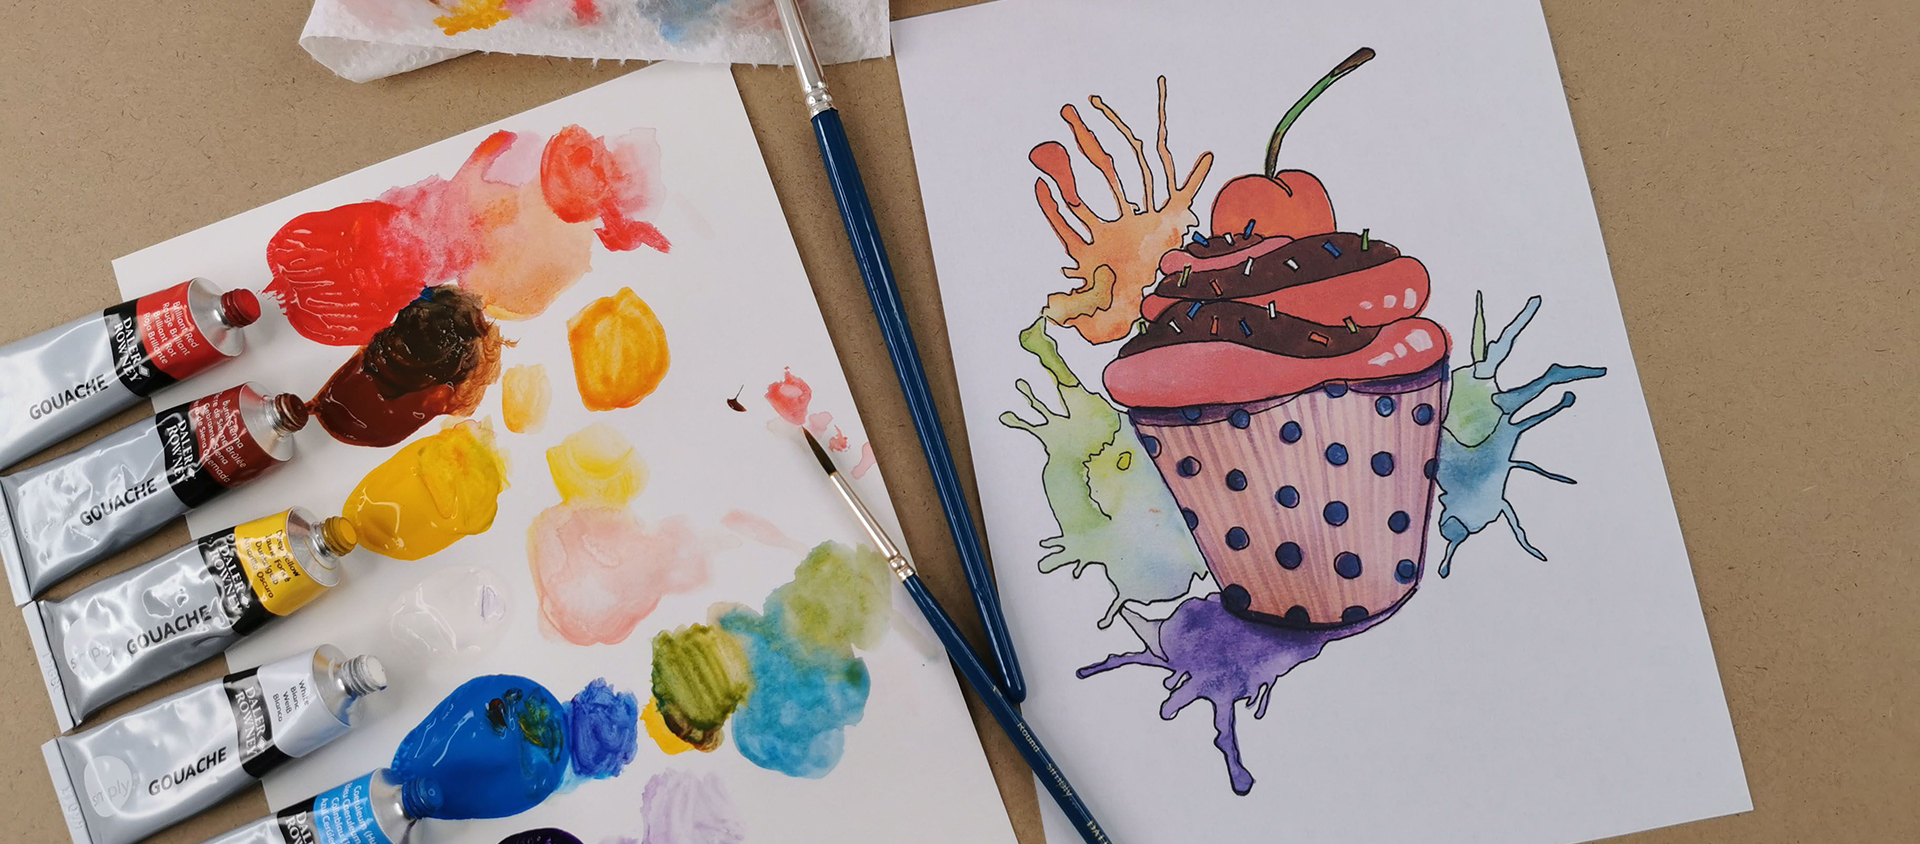
Learn how to use opaque watercolour gouache paints with the Still Life Painting activity set that comes with the template, paint brushes and gouache paint you need to create a cute cupcake! This step-by-step guide has been created by Daler-Rowney artist Amylee Paris, and is easy for beginners to follow to explore gouache paint!
How to Paint a Still Life with Gouache
Learn how to use opaque watercolour gouache paints with the Still Life Painting activity set that comes with the template, paint brushes and gouache paint you need to create a cute cupcake! This step-by-step guide has been created by Daler-Rowney artist Amylee Paris, and is easy for beginners to follow to explore gouache paint!
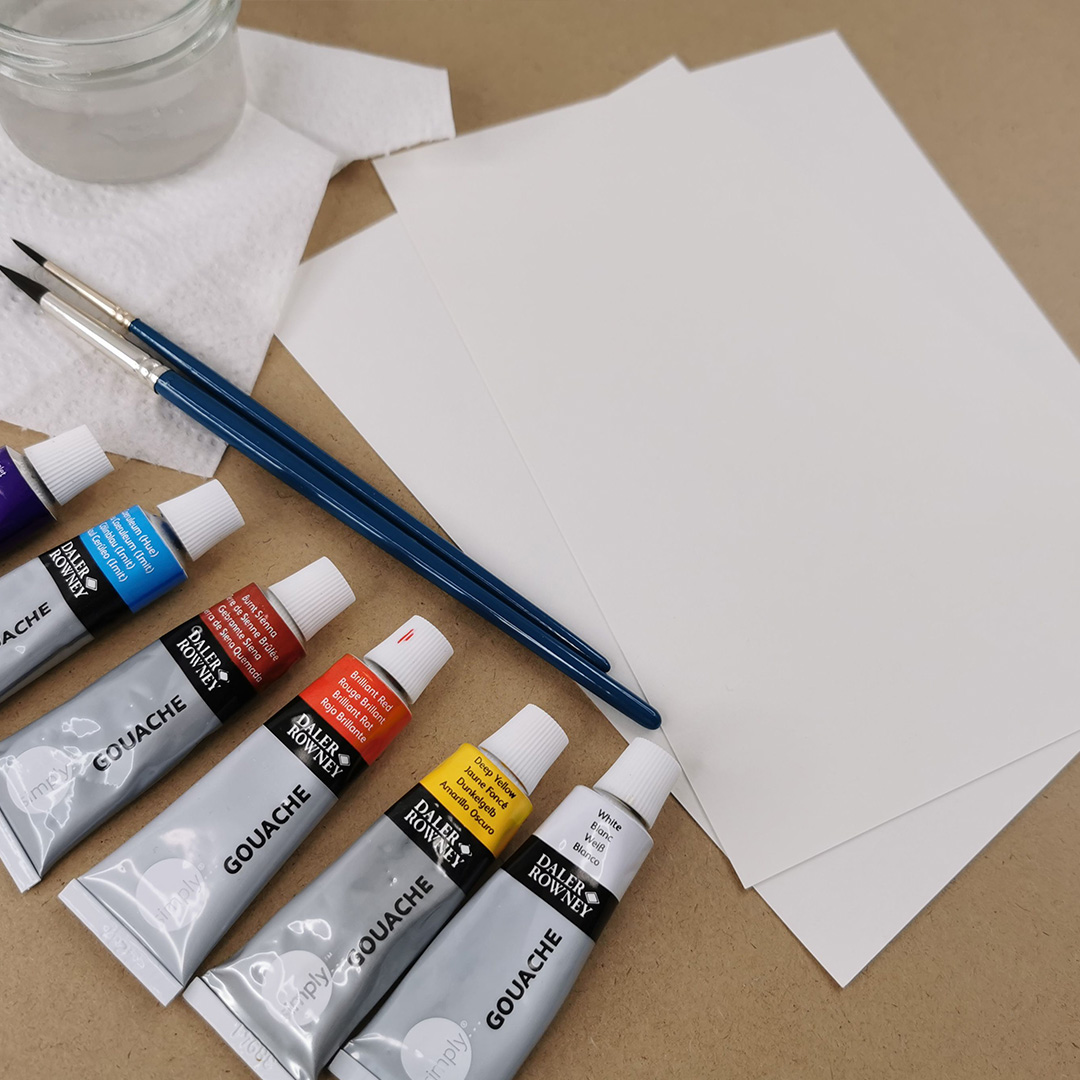
The materials in your kit
6 x 12ml tubes of Simply Gouache Paint (Burnt Sienna, White, Deep Yellow, Coeruleum, Primary Red, Purple)
2 x Watercolour Round Brushes
3 x Preprinted Cup Cake design watercolour paper sheets
1 x Colour Mixing Guide
Please add
1 x Glass of Water
1 x Kitchen Roll
1 x Artist's Palette
Your step by step guide

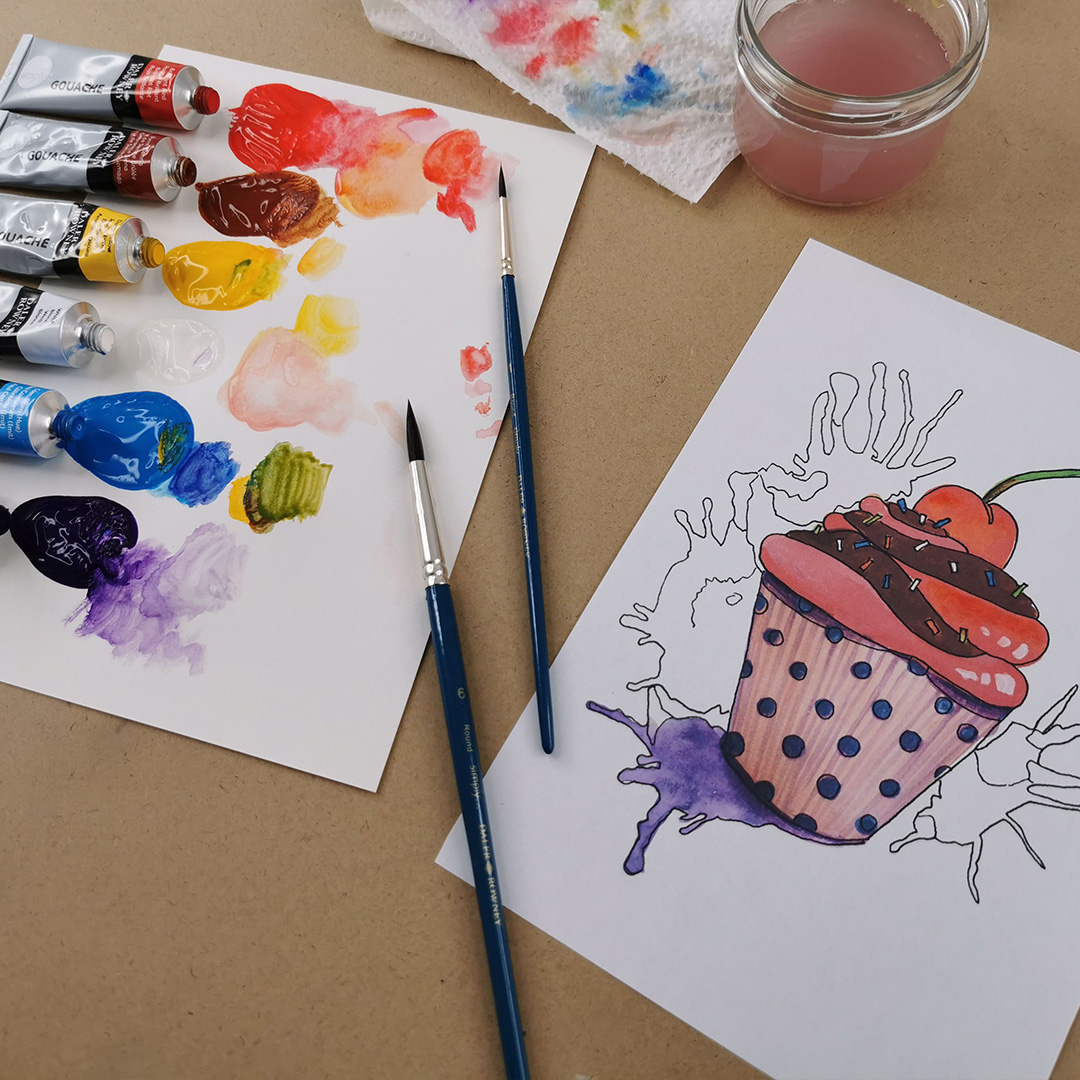
Mix Yellow, White and Red to get a pale Pink. Then paint the Pink within the lines on the cupcake box, avoiding the polka dot pattern.
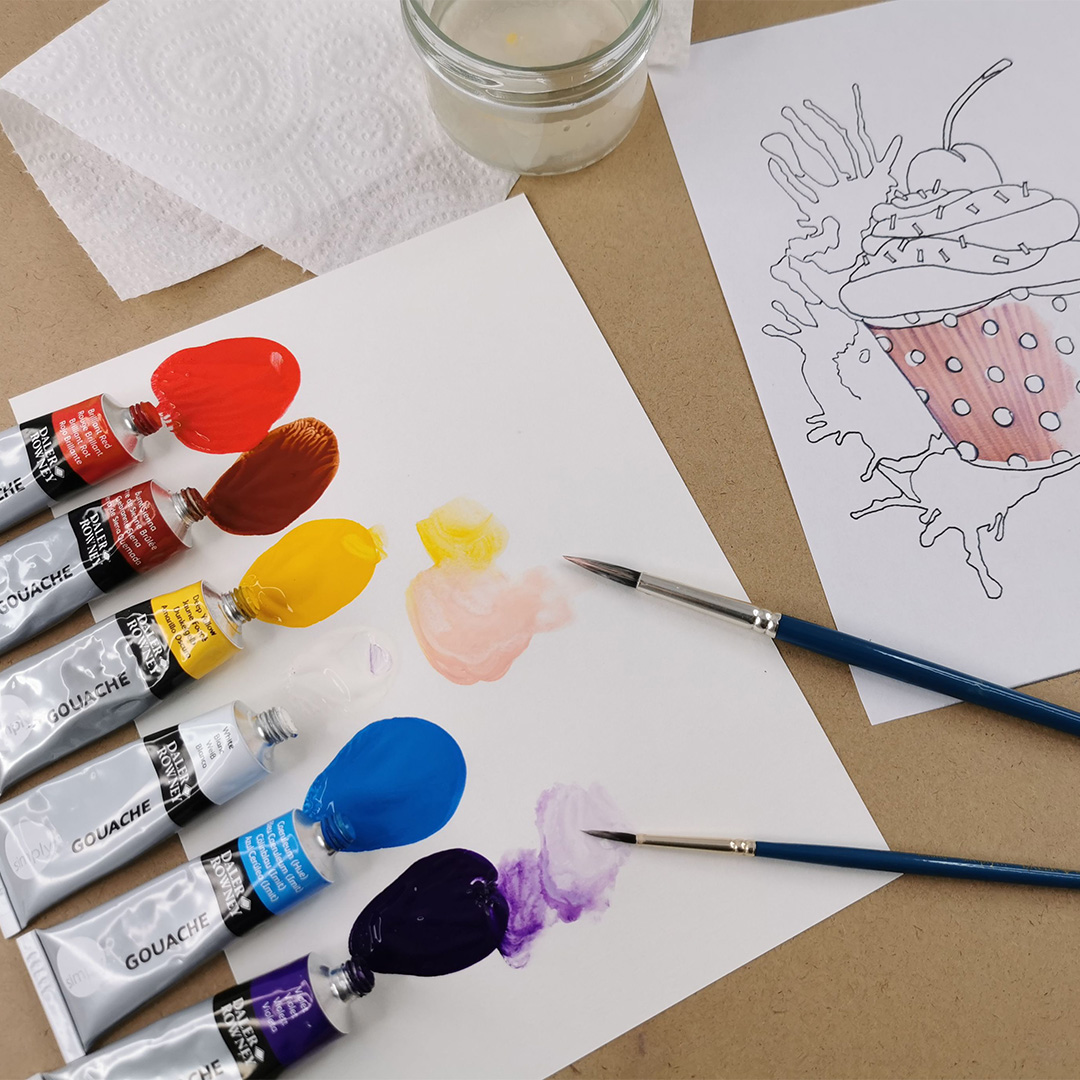
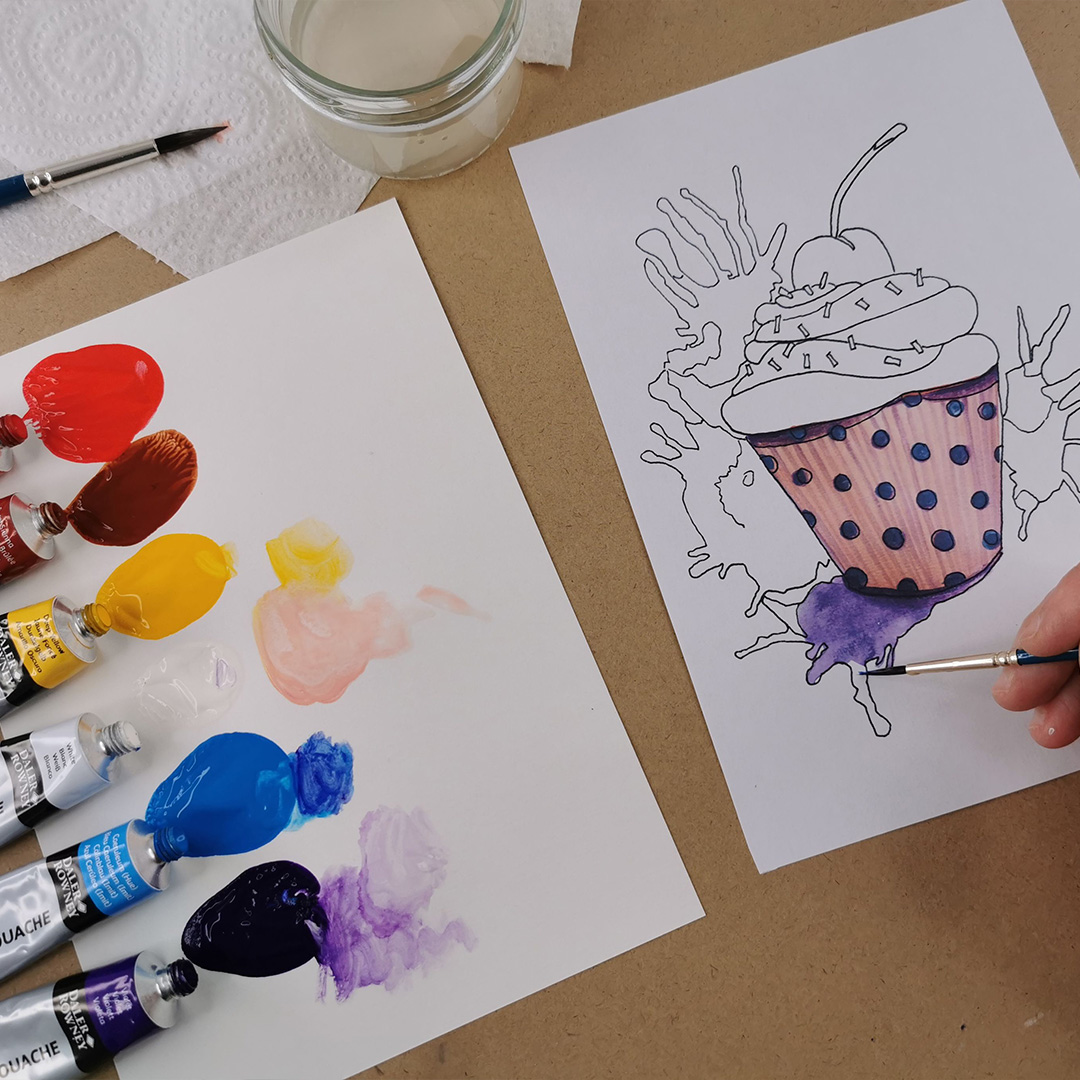
Use Purple to paint the polka dots and shadows of the Cupcake. Then mix the Purple with a small amount of White to get a lighter purple that will be used to create the lines of the cupcake case and the purple splash.
Tip: wash the brush well with each colour change.
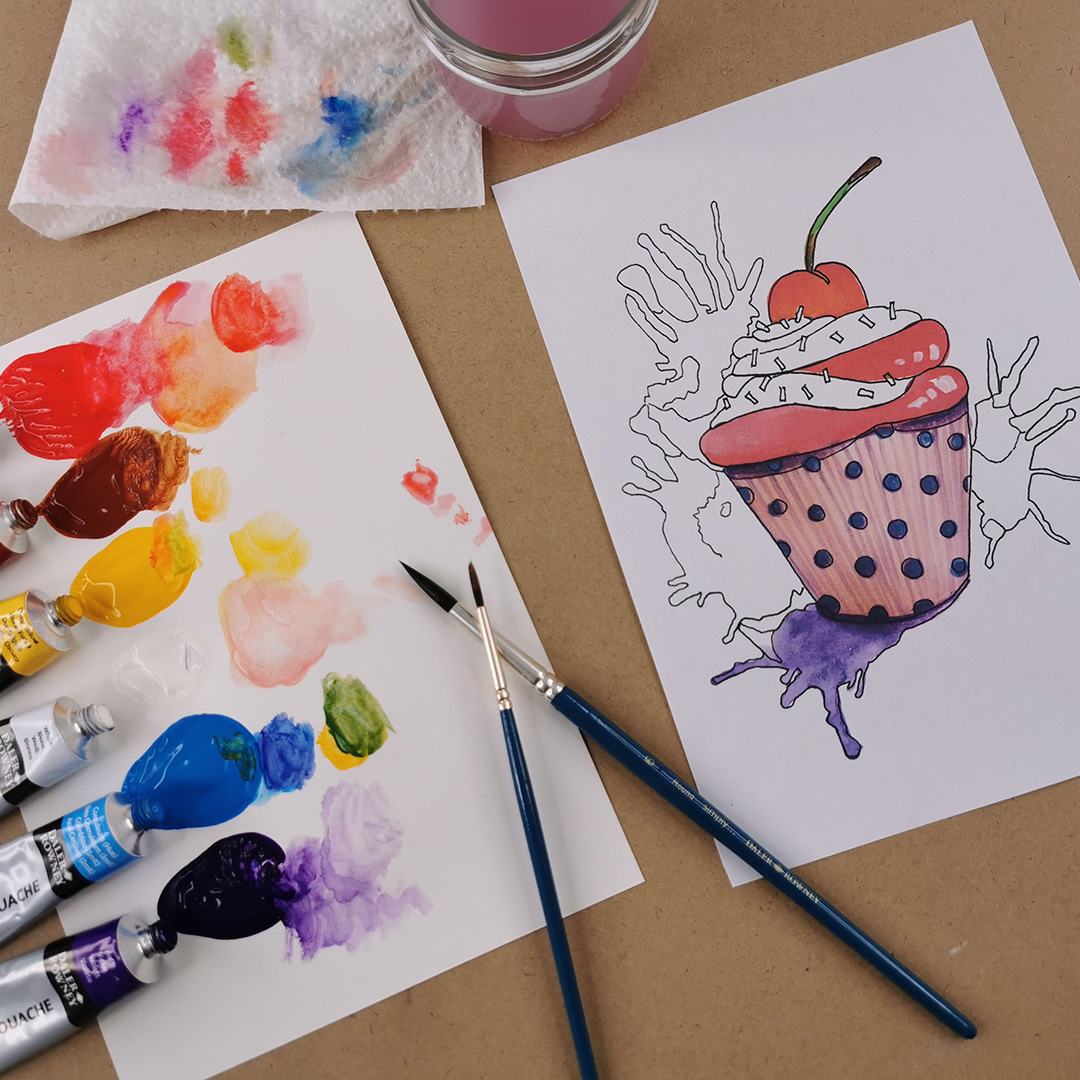
Use the Red paint to tint the cupcake toppings. Mix the lighter Red with a small amount of white to create the cherry-coloured cream. Mix a small amount of Yellow with the lighter Red to paint the cherry on top to make it more vibrant. Add 3 touches of White on the side of the cream to give a shine effect. To paint the stork, mix a very small amount of Blue and Yellow to create a Green colour. Add some Burnt Sienna to the ends of the Green to finish the stork of the cherry.
Use the Red paint to tint the cupcake toppings. Mix the lighter Red with a small amount of white to create the cherry-coloured cream. Mix a small amount of Yellow with the lighter Red to paint the cherry on top to make it more vibrant. Add 3 touches of White on the side of the cream to give a shine effect. To paint the stork, mix a very small amount of Blue and Yellow to create a Green colour. Add some Burnt Sienna to the ends of the Green to finish the stork of the cherry.
With the undiluted Sienna Burnt, apply several layers generously to make dark chocolate icing. Use the fine tip brush to paint the multicoloured sprinklers. Use multiple colours to paint the sprinkles to create a colourful cupcake.
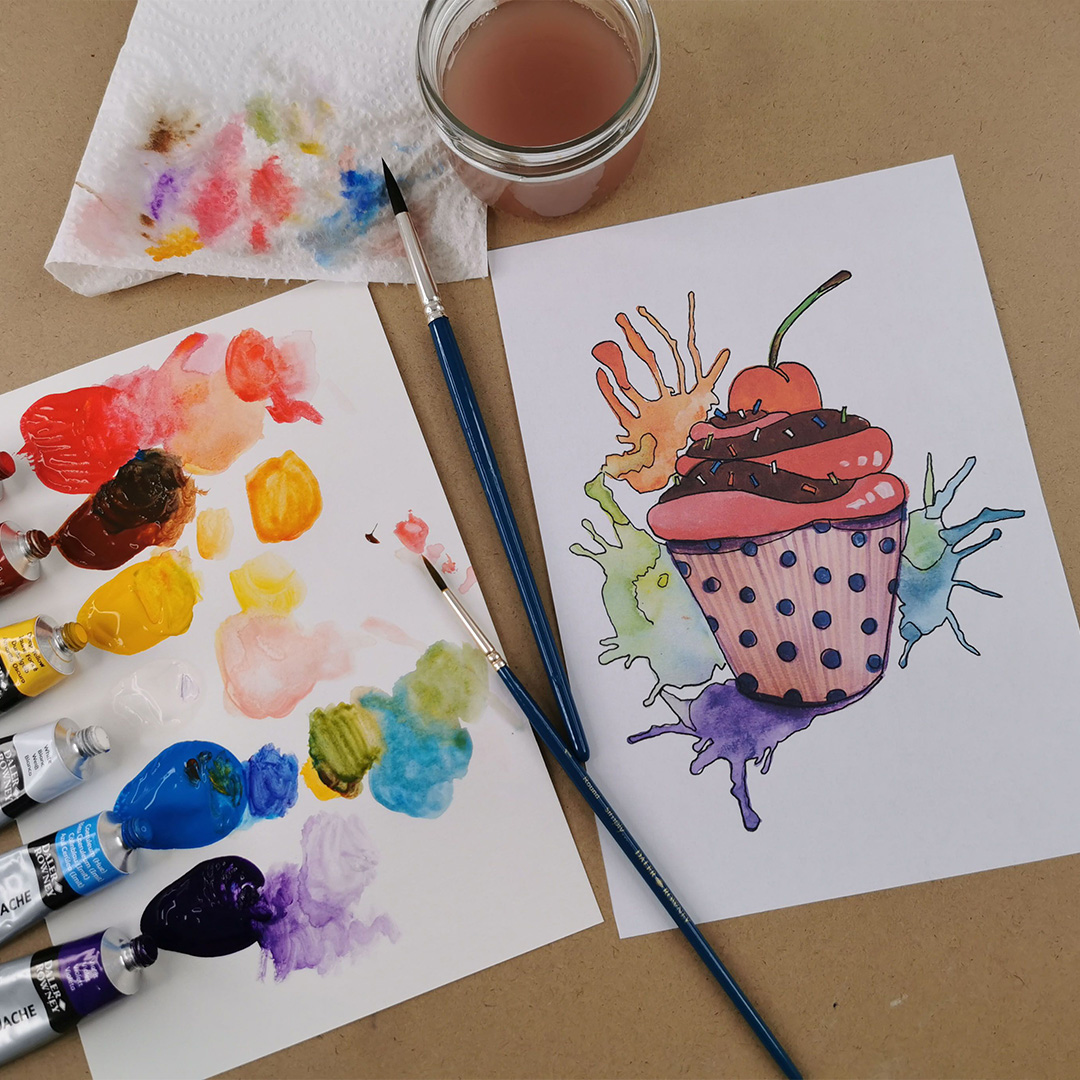
This is the last step of the painting to finalise your cupcake. To create watercolour effects with paint splashes, two options are available to you: either add White to your mixtures of colours or dilute your mixtures with water. To create light Greens, you need a tiny bit of Deep Yellow mixed with Blue. To create Oranges, you need to combine Red with Yellow. You can also experiment with mixing paints and create your own colours by following the Colour Mixing Guide included within the kit.
Tip: the Deep Yellow is a very powerful Yellow, so it's a good idea to dilute it by adding water or White to create a less bright Yellow.
Your step by step guide
Mix Yellow, White and Red to get a pale Pink. Then paint the Pink within the lines on the cupcake box, avoiding the polka dot pattern.
Use Purple to paint the polka dots and shadows of the Cupcake. Then mix the Purple with a small amount of White to get a lighter purple that will be used to create the lines of the cupcake case and the purple splash.
Tip: wash the brush well with each colour change.
Use the Red paint to tint the cupcake toppings. Mix the lighter Red with a small amount of white to create the cherry-coloured cream. Mix a small amount of Yellow with the lighter Red to paint the cherry on top to make it more vibrant. Add 3 touches of White on the side of the cream to give a shine effect. To paint the stork, mix a very small amount of Blue and Yellow to create a Green colour. Add some Burnt Sienna to the ends of the Green to finish the stork of the cherry.
Use the Red paint to tint the cupcake toppings. Mix the lighter Red with a small amount of white to create the cherry-coloured cream. Mix a small amount of Yellow with the lighter Red to paint the cherry on top to make it more vibrant. Add 3 touches of White on the side of the cream to give a shine effect. To paint the stork, mix a very small amount of Blue and Yellow to create a Green colour. Add some Burnt Sienna to the ends of the Green to finish the stork of the cherry.
With the undiluted Sienna Burnt, apply several layers generously to make dark chocolate icing. Use the fine tip brush to paint the multicoloured sprinklers. Use multiple colours to paint the sprinkles to create a colourful cupcake.
This is the last step of the painting to finalise your cupcake. To create watercolour effects with paint splashes, two options are available to you: either add White to your mixtures of colours or dilute your mixtures with water. To create light Greens, you need a tiny bit of Deep Yellow mixed with Blue. To create Oranges, you need to combine Red with Yellow. You can also experiment with mixing paints and create your own colours by following the Colour Mixing Guide included within the kit.
Tip: the Deep Yellow is a very powerful Yellow, so it's a good idea to dilute it by adding water or White to create a less bright Yellow.
What you'll need
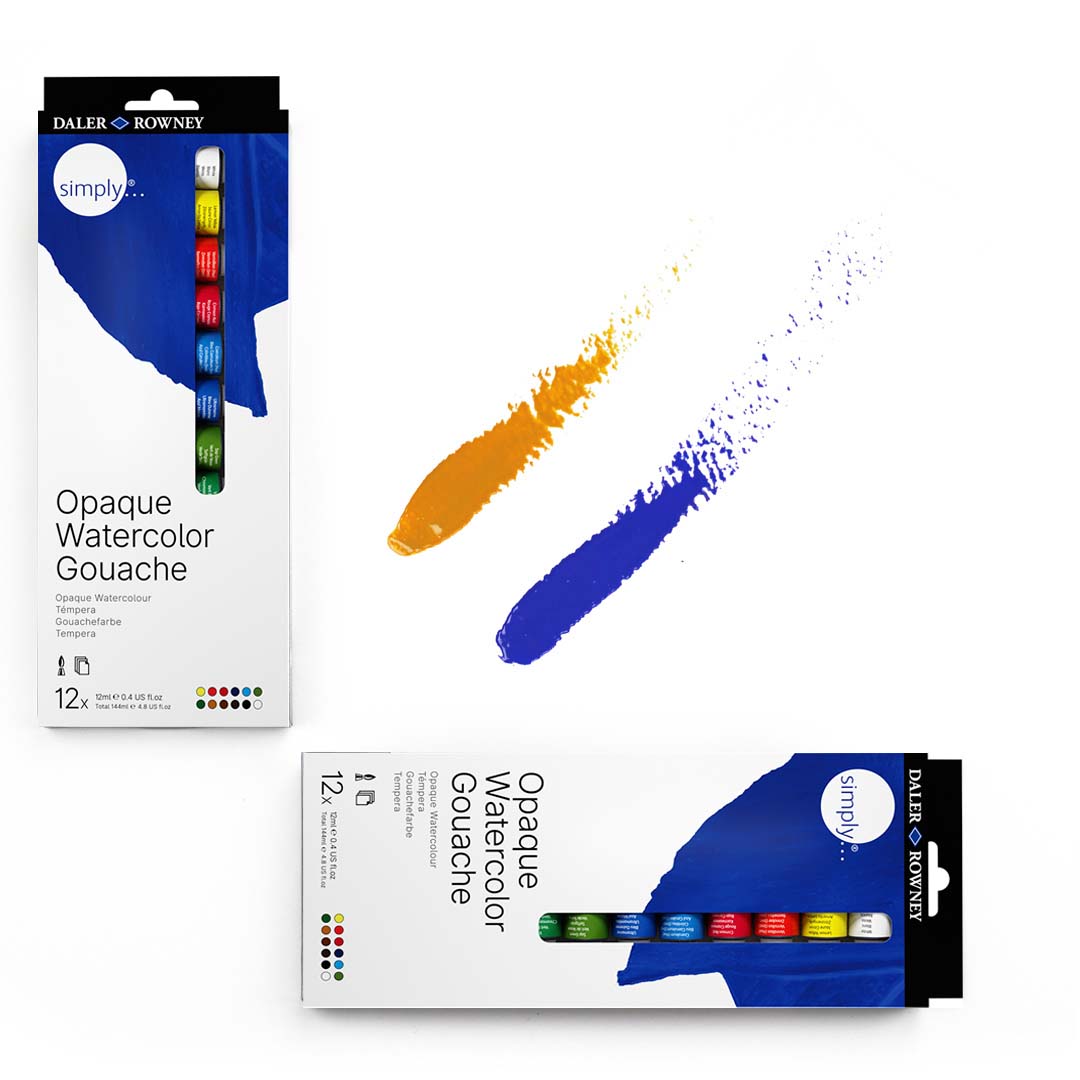
Simply Gouache
Daler-Rowney Simply Gouache can be used straight from the tube and have excellent covering power. Available in a wide variety of colours, Simply Gouache offers great value for money and an easy entry point for artists and hobbyists looking to experiment with gouache.
MORE
Simply Watercolour Brushes
Daler-Rowney Simply Watercolour Brushes are made from synthetic hair in a variety of shapes and sizes to fit almost any need.
MORE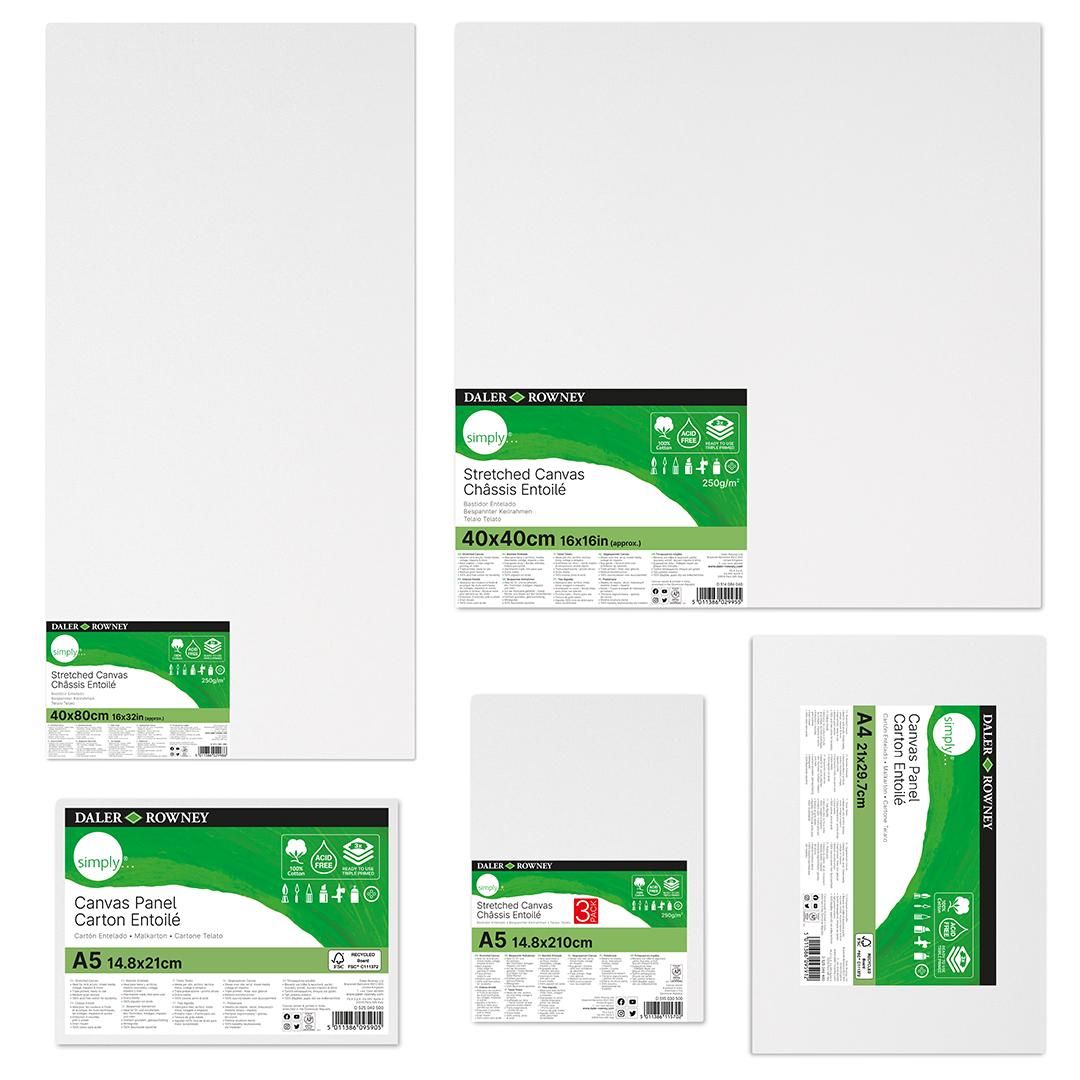
Simply Canvas & Panels
Daler-Rowney Simply Stretched Canvases & Canvas Panels feature a 250gsm, 100% cotton, triple primed, acid-free canvas. The medium grain textured surface is ready for use and the range is available in a comprehensive assortment of shapes and sizes.
MOREAbout the artist:
The painter Amylee Paris tirelessly finds her inspiration in colour and nature. Her abstract blooms and portraits shine in several art galleries in the UK.