#simpycreate paintings with dots
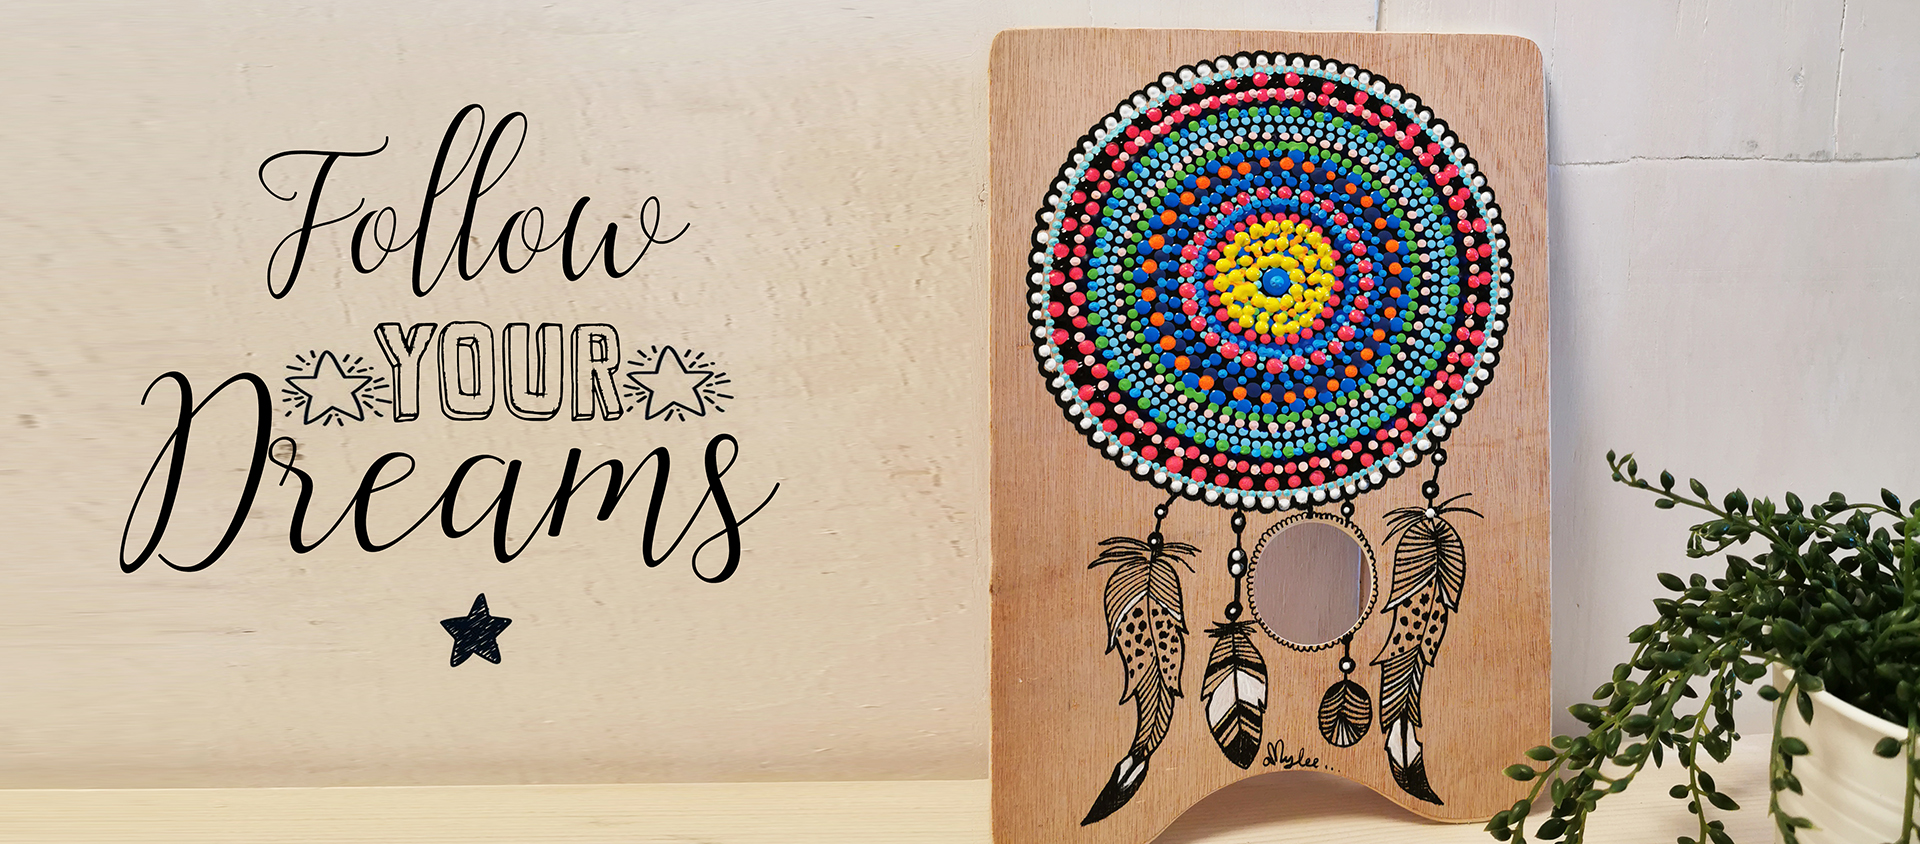
How to create dot painting art
Follow this easy step-by-step guide on dot painting for beginners, by artist Amylee Paris.
How to create dot painting art
Follow this easy step-by-step guide on dot painting for beginners, by artist Amylee Paris.
The materials in your kit
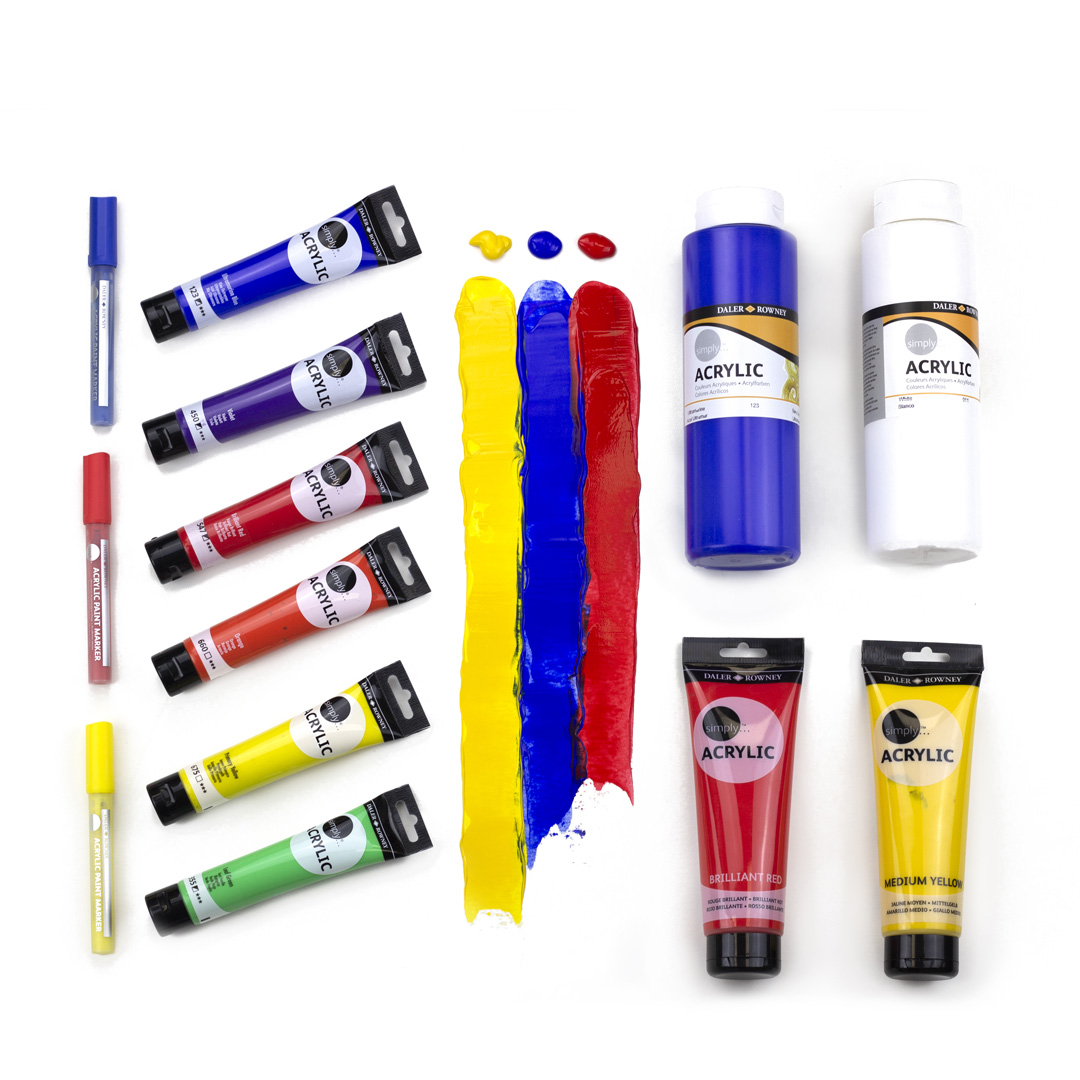
Simply Acrylic Paint Set
Simply Acrylic Paintbrushes
Simply Gesso
Wooden Palette
Your step by step guide
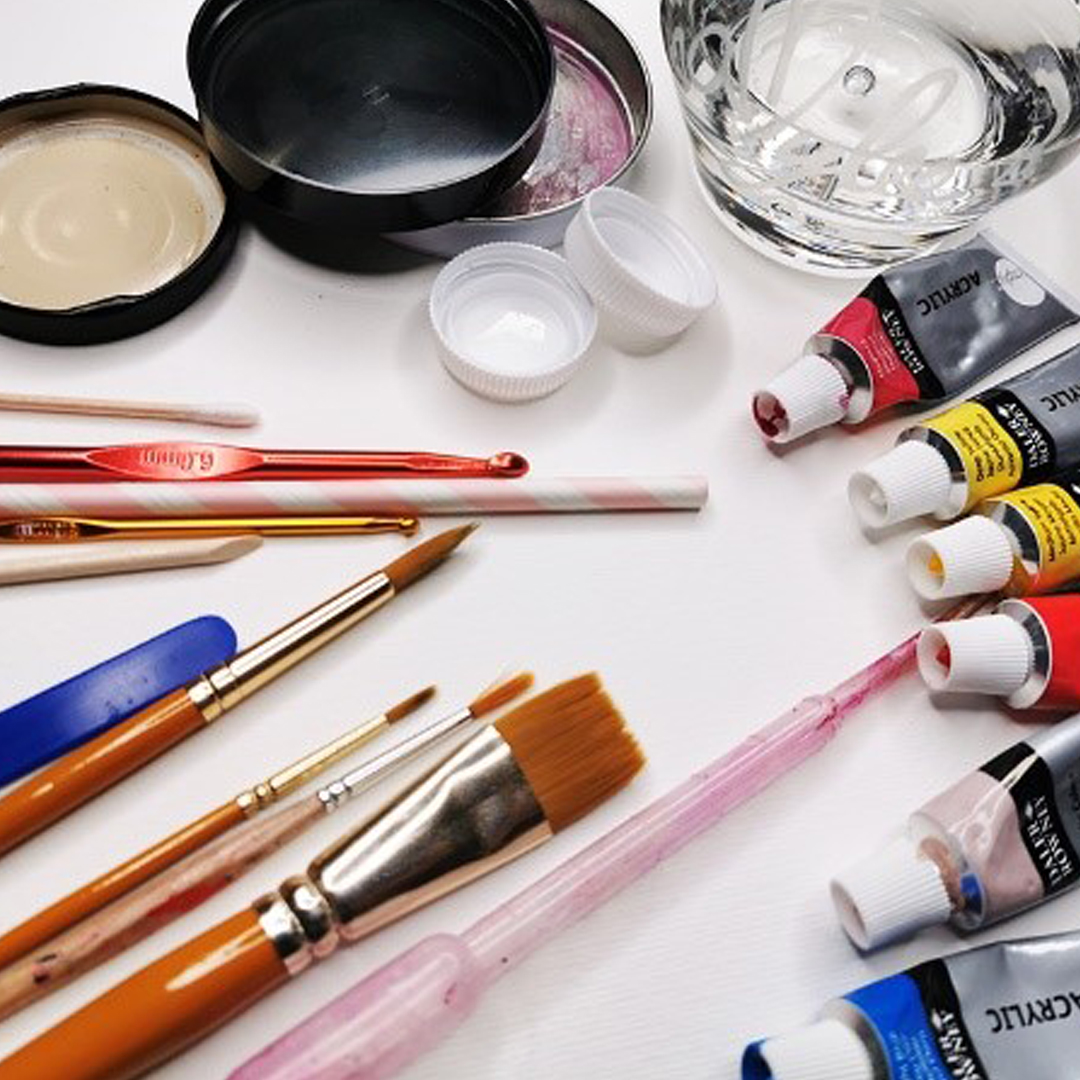
Gather all the required materials for this step by step! One pot of Acrylic Gesso Simply or Graduate, one flat brush, Simply Acrylic tubes (black + different colours), one Simply Pouring Medium bottle, one pot full of water and one pipette for measuring the quantity, styles of different diameters (cotton bud, crochet hook, nail, straw), used lids and one palette knife to mix colours, one wooden support, one compass, one black marker with round nib, one black marker with detail nib, empty plastic bottles with pointed tips and one towel to remove potential stains.
Gather all the required materials for this step by step! One pot of Acrylic Gesso Simply or Graduate, one flat brush, Simply Acrylic tubes (black + different colours), one Simply Pouring Medium bottle, one pot full of water and one pipette for measuring the quantity, styles of different diameters (cotton bud, crochet hook, nail, straw), used lids and one palette knife to mix colours, one wooden support, one compass, one black marker with round nib, one black marker with detail nib, empty plastic bottles with pointed tips and one towel to remove potential stains.
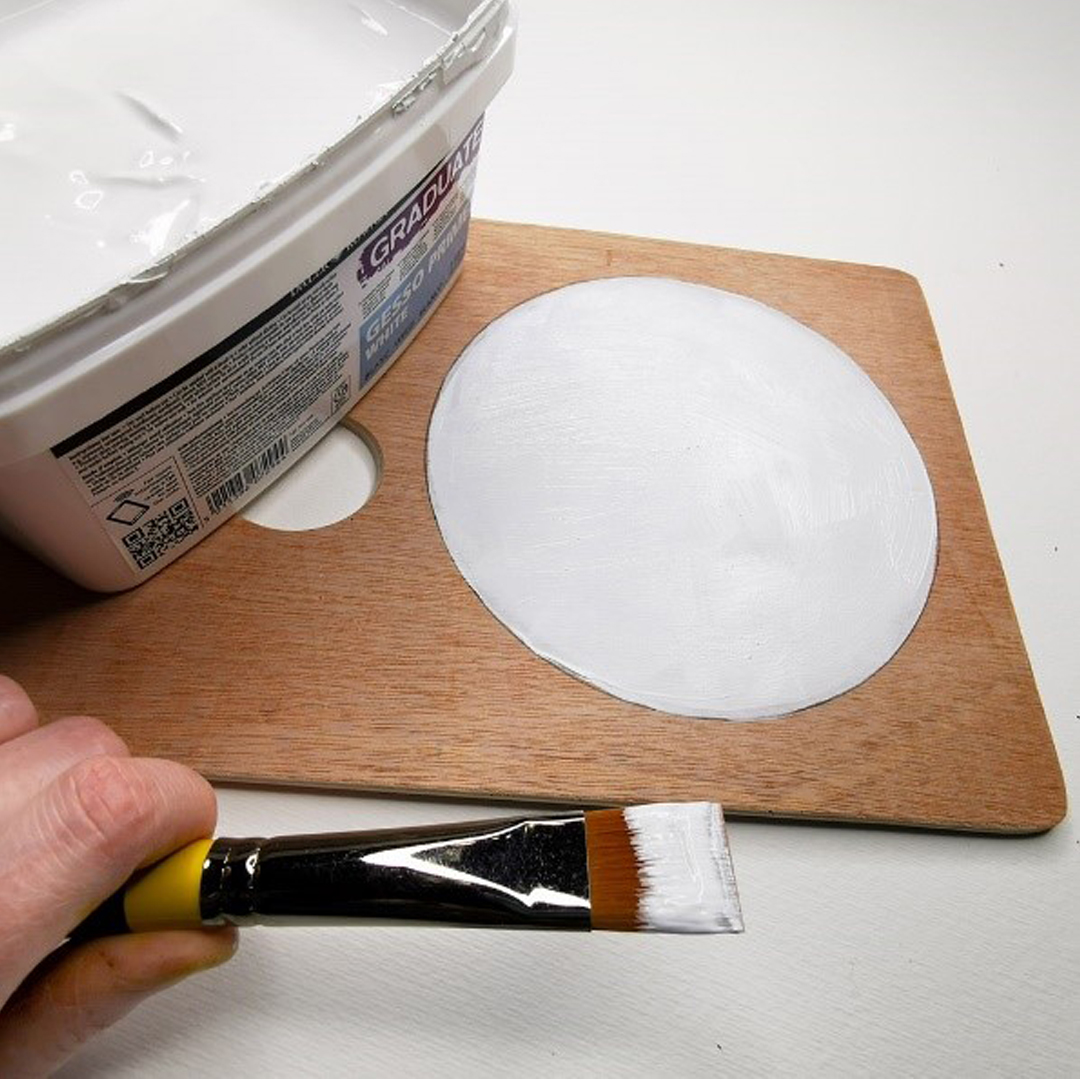
Draw a circle with a compass on a plain wooden unoiled palette and apply 2 layers of Gesso using a flat brush. This step is important as it covers the roughness of the wood and will make it easier for the paint to adhere. I wait for the Gesso to be completely dry to move to the next step.
Draw a circle with a compass on a plain wooden unoiled palette and apply 2 layers of Gesso using a flat brush. This step is important as it covers the roughness of the wood and will make it easier for the paint to adhere. I wait for the Gesso to be completely dry to move to the next step.

Wash the flat brush and apply 2 layers of black acrylic paint to obtain a uniform and deep black colour. As soon as the black paint has dried, use the compass to draw several small circles within the big one. This will help you with positioning the colour dots later.
Wash the flat brush and apply 2 layers of black acrylic paint to obtain a uniform and deep black colour. As soon as the black paint has dried, use the compass to draw several small circles within the big one. This will help you with positioning the colour dots later.
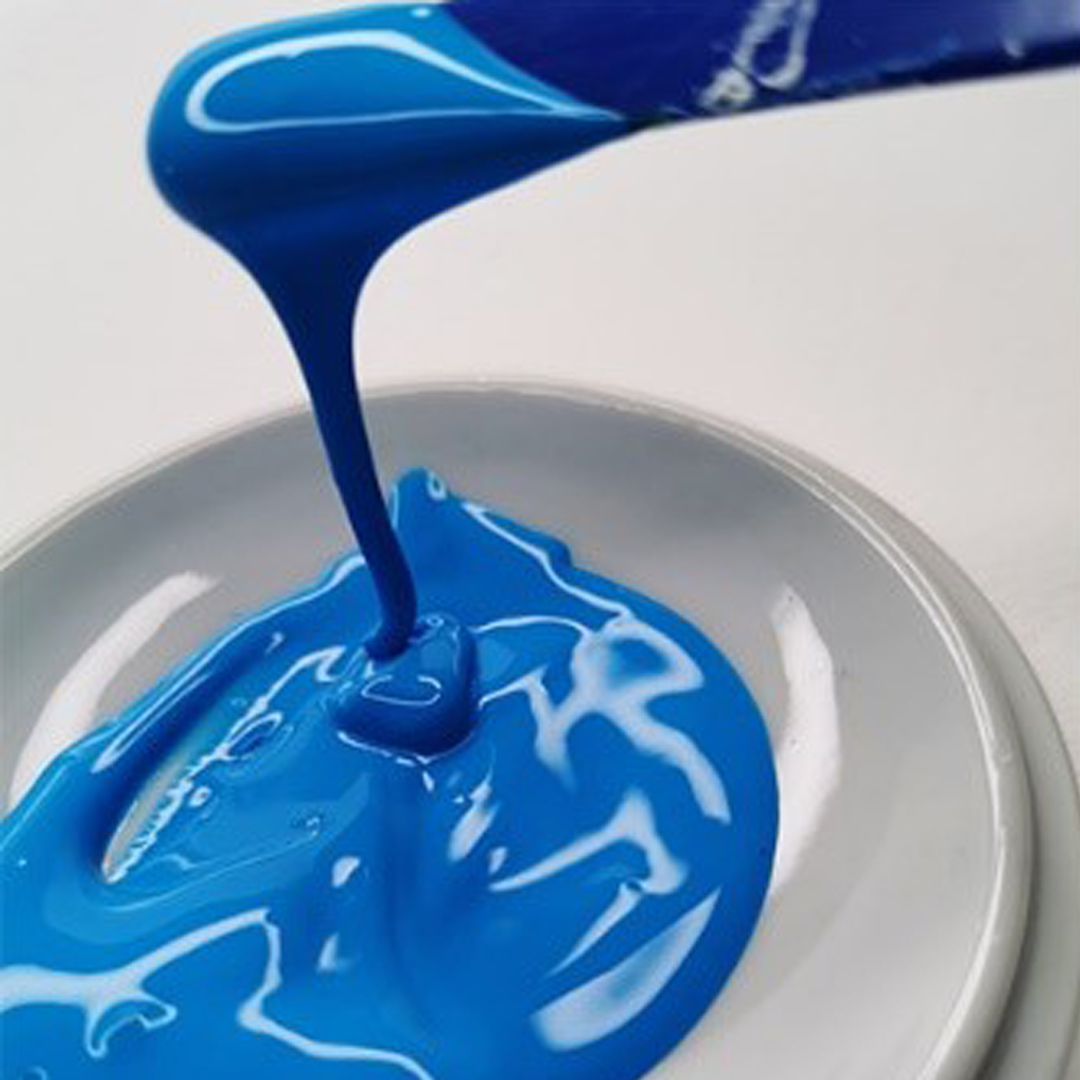
Mix Simply acrylic with Simply pouring medium to a 1:4 ratio. In a container, put 1 knob of colour + 4 knobs of pouring medium. This procedure is to be repeated for all the different colours which will be used to make the dreamcatcher.
Tip: How to know if my mixture has the right consistency?
Let the paint flow along a palette knife and if the flow is thin and constant, it means the consistency is good. The consistency of the mixture should remind you of the consistency of custard. When the mixture is ready, you can pour it into a bottle with a pointed tip (so that the mixture can be preserved for a long time) or start working directly on the wooden support.
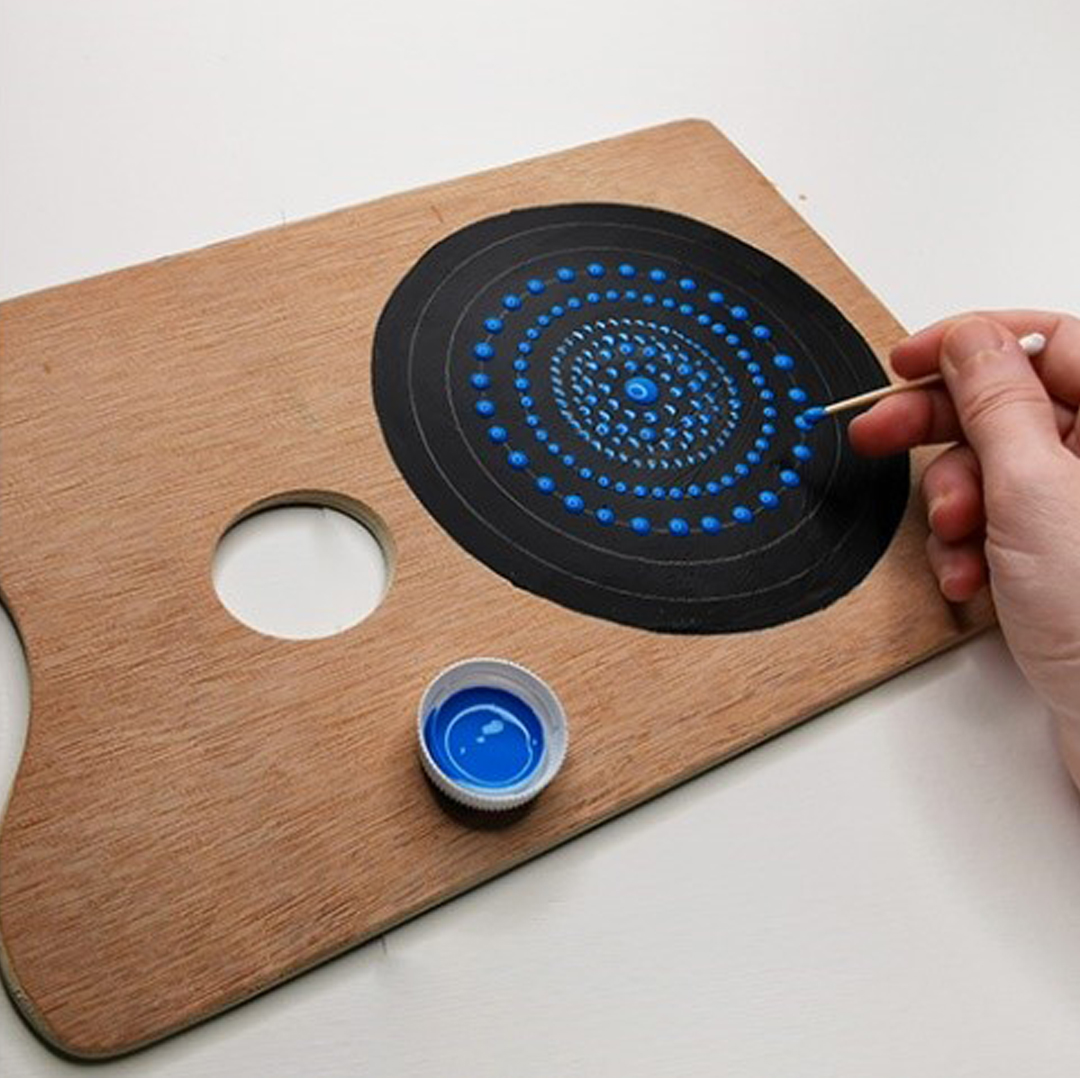
To start with the positioning of the little dots, use a cotton bud - cut from one side to make it easier to hold (a match can also be a good tool). Drop the stick into the mixture and apply little dots of colour along the circles drawn with the compass. The goal is to create concentric circles of different colours.
To start with the positioning of the little dots, use a cotton bud - cut from one side to make it easier to hold (a match can also be a good tool). Drop the stick into the mixture and apply little dots of colour along the circles drawn with the compass. The goal is to create concentric circles of different colours.
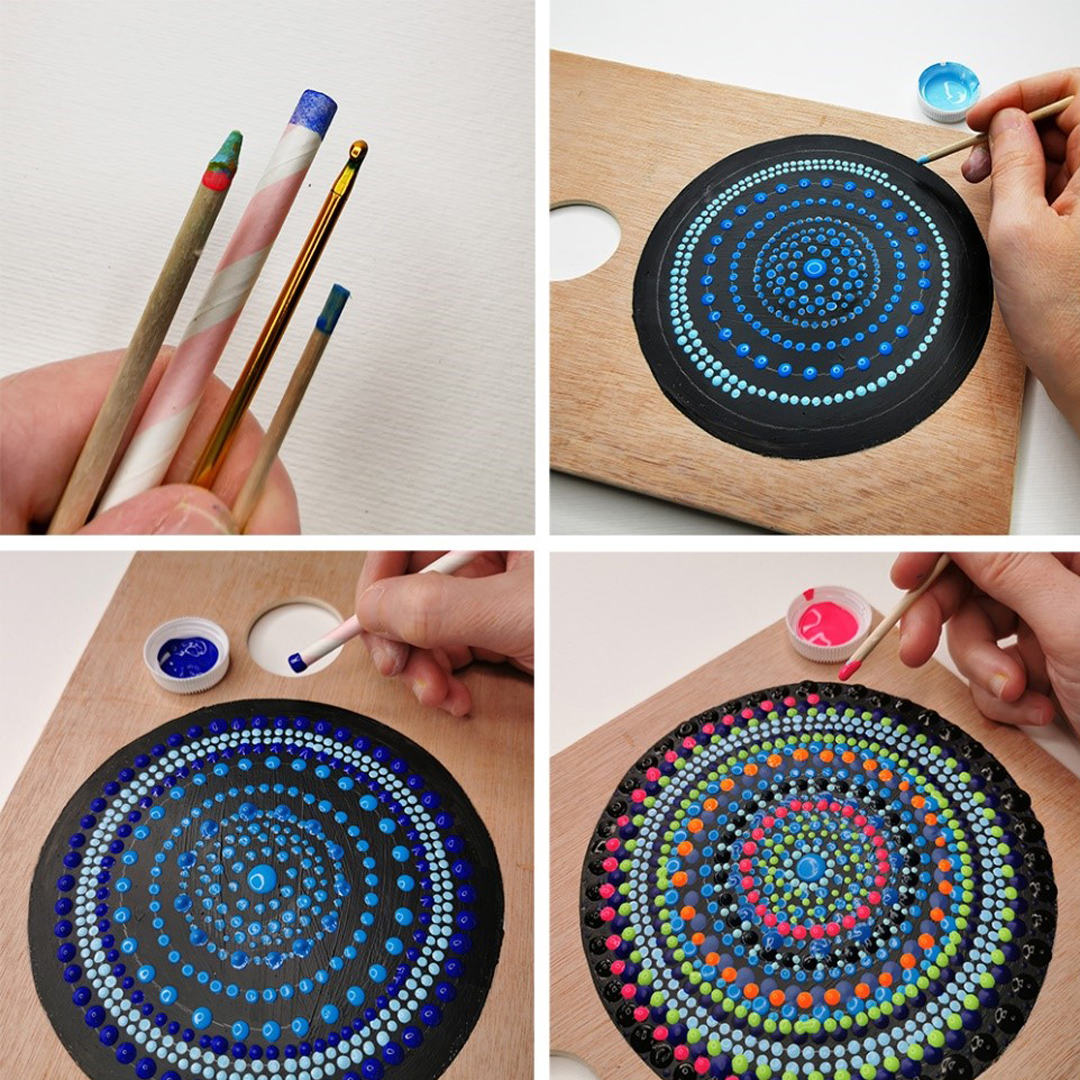
You can vary the diameters of the dots by using different styles like a cotton bud, a straw, a crochet hook… You can now fill the design of the dreamcatcher with a multitude of circles full of beautiful and colourful dots!
Tips: It is better to wait for the paint to dry before overlapping colours.
You can vary the diameters of the dots by using different styles like a cotton bud, a straw, a crochet hook… You can now fill the design of the dreamcatcher with a multitude of circles full of beautiful and colourful dots!
Tips: It is better to wait for the paint to dry before overlapping colours.
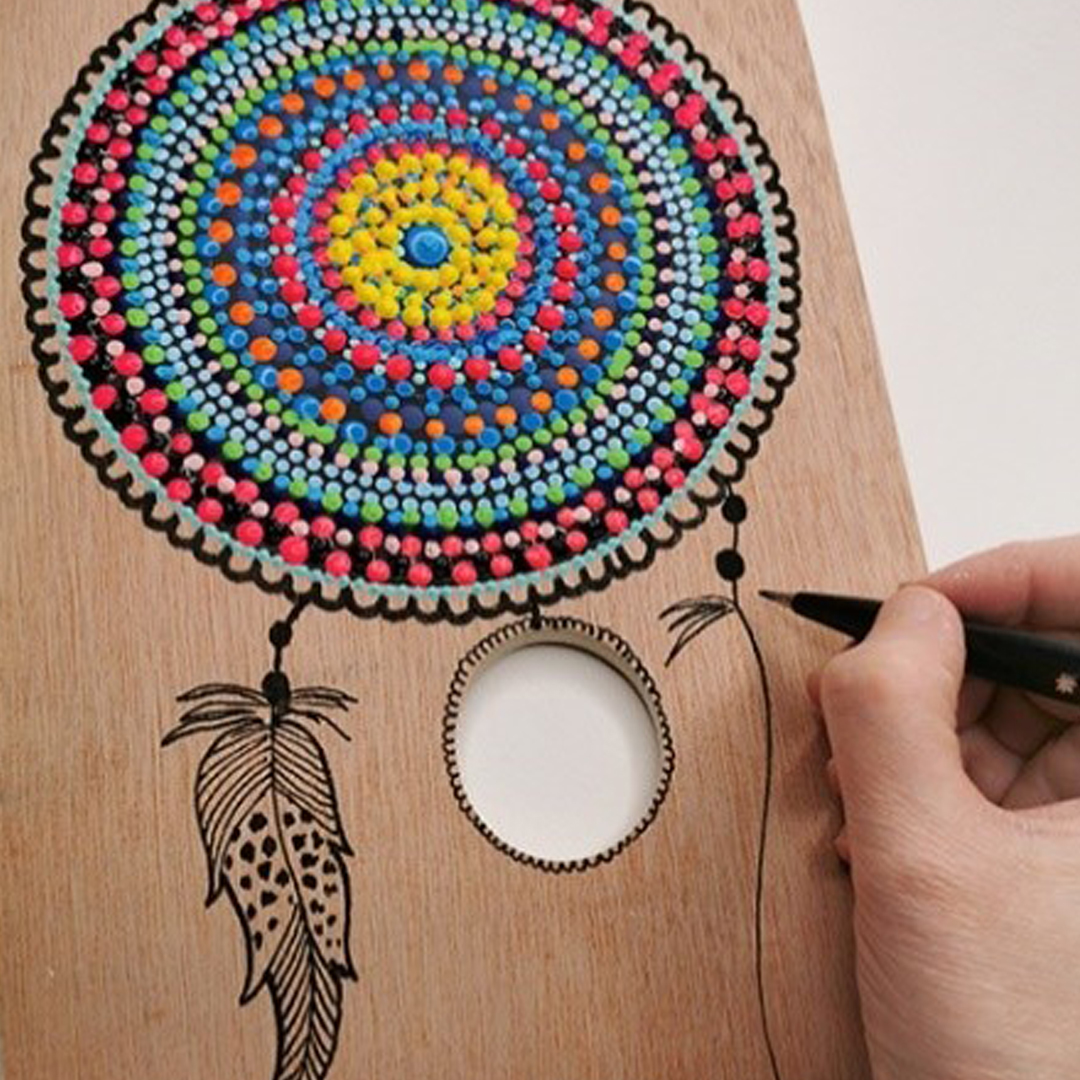
The circular pattern of the dreamcatcher is done and completely dry. Use a black marker to draw feathers. Add a hint of white paint to the feathers to bring contrast to the drawing.
Tips: Once the artwork is finished and dry, you can eventually varnish it for longer preservation. Try the varnish on the black marker to make sure it does not drip. Try on a little corner first.
Your step by step guide
Gather all the required materials for this step by step! One pot of Acrylic Gesso Simply or Graduate, one flat brush, Simply Acrylic tubes (black + different colours), one Simply Pouring Medium bottle, one pot full of water and one pipette for measuring the quantity, styles of different diameters (cotton bud, crochet hook, nail, straw), used lids and one palette knife to mix colours, one wooden support, one compass, one black marker with round nib, one black marker with detail nib, empty plastic bottles with pointed tips and one towel to remove potential stains.
Gather all the required materials for this step by step! One pot of Acrylic Gesso Simply or Graduate, one flat brush, Simply Acrylic tubes (black + different colours), one Simply Pouring Medium bottle, one pot full of water and one pipette for measuring the quantity, styles of different diameters (cotton bud, crochet hook, nail, straw), used lids and one palette knife to mix colours, one wooden support, one compass, one black marker with round nib, one black marker with detail nib, empty plastic bottles with pointed tips and one towel to remove potential stains.
Draw a circle with a compass on a plain wooden unoiled palette and apply 2 layers of Gesso using a flat brush. This step is important as it covers the roughness of the wood and will make it easier for the paint to adhere. I wait for the Gesso to be completely dry to move to the next step.
Draw a circle with a compass on a plain wooden unoiled palette and apply 2 layers of Gesso using a flat brush. This step is important as it covers the roughness of the wood and will make it easier for the paint to adhere. I wait for the Gesso to be completely dry to move to the next step.
Wash the flat brush and apply 2 layers of black acrylic paint to obtain a uniform and deep black colour. As soon as the black paint has dried, use the compass to draw several small circles within the big one. This will help you with positioning the colour dots later.
Wash the flat brush and apply 2 layers of black acrylic paint to obtain a uniform and deep black colour. As soon as the black paint has dried, use the compass to draw several small circles within the big one. This will help you with positioning the colour dots later.
Mix Simply acrylic with Simply pouring medium to a 1:4 ratio. In a container, put 1 knob of colour + 4 knobs of pouring medium. This procedure is to be repeated for all the different colours which will be used to make the dreamcatcher.
Tip: How to know if my mixture has the right consistency?
Let the paint flow along a palette knife and if the flow is thin and constant, it means the consistency is good. The consistency of the mixture should remind you of the consistency of custard. When the mixture is ready, you can pour it into a bottle with a pointed tip (so that the mixture can be preserved for a long time) or start working directly on the wooden support.
To start with the positioning of the little dots, use a cotton bud - cut from one side to make it easier to hold (a match can also be a good tool). Drop the stick into the mixture and apply little dots of colour along the circles drawn with the compass. The goal is to create concentric circles of different colours.
To start with the positioning of the little dots, use a cotton bud - cut from one side to make it easier to hold (a match can also be a good tool). Drop the stick into the mixture and apply little dots of colour along the circles drawn with the compass. The goal is to create concentric circles of different colours.
You can vary the diameters of the dots by using different styles like a cotton bud, a straw, a crochet hook… You can now fill the design of the dreamcatcher with a multitude of circles full of beautiful and colourful dots!
Tips: It is better to wait for the paint to dry before overlapping colours.
You can vary the diameters of the dots by using different styles like a cotton bud, a straw, a crochet hook… You can now fill the design of the dreamcatcher with a multitude of circles full of beautiful and colourful dots!
Tips: It is better to wait for the paint to dry before overlapping colours.
The circular pattern of the dreamcatcher is done and completely dry. Use a black marker to draw feathers. Add a hint of white paint to the feathers to bring contrast to the drawing.
Tips: Once the artwork is finished and dry, you can eventually varnish it for longer preservation. Try the varnish on the black marker to make sure it does not drip. Try on a little corner first.
What you'll need
Simply Acrylic Paint
Daler-Rowney Simply Acrylic Paints are a perfect starting point for artists and hobbyists looking to experiment with acrylics. These soft-body water-based colours can be used straight from the tube, wet easily onto the surface, and can be thinned with water.
VIEW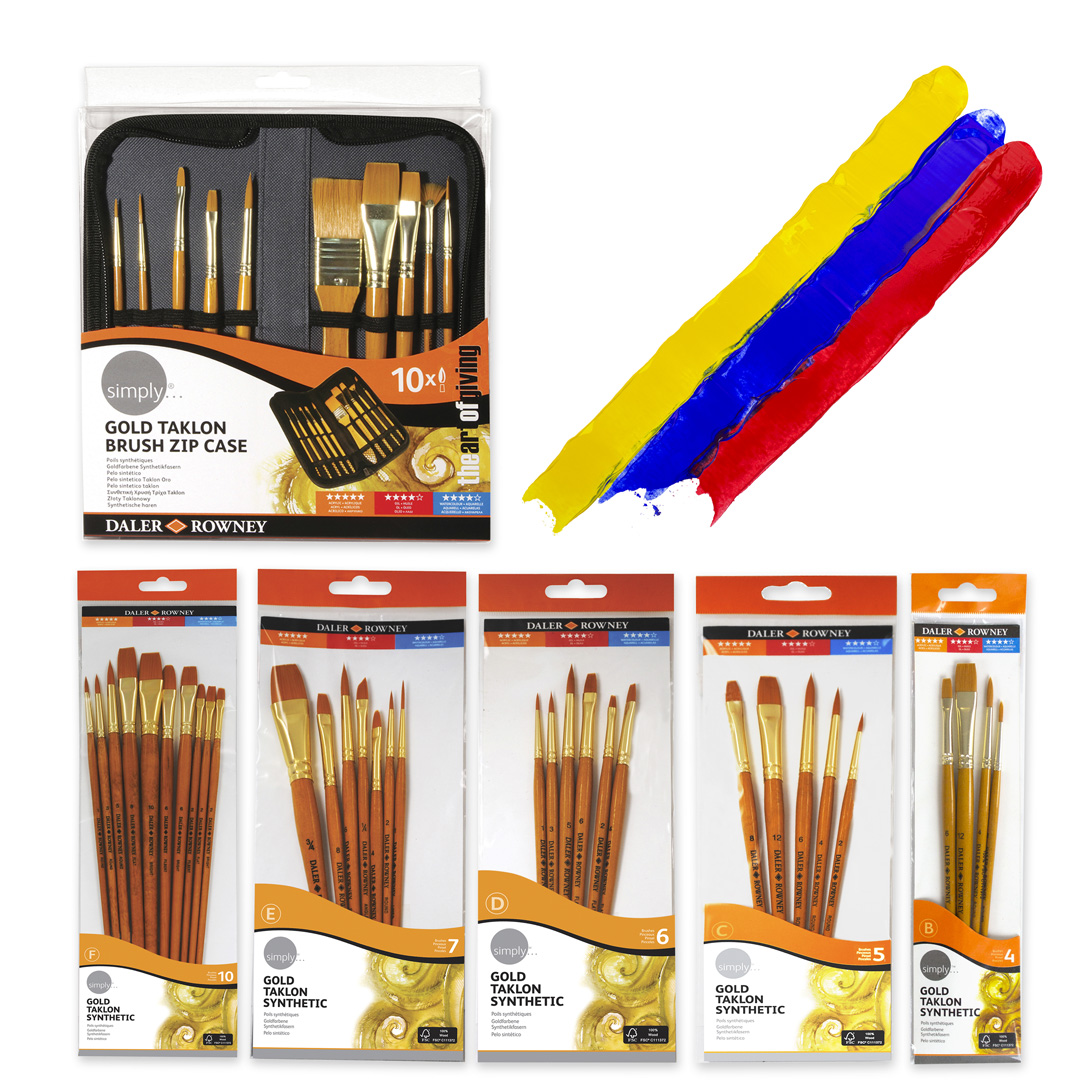
Simply Acrylic Brushes
Daler-Rowney Simply Acrylic brushes are made with golden Taklon that is a synthetic material formulated to exhibit the qualities of the finest hair brushes.
VIEW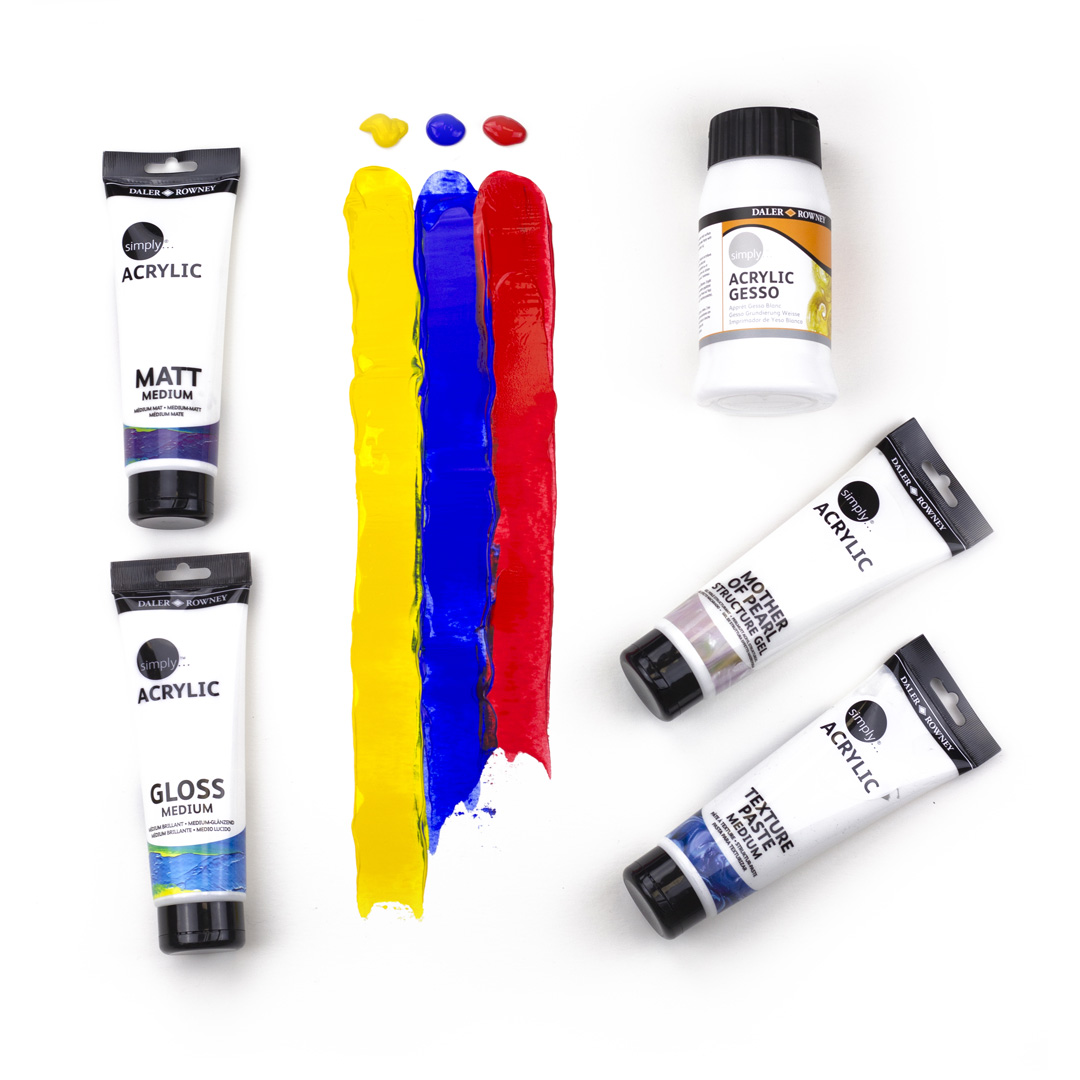
Simply Mediums
Daler-Rowney Simply Mediums are the perfect complement of the Simply range of acrylic, oil and watercolour colours. The range is designed to answer all your needs, in the simpliest way!
VIEW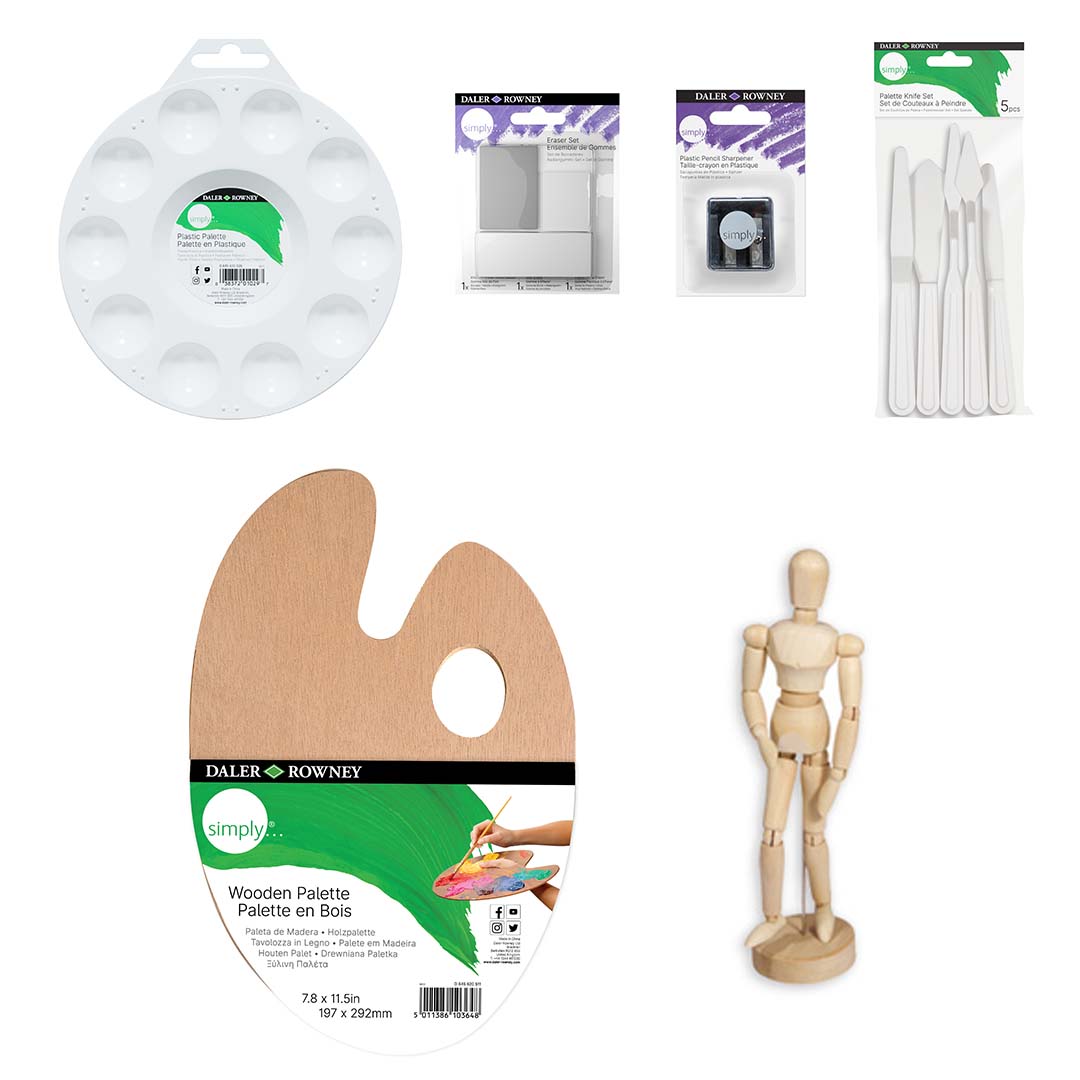
Simply Accessories
Daler-Rowney Simply offers a simple but comprehensive range of value for money accessories ideals for beginners and students alike.
VIEWAbout the artist
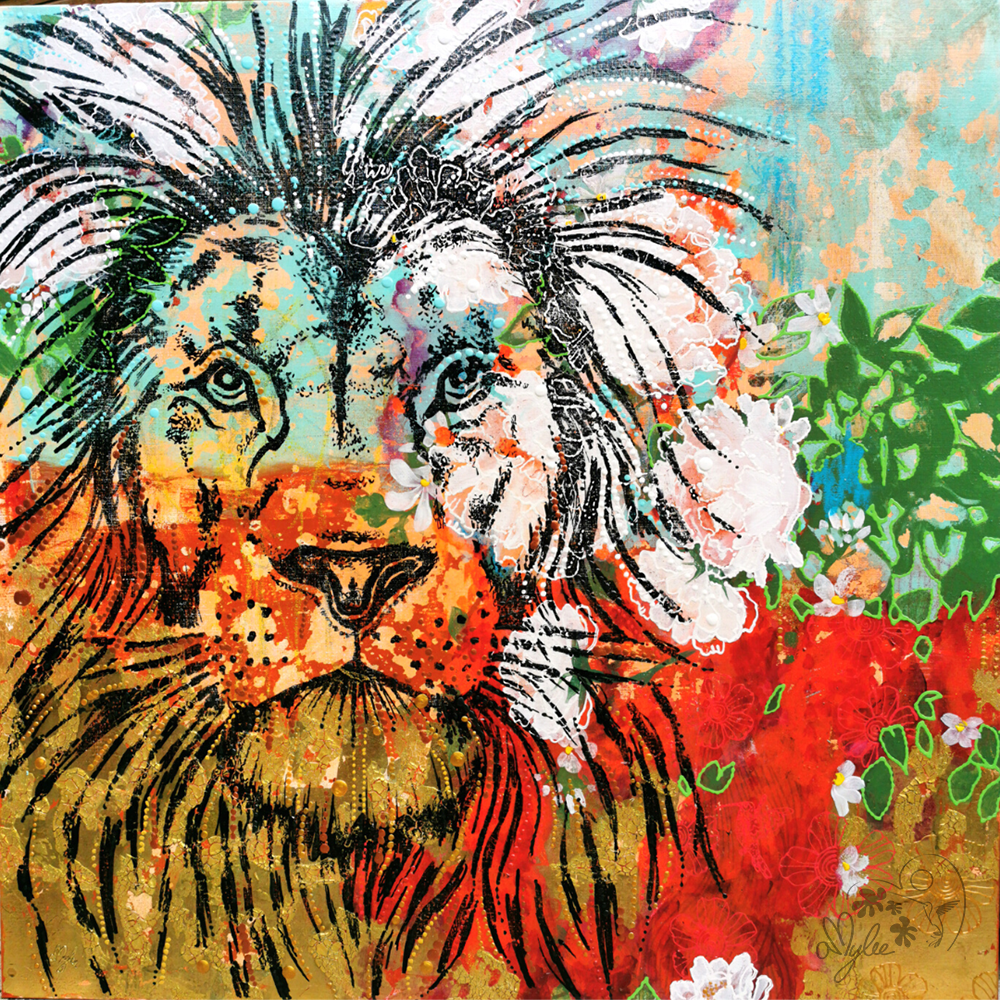
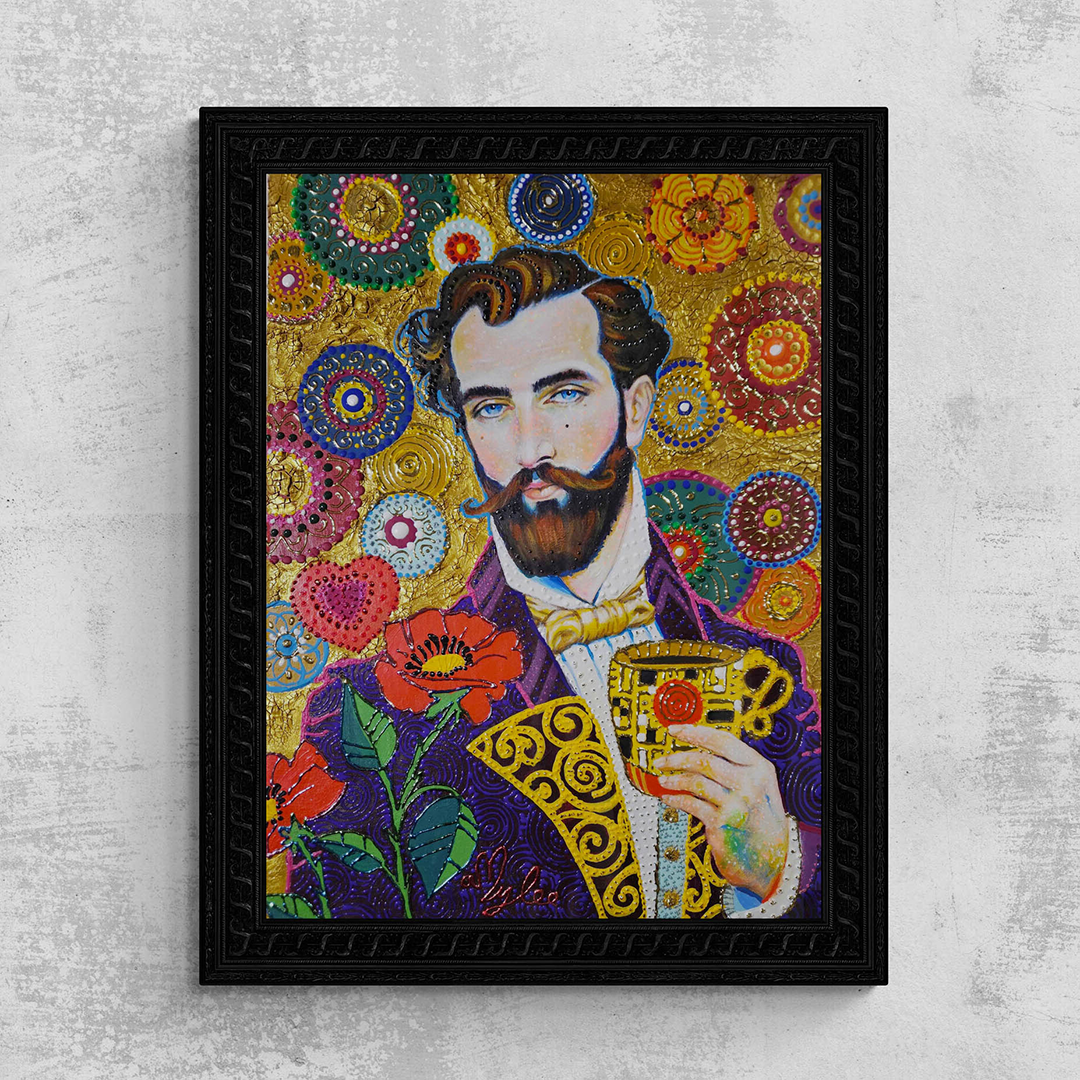
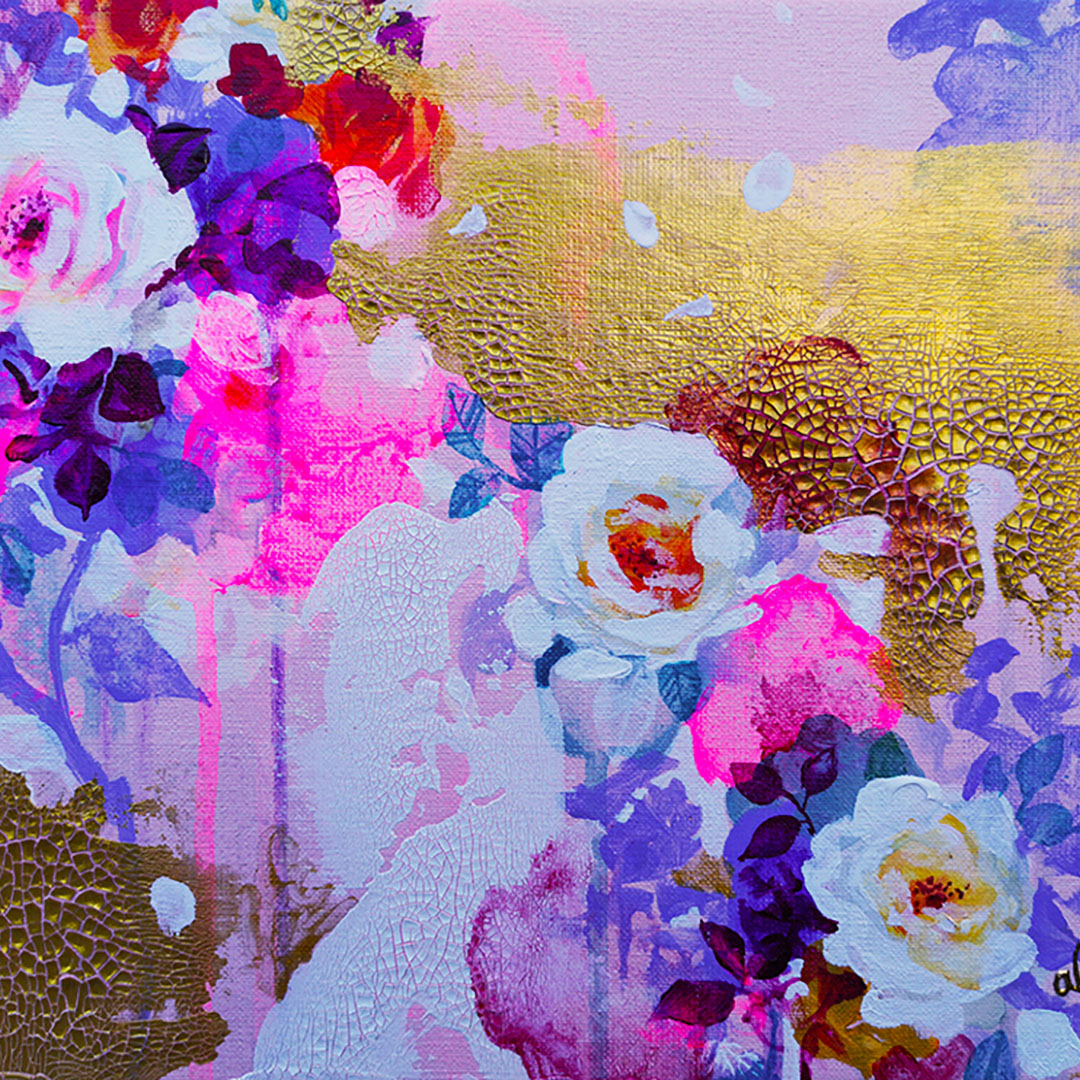
The painter Amylee Paris tirelessly finds her inspiration in colour and nature. Her abstract blooms and portraits shine in several art galleries in the UK.