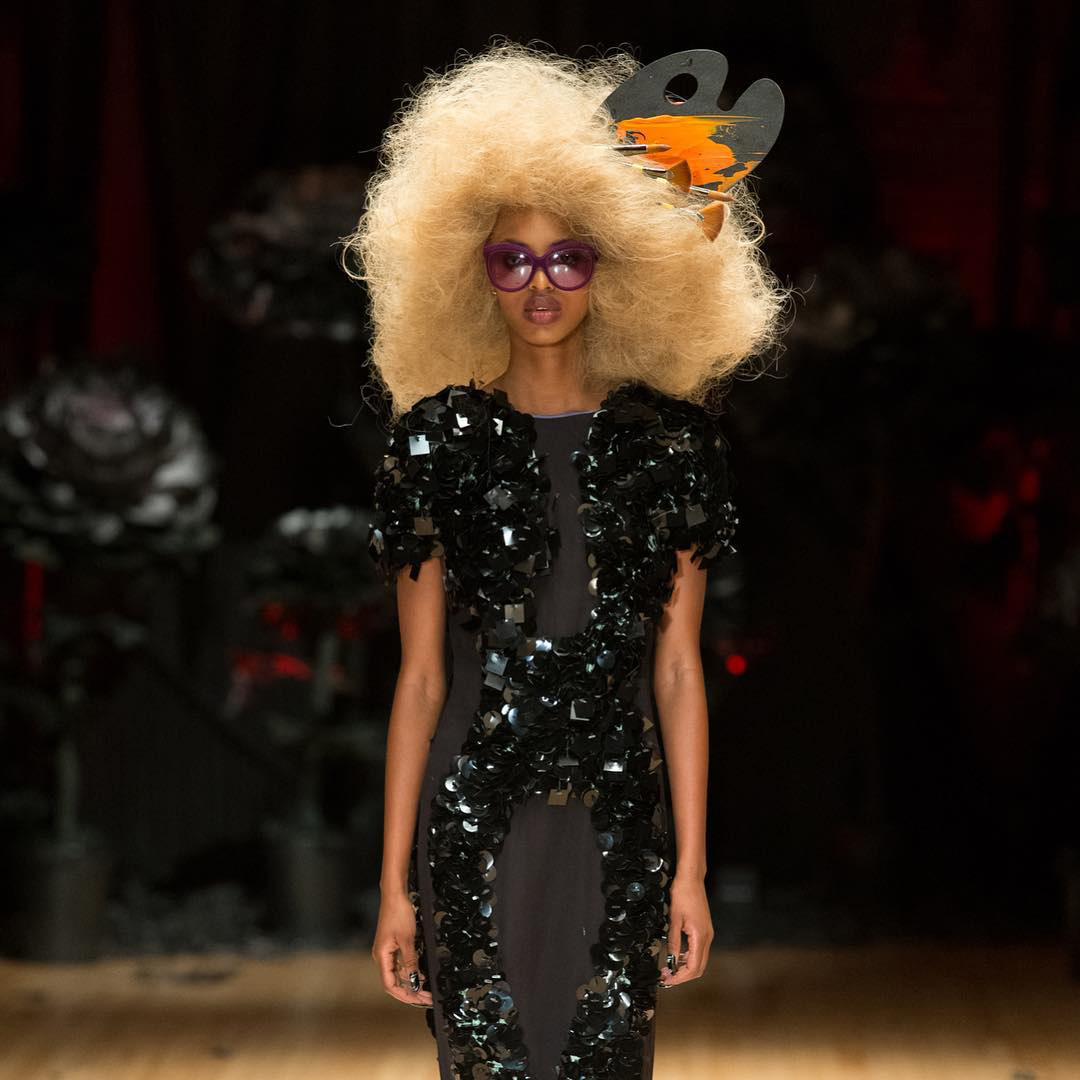
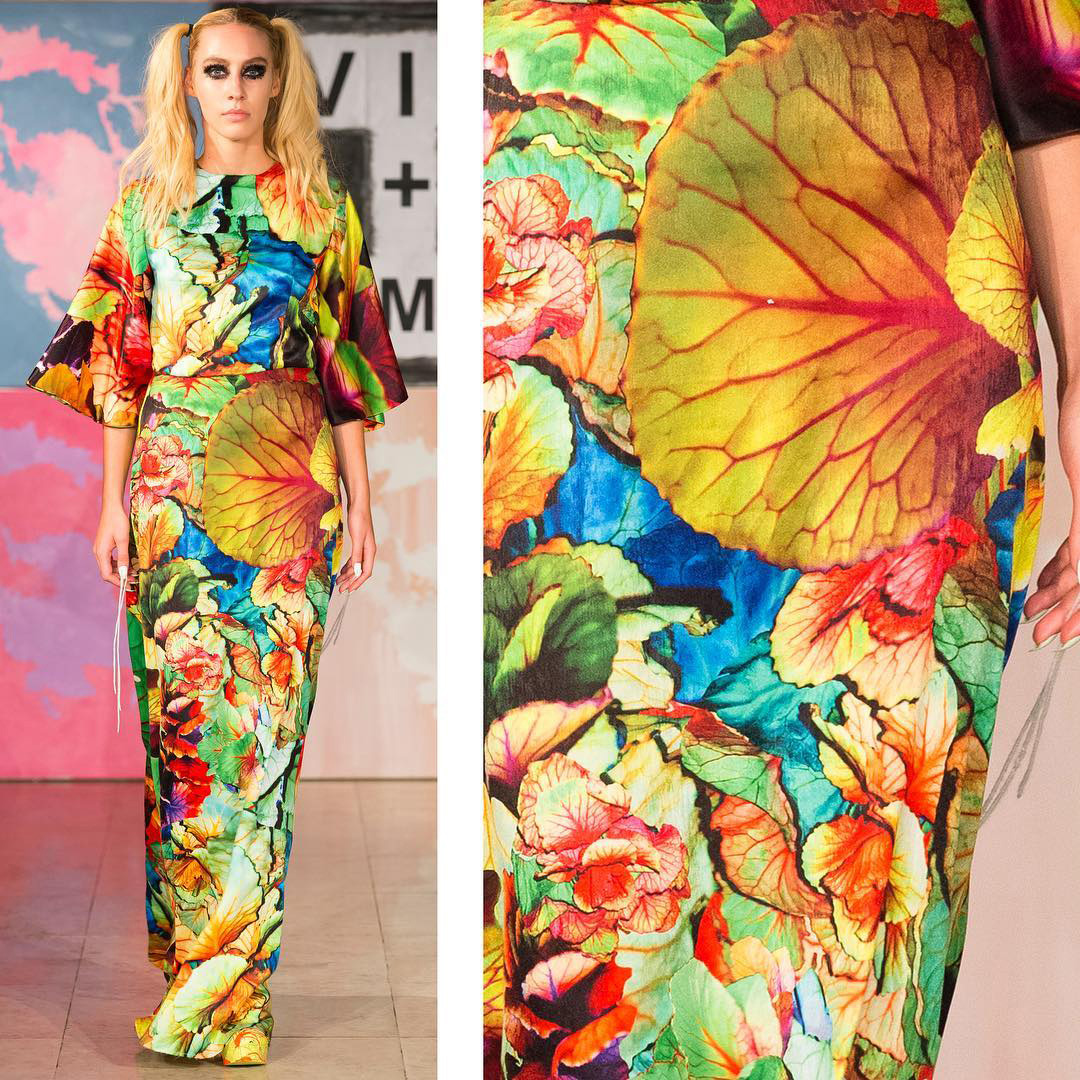
How to upcycle a chair with VIN+OMI
- Take the chair and disassemble the textile areas from the wooden frame first.
- Sand the wooden frame with fine-grit sandpaper and prime with System3 Gesso Primer in white to guarantee a long-lasting colour result.
- Test System3 Ink on the back of the textile inlay and if results are satisfying, apply the first base coat layer with acrylic brushes or re-fillable FW Mixed Media Markers. The textile will become slightly stiffer after painting.
- Tip: An alternative to applying System3 Ink is to mix Sytem3 Acrylic colours with System3 Screen-Printing Textile Medium in a 50/50 ratio.
- If you don’t want to colour the existing textile, you can stretch alternative textiles over the chair inlay and fix them in place with a staple gun.
- A minimum paper grammage of 250 g/m² is recommended by Daler-Rowney, our oiled manila stencil paper is ideal if you want to reuse your stencil, and FW Mixed Media Markers filled with System3 Ink.
- Place your created design on a flat and durable surface, such as a self-healing mat, and make sure that you don’t mind scratches and cuts on the surface underneath the paper.
- Double check that the blade in your cutter or scalpel is fixed. Always cut away from your body and make sure your second hand is not exposed to the blade. Cut-proof gloves are recommended. If you are under 18 always ask your parents for help and permission.
- Now you are ready to cut your outlines with a scalpel or cutter knife. Make slow, controlled cuts for best results. To avoid movement on the cutting mat or surface, we recommend fixing the stencil with masking tape and turning the full cutting surface while cutting rather than just the stencil.
- If you want to keep elements in the cut-out areas of your stencil, don’t forget to create small bridges to keep these areas attached to your stencil.
- Tip: Don’t worry if you break a bridge in your stencil, use masking or normal tape to repair any damaged bridges in your stencil.
- Wear a face mask and make sure to spray in a well-ventilated area, and always spray away from your body.
- Test the stencil first on a flat surface to double-check the result and outlines.
- Fix the stencil onto the textile area with masking tape. The airbrush can achieve both hard outlines and a more blurred or spayed effect.
- Load your airbrush with the premixed colour of your choice and spray it onto the textile areas. Allow a minimum of 15 minutes drying time for best results.
- Once your stencilling is done, you can add more effects by using acrylic brushes, FW Mixed Markers, or overlaying your stencil with another one. The sky is the limit – be brave, experiment and enjoy the process.
What you'll need
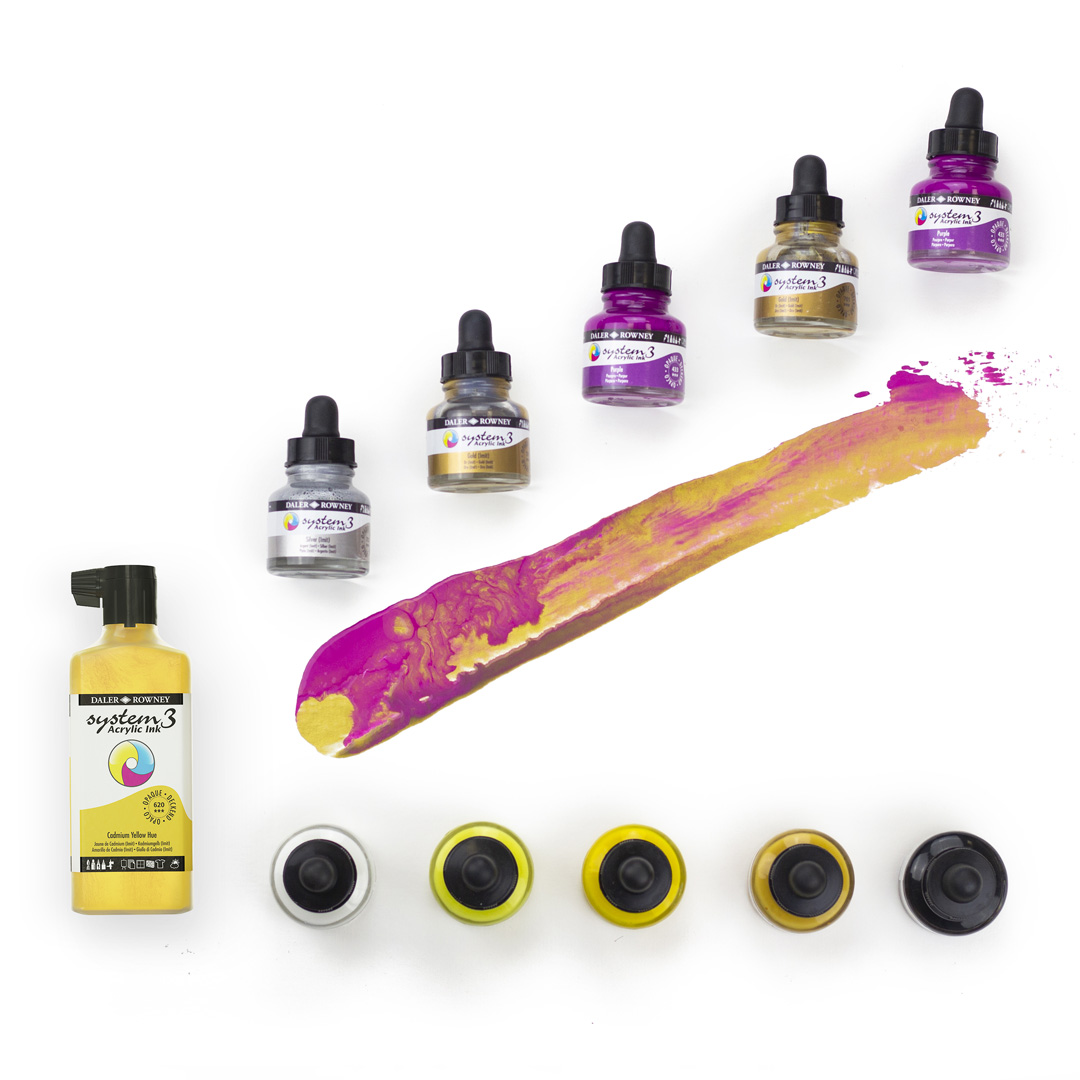
System3 Acrylic Ink
Daler-Rowney System3 Acrylic Inks are multi-surface, pigment-based opaque inks, ideal for mixed media and multi-technique applications. The System3 Acrylic Inks are water-based, water-resistant when dry and can be used inside as well as outdoor.
VIEW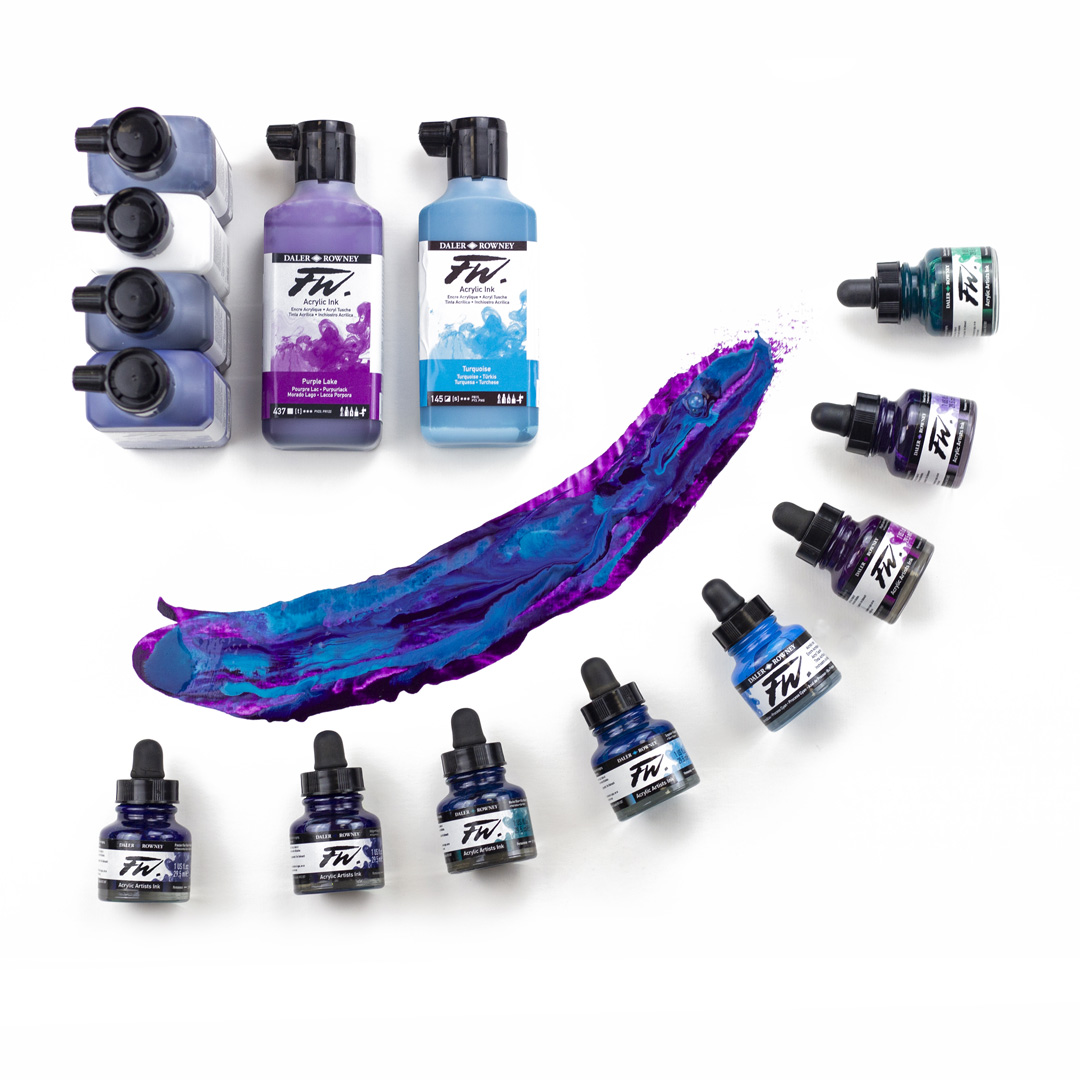
FW Acrylic Ink
Daler-Rowney FW Acrylic Inks are acrylic based, pigmented, water-resistant artists' inks with a high degree of lightfastness and intermixability. FW Acrylic Ink can be used straight out of the dropper, or diluted to achieve the most subtle of tones.
VIEW
Aquafine Watercolour Ink
Daler-Rowney Aquafine Watercolour Inks are higly saturated, pigment-based inks that are perfect for a wide range of uses and techniques. The Aquafine Inks can be applied directly using the included dropper or use brushes, paint markers, technical pens or airbrushes.
VIEW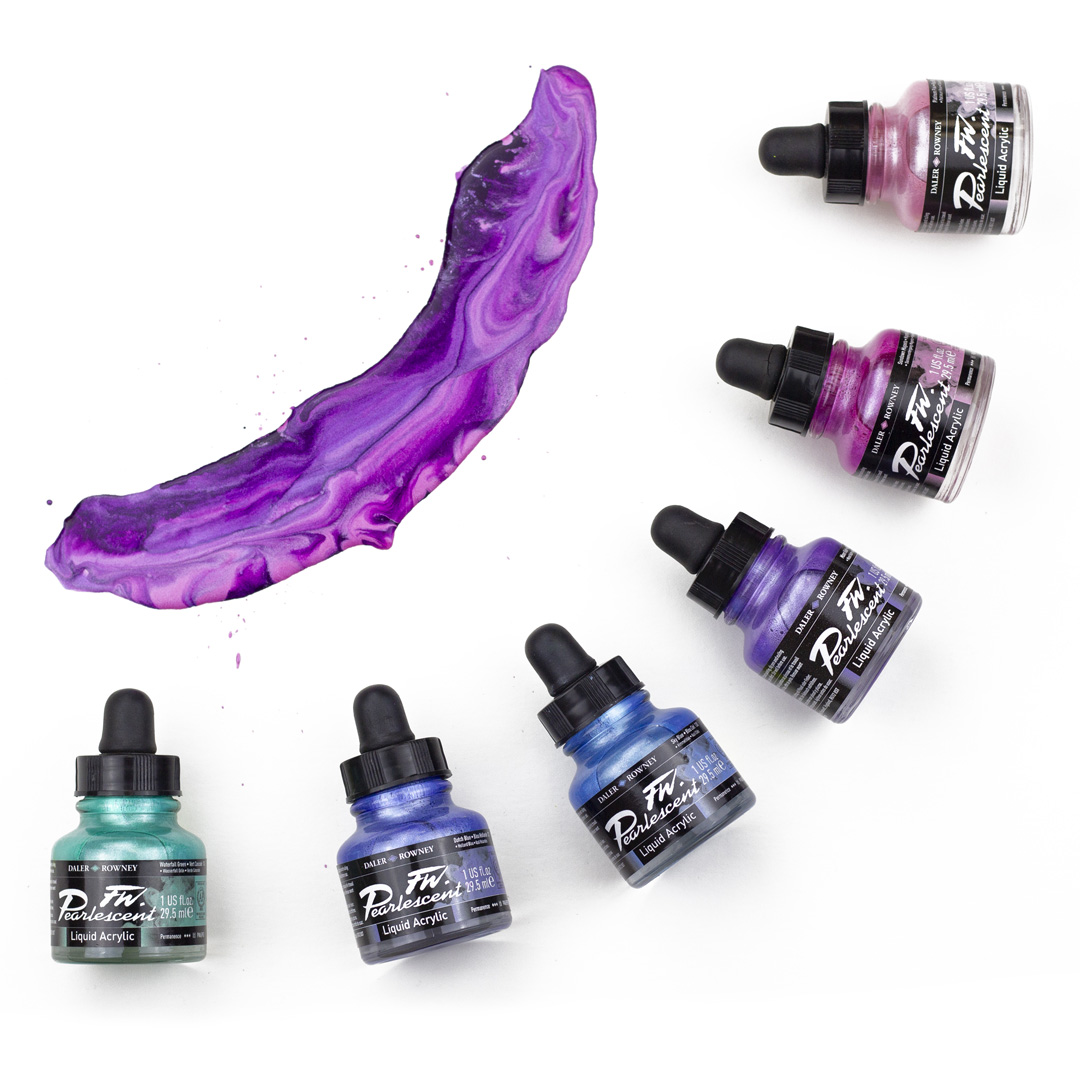
FW Pearlescent Ink
Daler-Rowney FW Pearlescent Inks can be used to add shimmer and shine to decorative arts such as greeting cards, seasonal decorations, mounts and frames. They are perfect for creating dazzling effects on various surfaces.
VIEWAbout the artist
VIN + OMI are award winning fashion and multi media designers who work internationally. They are previous recipients of a NESTA award for their innovation in fashion, research and their unique business models.