How to create paint pouring art
Step 1:
Think about your colour design before preparing your paint pouring mix with FW Pouring Medium and System3, Aquafine, or FW Acrylic Ink.
Step 2:
Start preparing your pour-in glasses or paper cups with a ratio of 1:3 medium to ink.
Step 3:
Pour half of the ink into the medium and stir thoroughly with a palette knife or stick. After stirring, finish adding the rest of the ink and stir until you are happy with the fluidity and colour intensity.
Step 4:
Prepare as many colours as you like upfront. To test the fluidity, simply lift the palette knife out of the mixture and if the mixture flows smoothly off of the palette knife you are ready to start creating your paint pouring art.
Step 5:
Traditional Pour - For a traditional cup pour, premix your colours and add each one to the desired surface separately. You can keep adding colours until you are happy with the finished product.
Dirty Pour - To Dirty Pour just combine multiple premixed colours into one container and pour from there. The colours will mix and flow around each other creating interesting and beautiful patterns that are difficult to recreate with a traditional pour.
Puddle Pour - Puddle Pouring relies on adding colours in a controlled manner to the centre of the colour you have just added. The circles will expand and press against each other without mixing too much.
Flip Pour - Flip Cup is similar to the Dirty Pour, but rather than pouring the mixture, the container is flipped onto the canvas with the canvas acting as a lid. Then, after settling, the cup is lifted off and the paint combines into new shapes.
Step 6:
Place your canvas with the paint pouring art on a flat surface and let it dry for 24 hours. We would recommend applying a shockproof clear varnish to protect your design and get it ready for display.
What you'll need
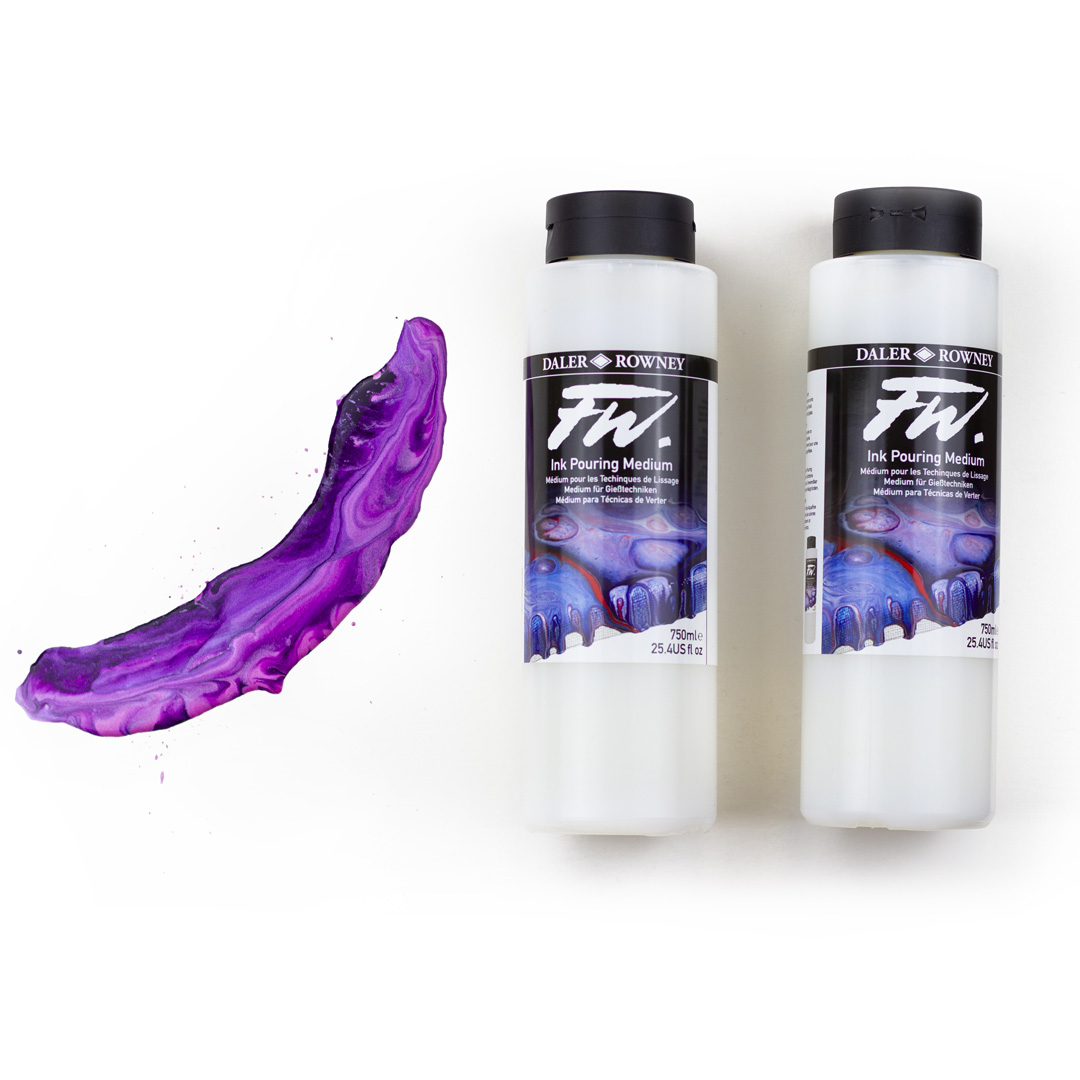
FW Acrylic Ink Pouring Medium
Daler-Rowney FW Acrylic Ink Pouring Medium is the first pouring medium to use with acrylic inks for even more outstanding results! Ideal to use with FW Acrylic Inks. Dries with a smooth even coloured film. Suitable for use on canvas, wood and other primed surfaces.
VIEW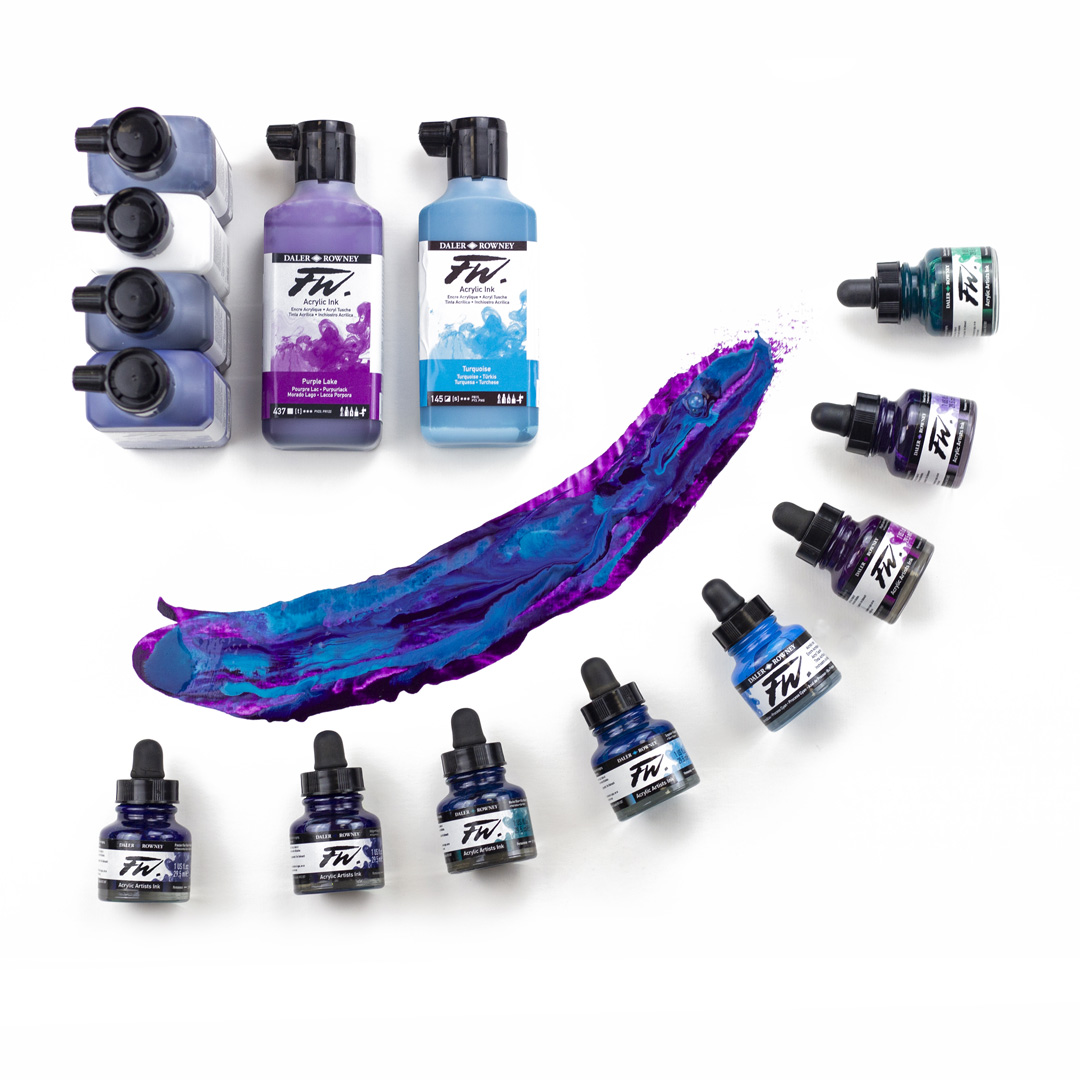
FW Acrylic Ink
Daler-Rowney FW Acrylic Inks are acrylic based, pigmented, water-resistant artists' inks with a high degree of lightfastness and intermixability. FW Acrylic Ink can be used straight out of the dropper, or diluted to achieve the most subtle of tones.
VIEW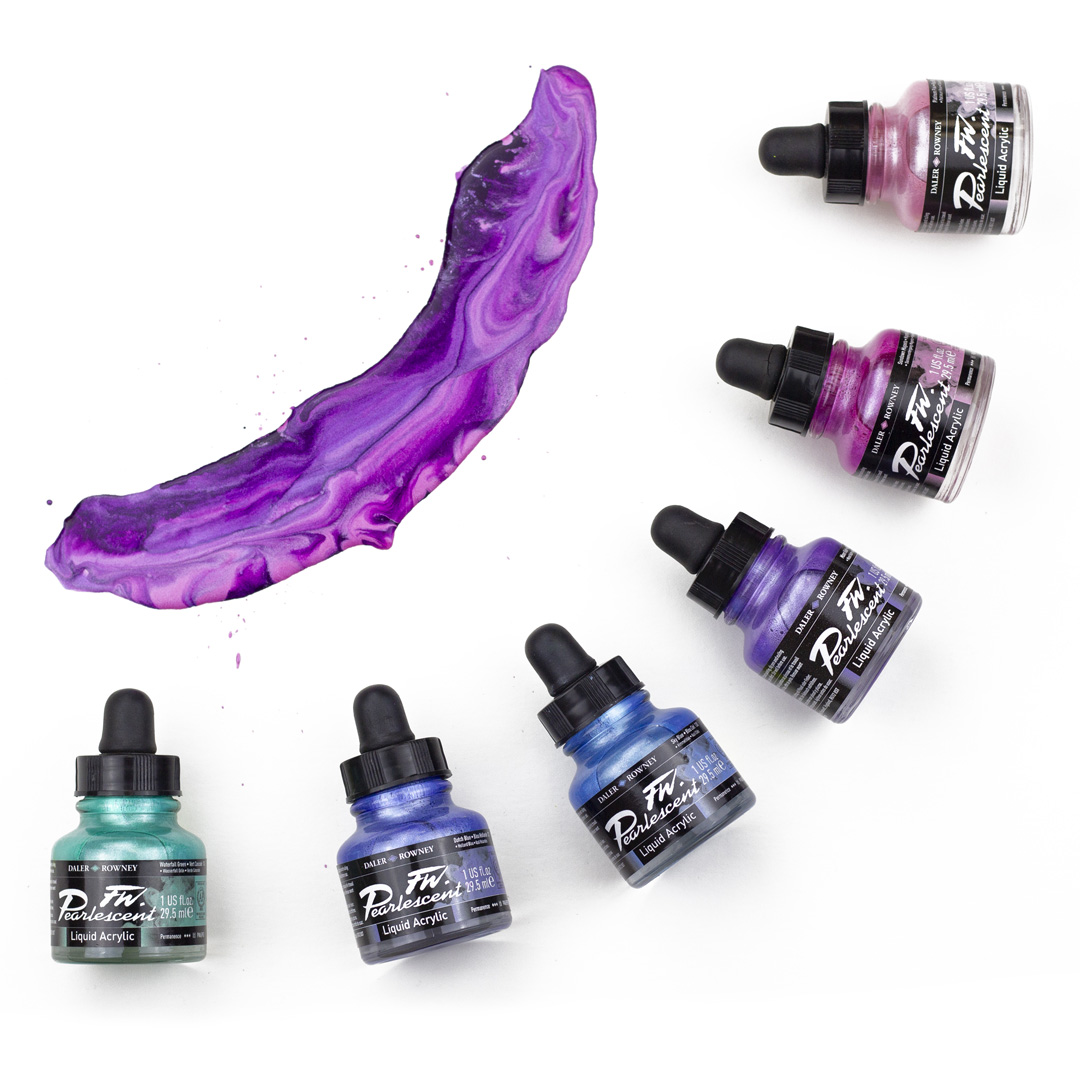
FW Pearlescent Ink
Daler-Rowney FW Pearlescent Inks can be used to add shimmer and shine to decorative arts such as greeting cards, seasonal decorations, mounts and frames. They are perfect for creating dazzling effects on various surfaces.
VIEW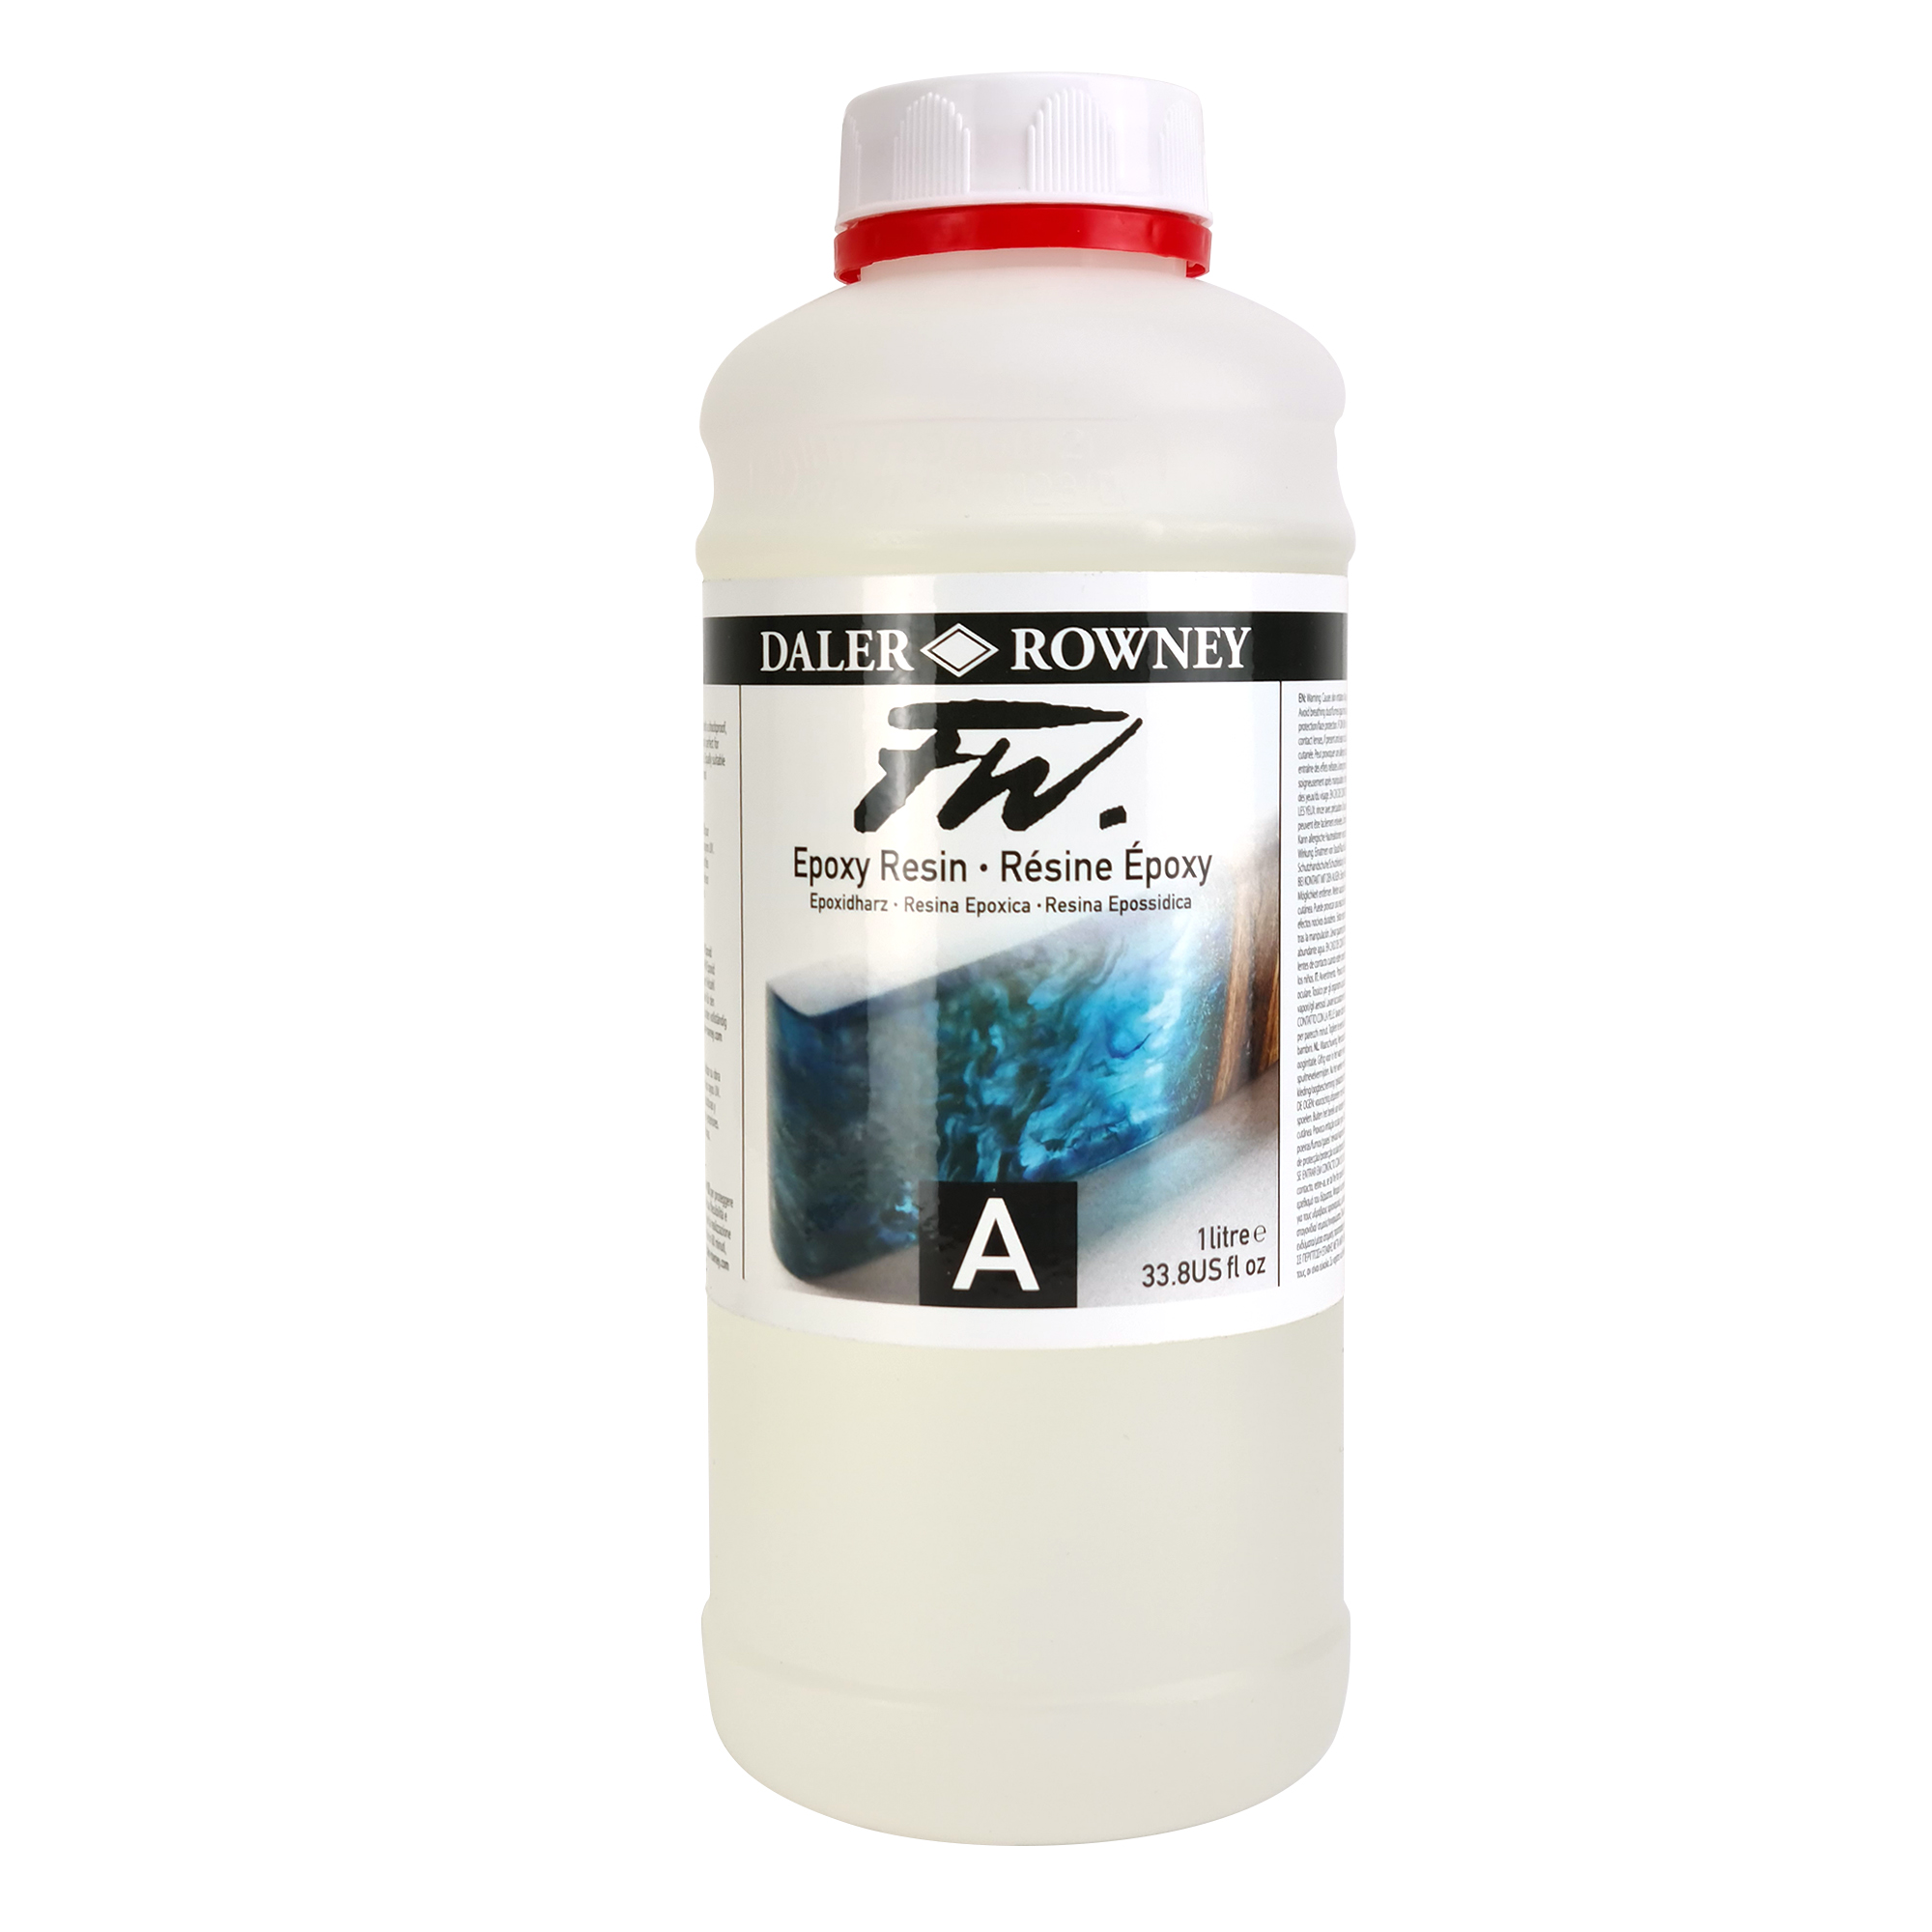
FW Epoxy Resin and Hardener
Daler-Rowney FW Epoxy Hardener is used in conjunction with Epoxy Resin to create an optically clear, high gloss finish resin art. It has been optimised so that the high loaded pigments used in FW inks will create bright and vibrant resin art.
VIEW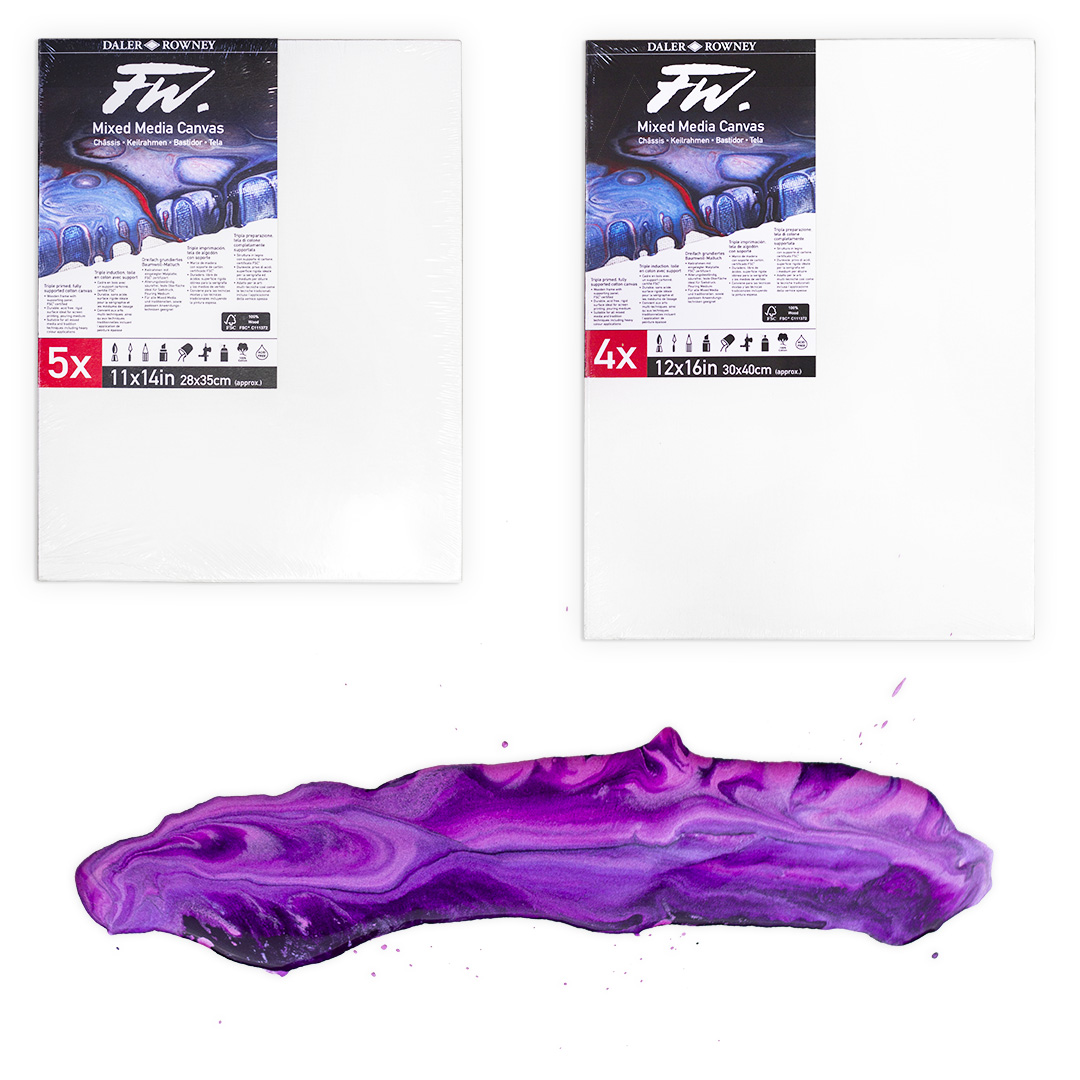
FW Mixed Media Rigid Canvas
FW Mixed Media canvases feature a rigid surface, ideal for pouring and other techniques requiring a perfectly flat canvas. The traditional wooden frame construction is supplemented by the addition of a rigid board at the top face, beneath the canvas fabric. Triple primed and ready for use, the fabric itself is acid free with a medium grain texture.
VIEW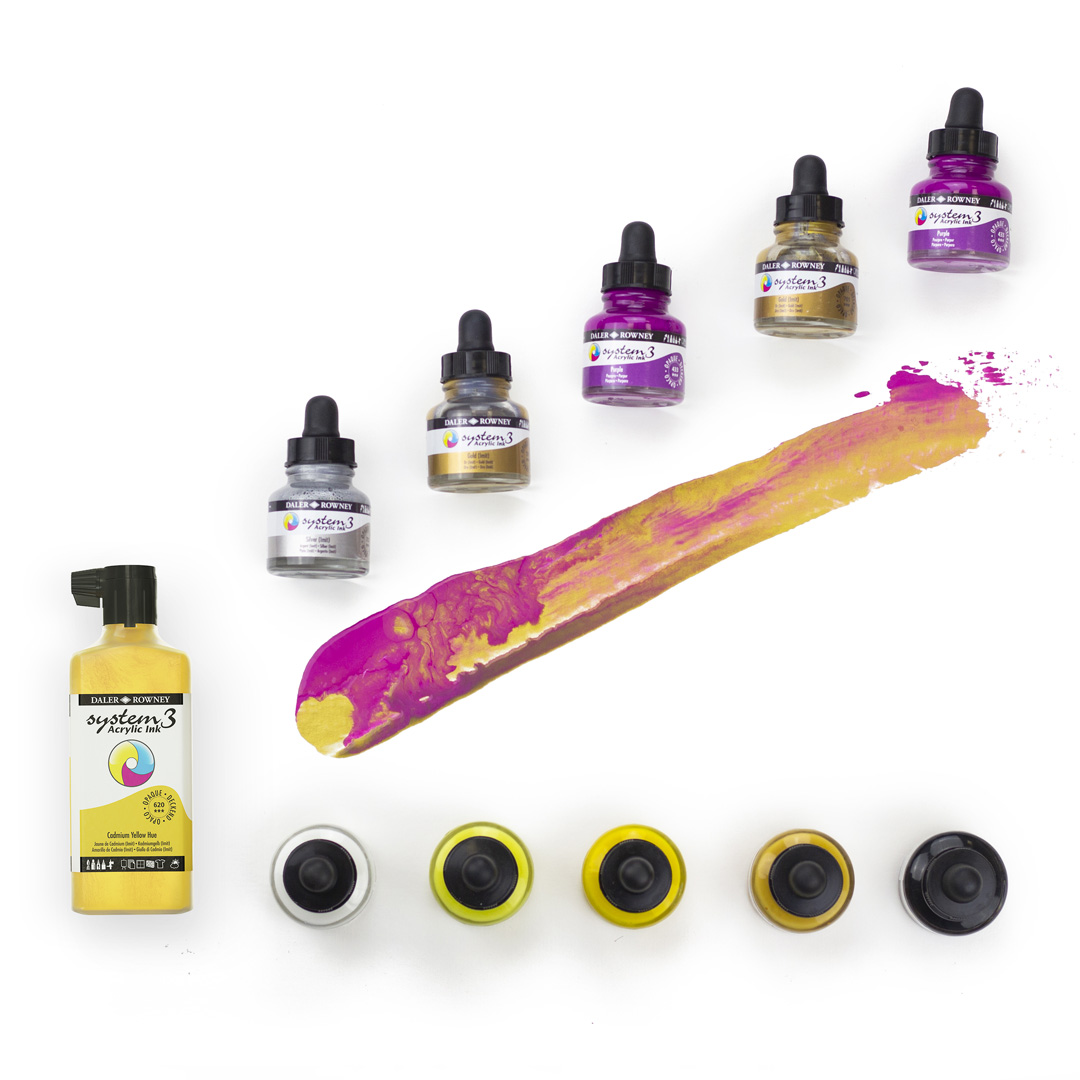
System3 Acrylic Ink
Daler-Rowney System3 Acrylic Inks are multi-surface, pigment-based opaque inks, ideal for mixed media and multi-technique applications. The System3 Acrylic Inks are water-based, water-resistant when dry and can be used inside as well as outdoor.
VIEW