#simplycreate Botanical Art

How to Simply Paint Jungle Plants
Simply Create your own botanical painting with our painting kit. The template, set of Simply acrylic paints and this step-by-step guide will show you how to use the acrylics effectively to complete your botanical design.
How to Simply Paint Jungle Plants
Simply Create your own botanical painting with our painting kit. The template, set of Simply acrylic paints and this step-by-step guide will show you how to use the acrylics effectively to complete your botanical design.
The materials in your kit
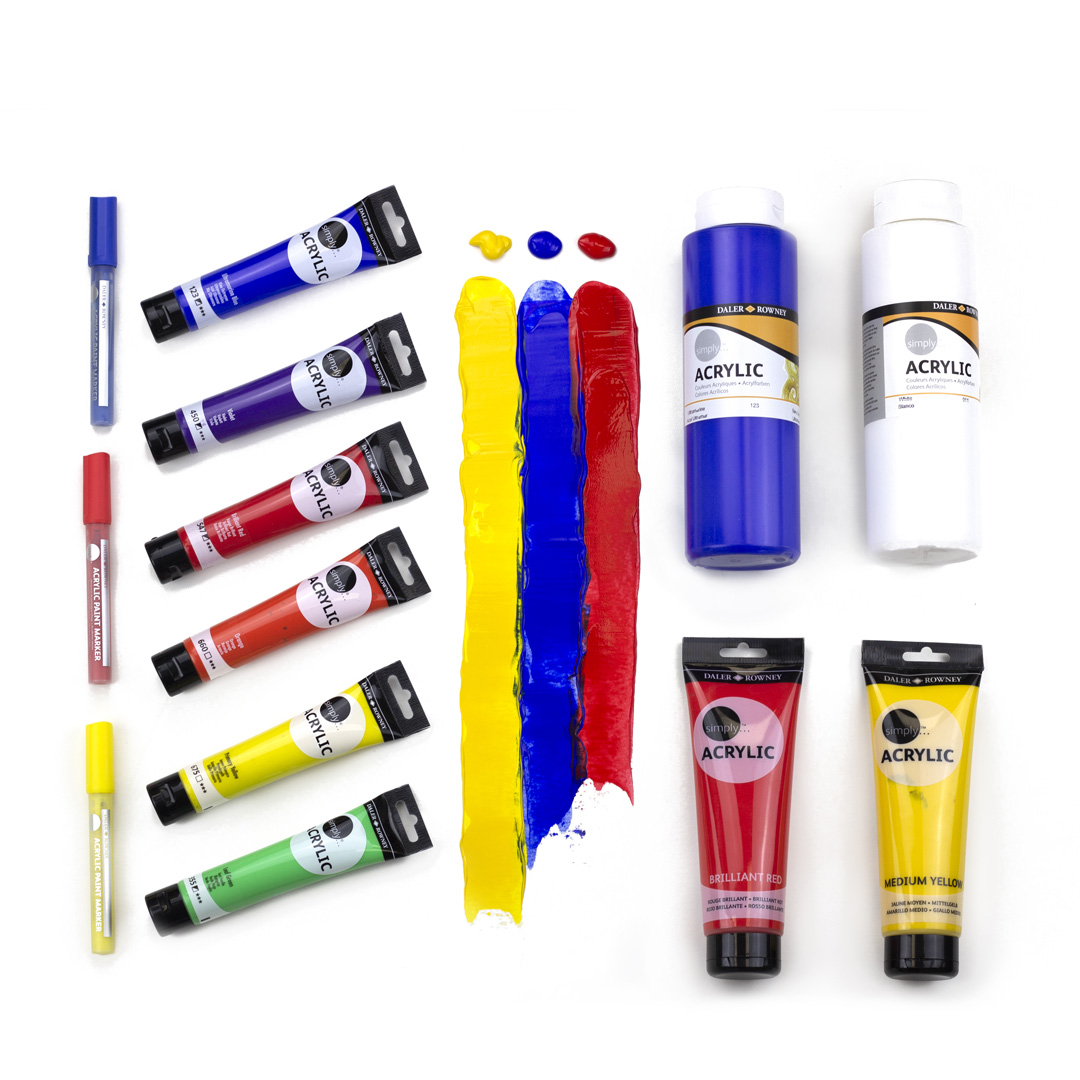
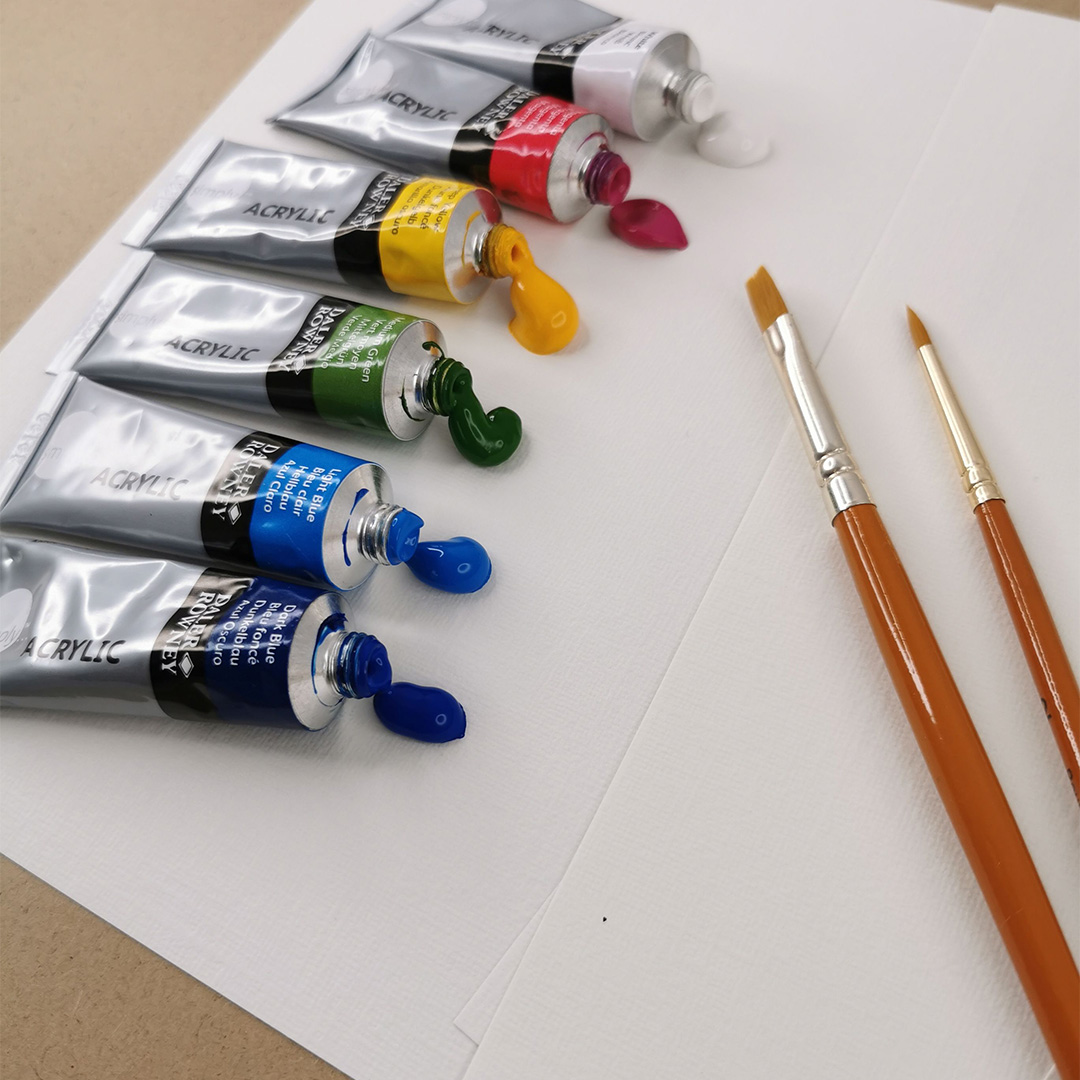
6 x 12ml tubes of Simply Acrylic Paint (Light Blue, Dark Blue, Medium Green, Deep Yellow, White, Magenta)
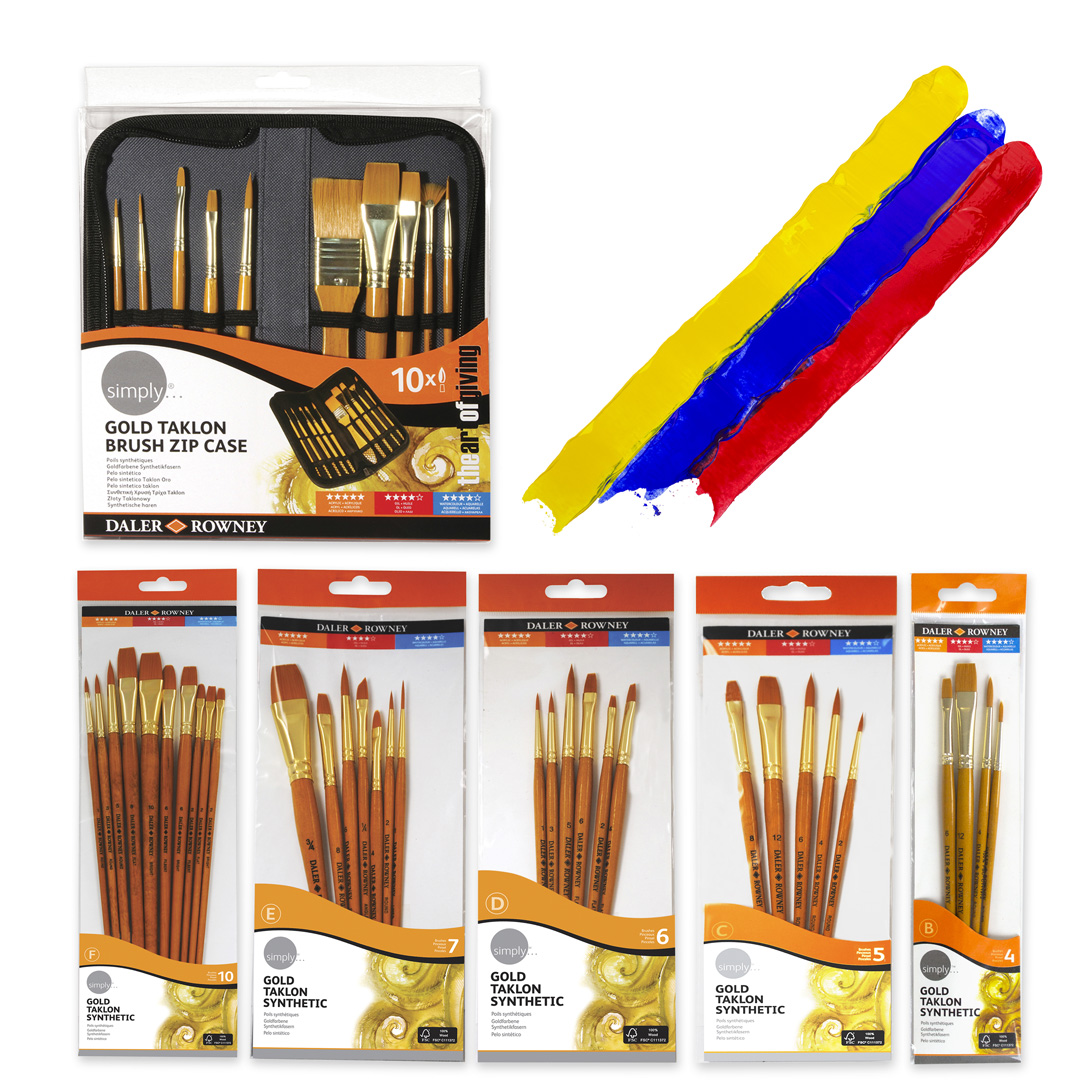
2 x Acrylic Brushes
3 x Preprinted Botanical Art design acrylic paper sheets
1 x Colour Mixing Guide
Please add
1 x Glass of Water
1 x Kitchen Roll
1 x Artist's Palette
Your step by step guide
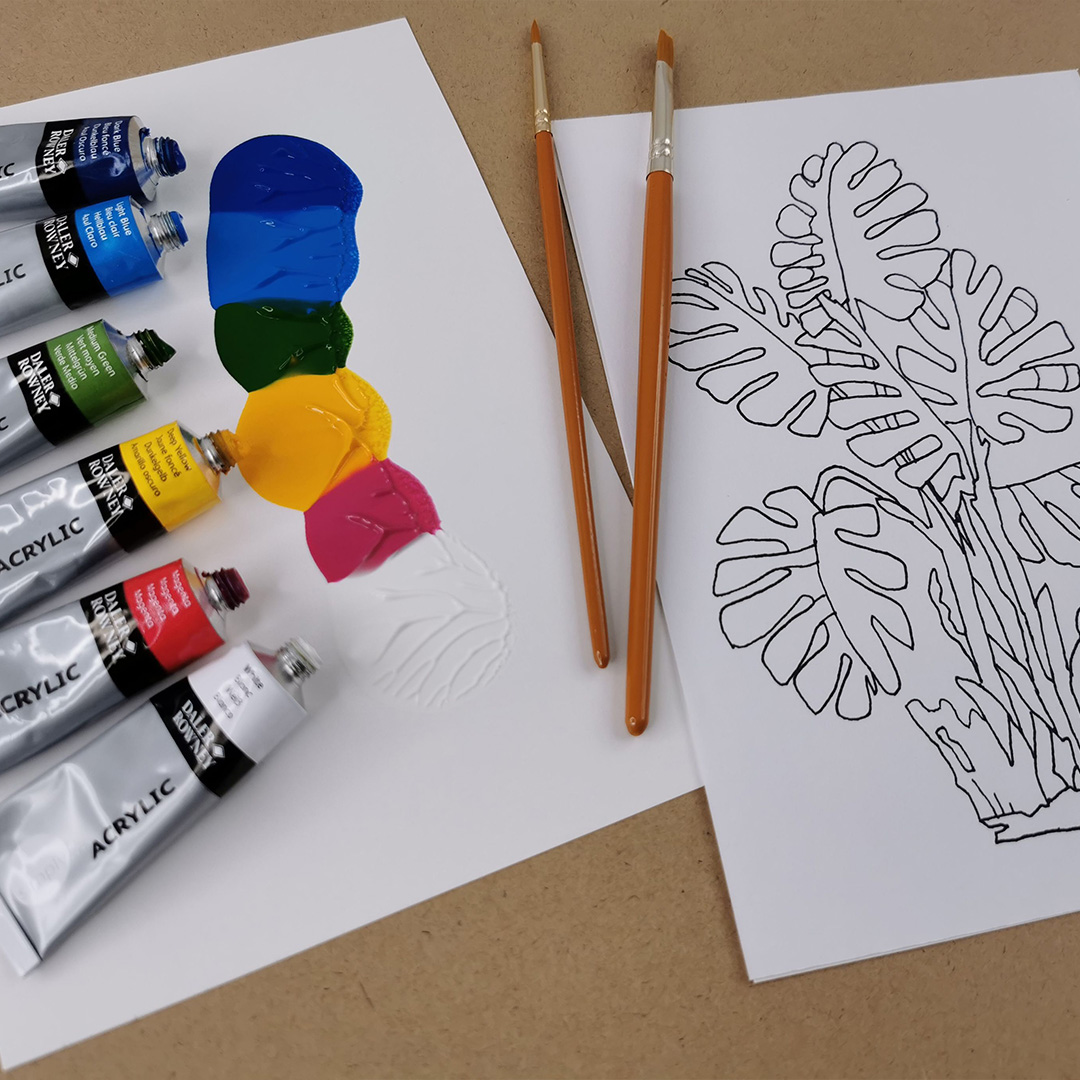
Sit comfortably at a table with all your equipment provided within the kit. Firstly, squeeze a small amount of each colour onto a piece of paper or an artist’s palette. Then use the pre-printed template provided to help you create your painting. In this demonstration, we will work on a botanical art design using Simply Acrylic paints.
Sit comfortably at a table with all your equipment provided within the kit. Firstly, squeeze a small amount of each colour onto a piece of paper or an artist’s palette. Then use the pre-printed template provided to help you create your painting. In this demonstration, we will work on a botanical art design using Simply Acrylic paints.

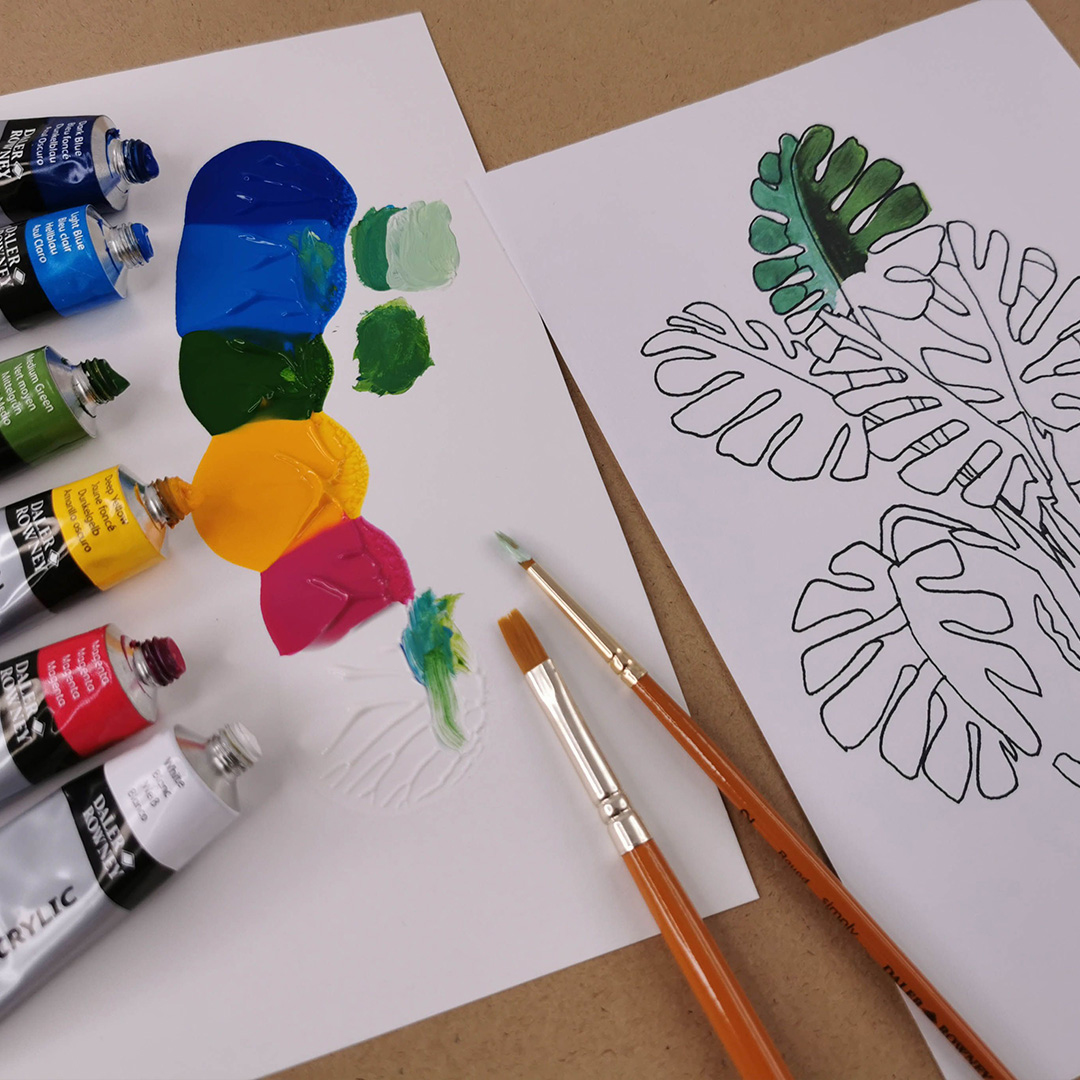
From your 6 colours, you can create multiple different colours and variations. Simply create Turquoise by mixing the Light Blue with the Medium Green, and add a touch of White to achieve a lighter Turquoise colour. This mixture will help you to work in the same tones as the image in the photo.
Feel free to use your Colour Mixing Guide to create even more colours!

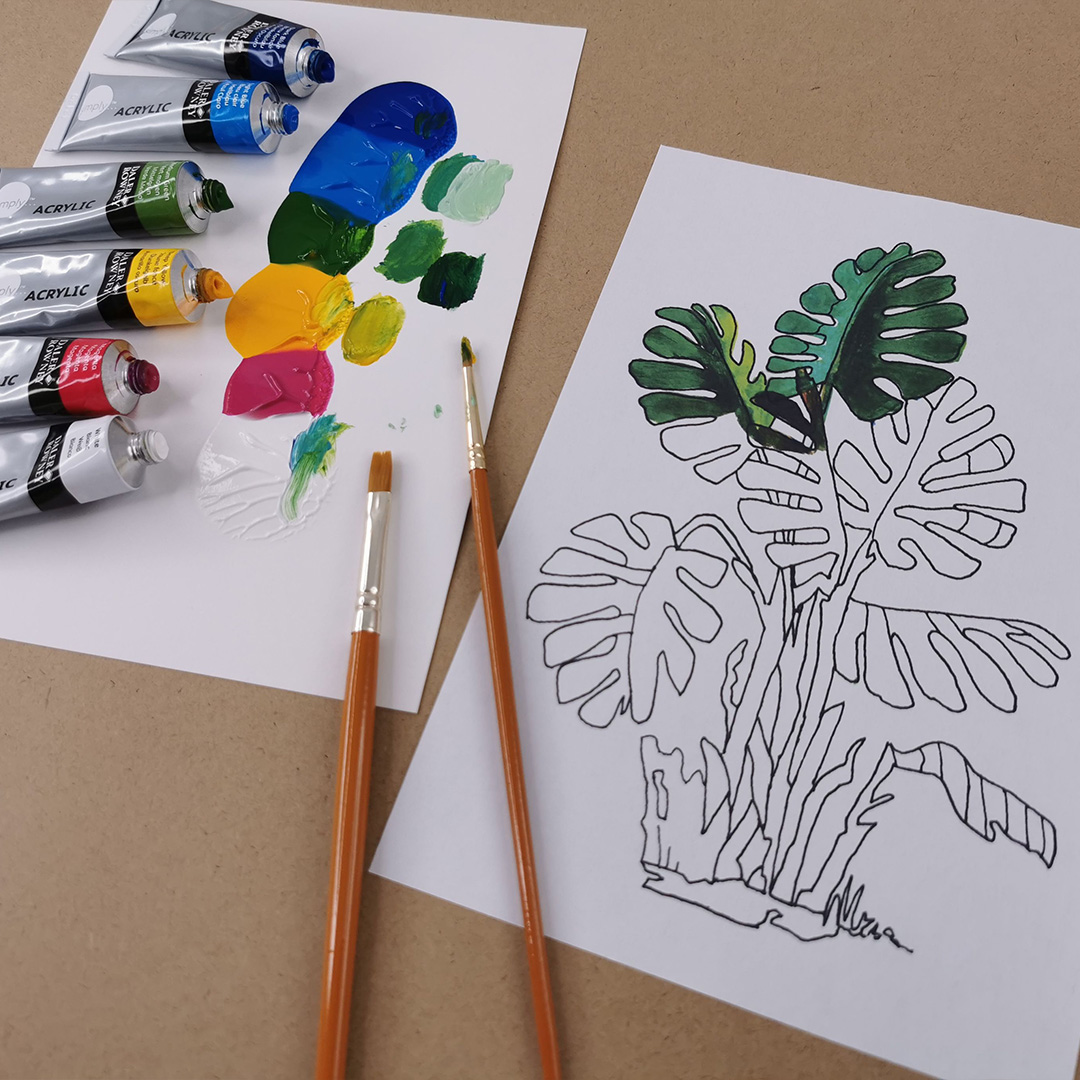
Add a hint of Deep Yellow to the greens to create lighter and brighter shades for the leaves of the plant. Have fun experimenting and mixing different Greens to paint the leaves, to create shadows and shade variations. Refer to the Colour Mixing Guide included for help.
Add a hint of Deep Yellow to the greens to create lighter and brighter shades for the leaves of the plant. Have fun experimenting and mixing different Greens to paint the leaves, to create shadows and shade variations. Refer to the Colour Mixing Guide included for help.

To play with shadows, add Dark Blue to the green or apply the blue hues only to vary the effects of foliage. The wider the variety of Greens in the foliage the more natural and exciting the final composition will look.
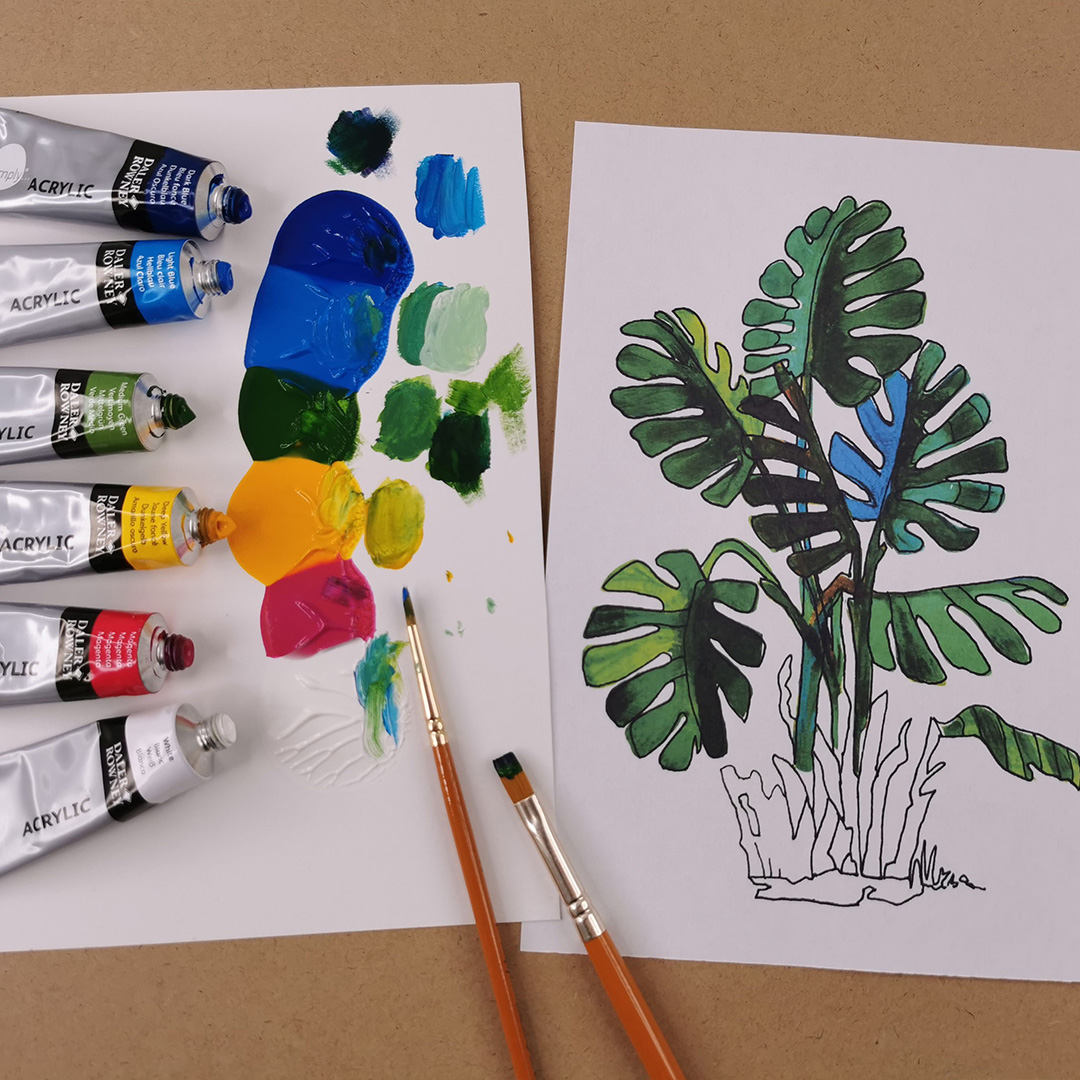
After applying the paint to all the foliage, you can now move to the stems of the plant. Using Deep Yellow, Magenta and White, work the base of the stems and roots to create a gradient starting from the Yellow, then Red through to Orange.
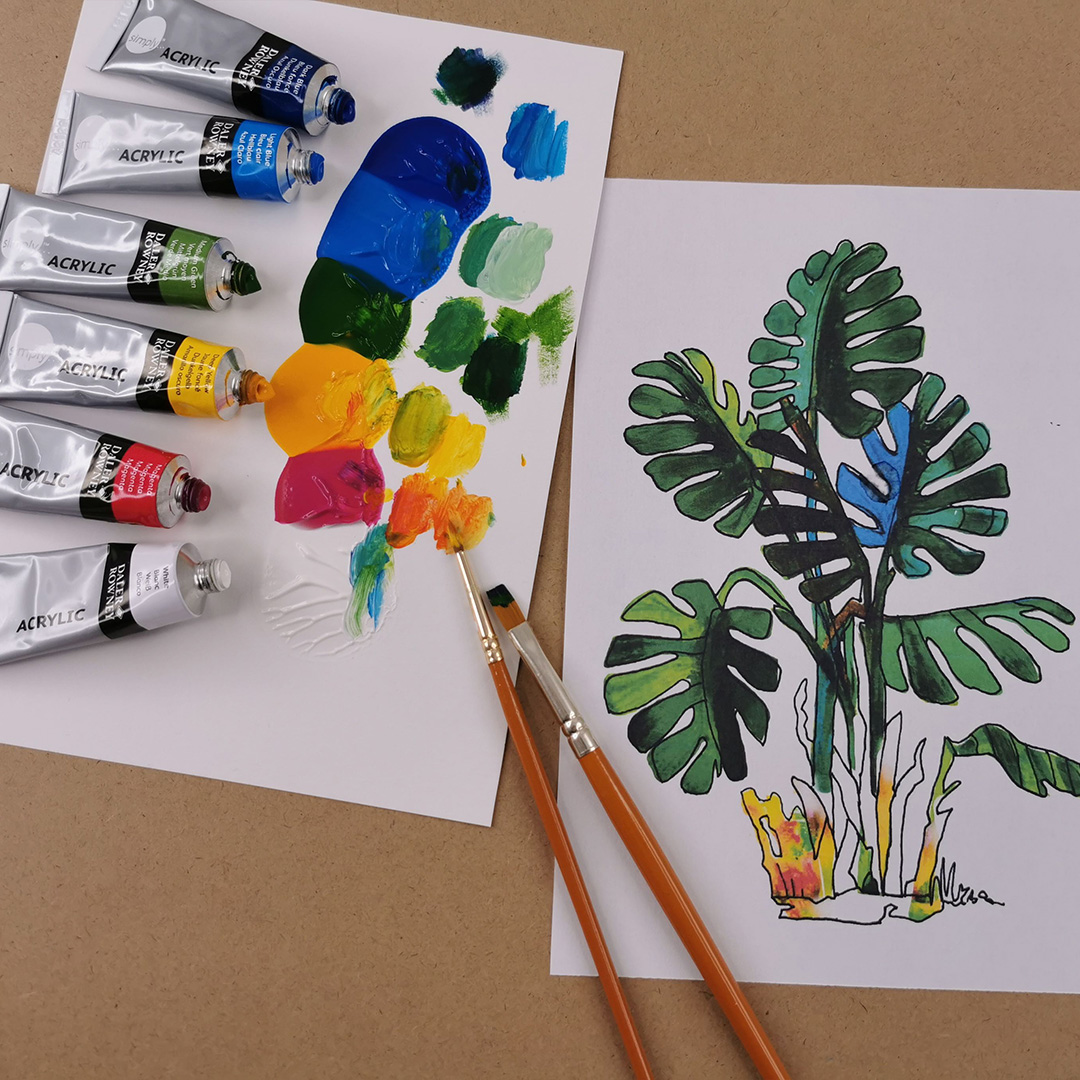
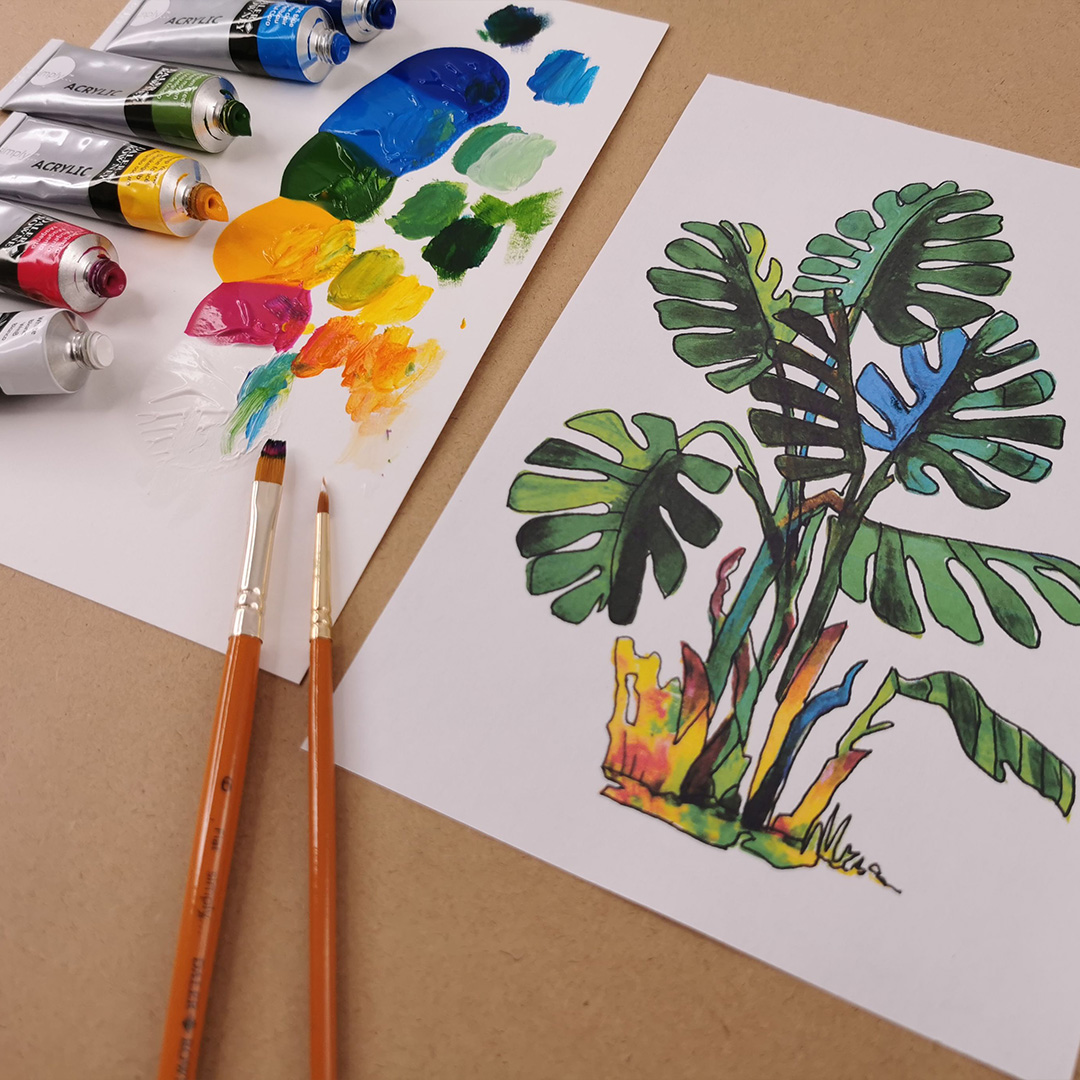
This is the last step of the painting. With acrylic paint, it is possible to go back over the previous step (if the paint is dry) to harmonise everything by adding touches of lighter and darker shades to add more depth to the painting. Clean the brushes well between each colour change.
This is the last step of the painting. With acrylic paint, it is possible to go back over the previous step (if the paint is dry) to harmonise everything by adding touches of lighter and darker shades to add more depth to the painting. Clean the brushes well between each colour change.

Your step by step guide
About the artist
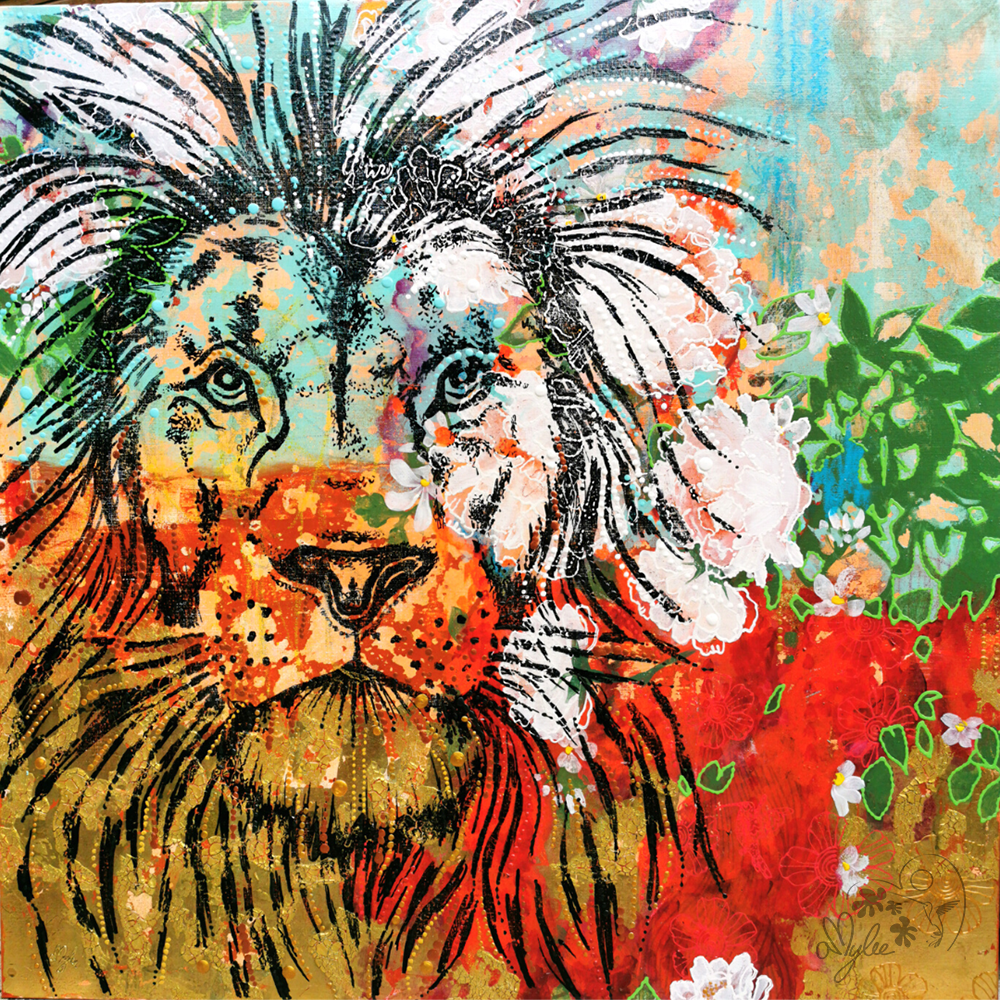
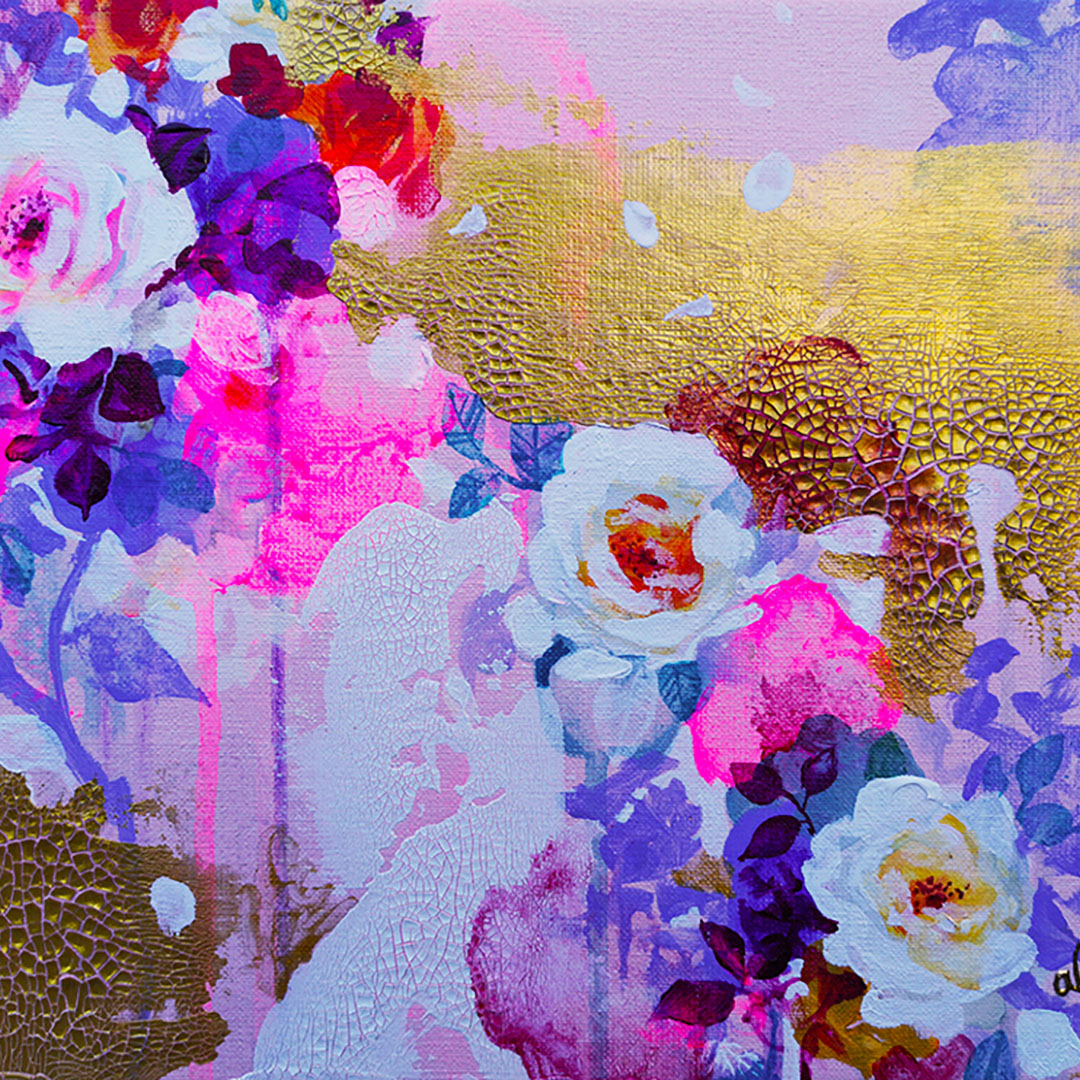
The painter Amylee Paris tirelessly finds her inspiration in colour and nature. Her abstract blooms and portraits shine in several art galleries in the UK.
