#simplycreate Landscape Painting
How to paint a cherry blossom tree with watercolours
Like the tree itself, cherry blossom paintings are beautiful. Learn how to paint a cherry blossom tree with this easy step-by-step guide by Daler-Rowney artist, Amylee Paris. Using Simply Watercolour Paints, this tutorial and the activity pack is ideal for beginners who are looking for an easy way to create a Japanese cherry blossom tree painting worthy of framing to hang up on the wall!
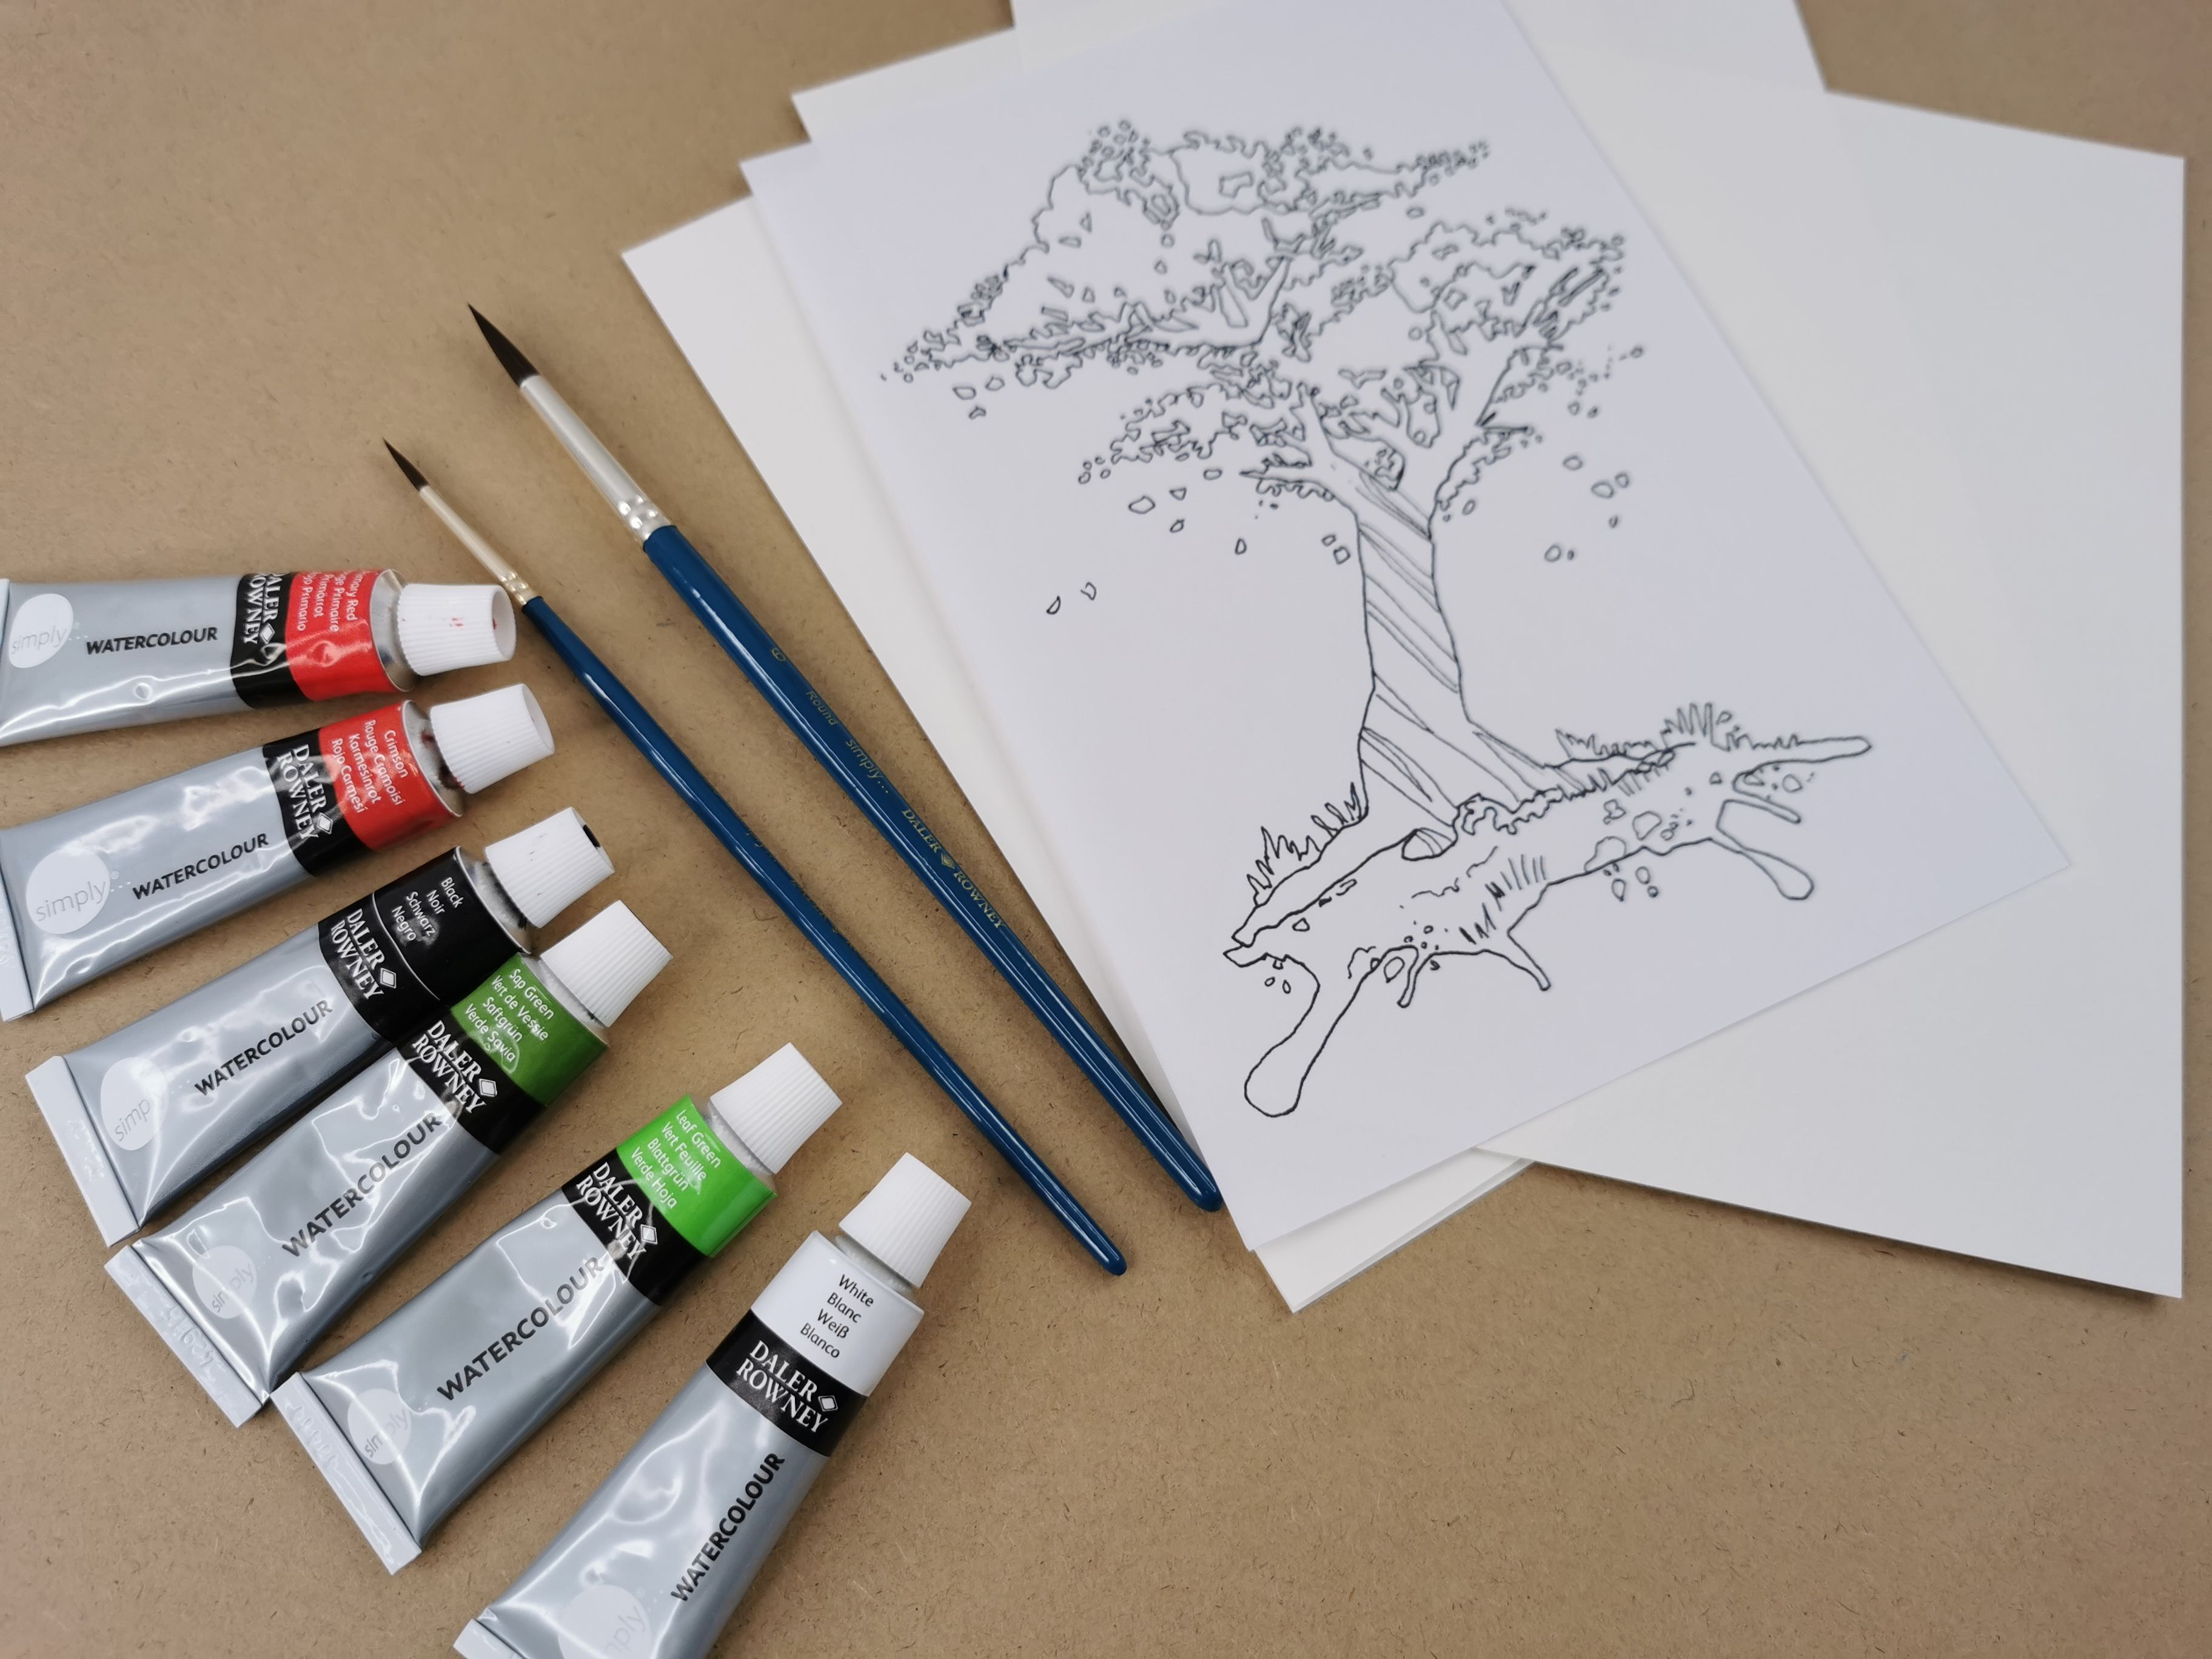
The materials in your kit
6 x 12ml tubes of Simply Watercolour Paint (Crimson, Black, White, Primary Red, Sap Green, Leaf Green)
2 x Watercolour Round Brushes
3 x Preprinted Cherry Tree design watercolour paper sheets
1 x Colour Mixing Guide
Please add
1 x Glass of Water
1 x Kitchen Roll
1 x Artist's Palette
Your step by step guide
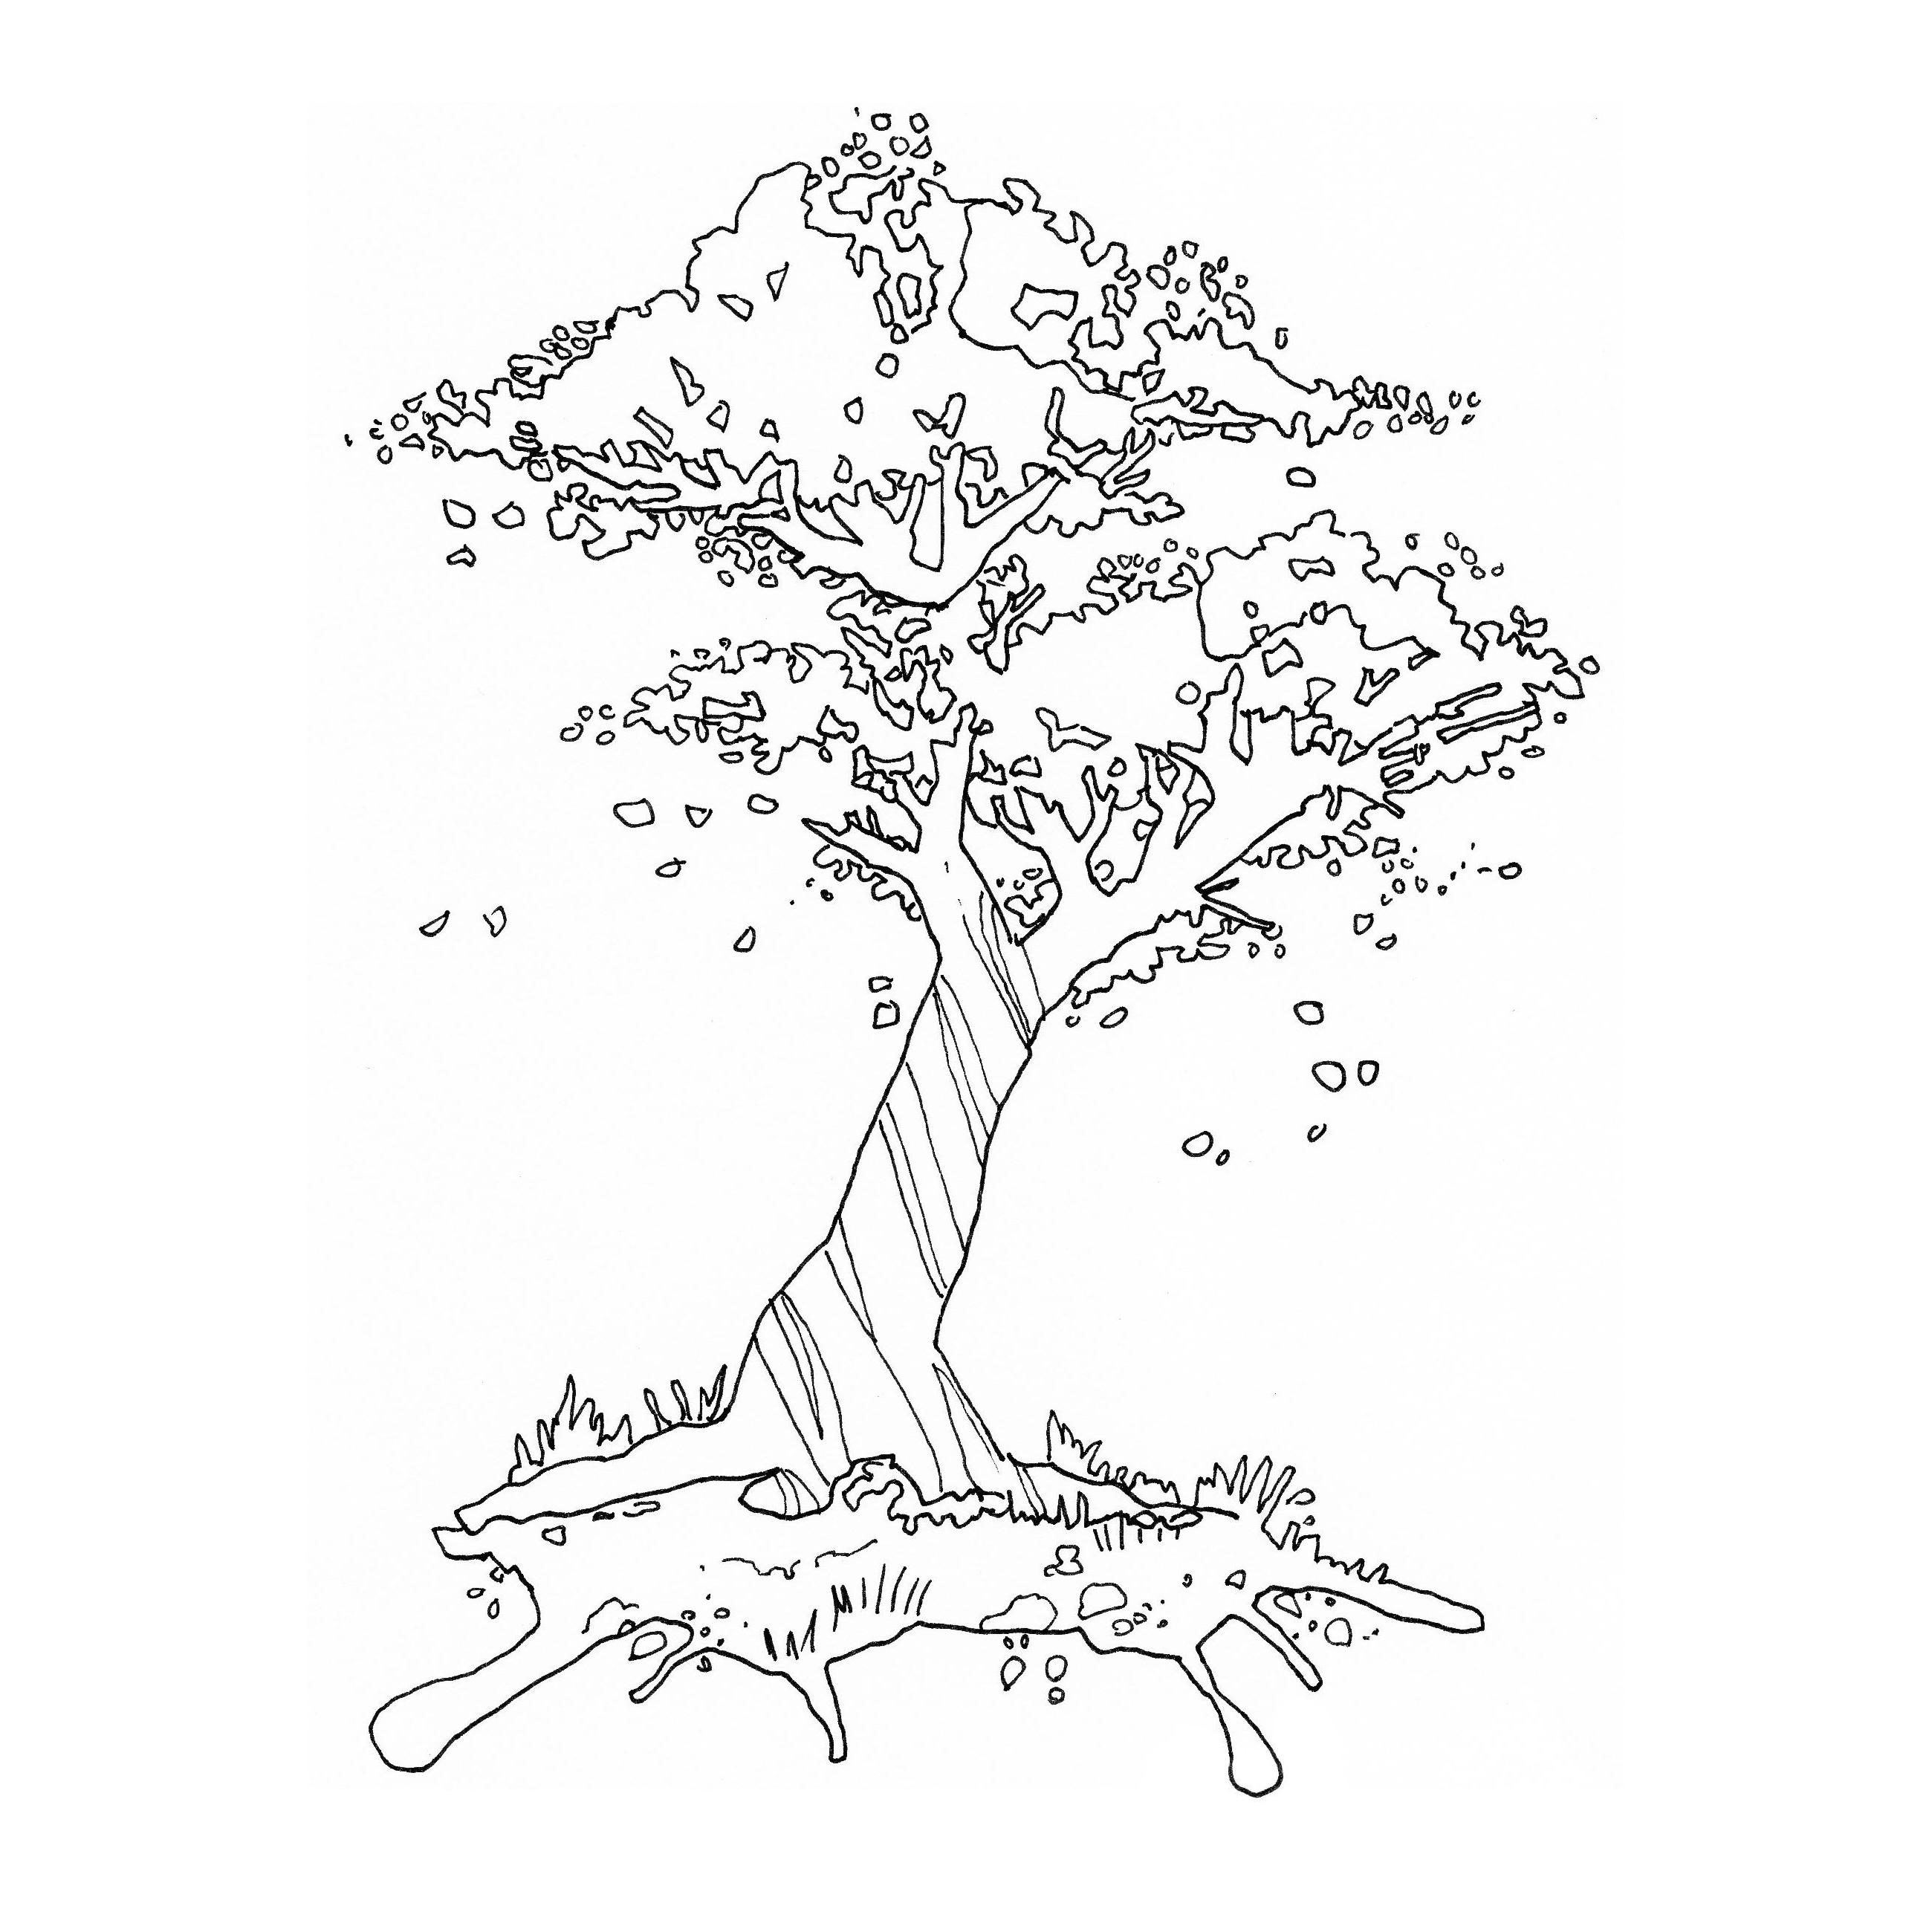
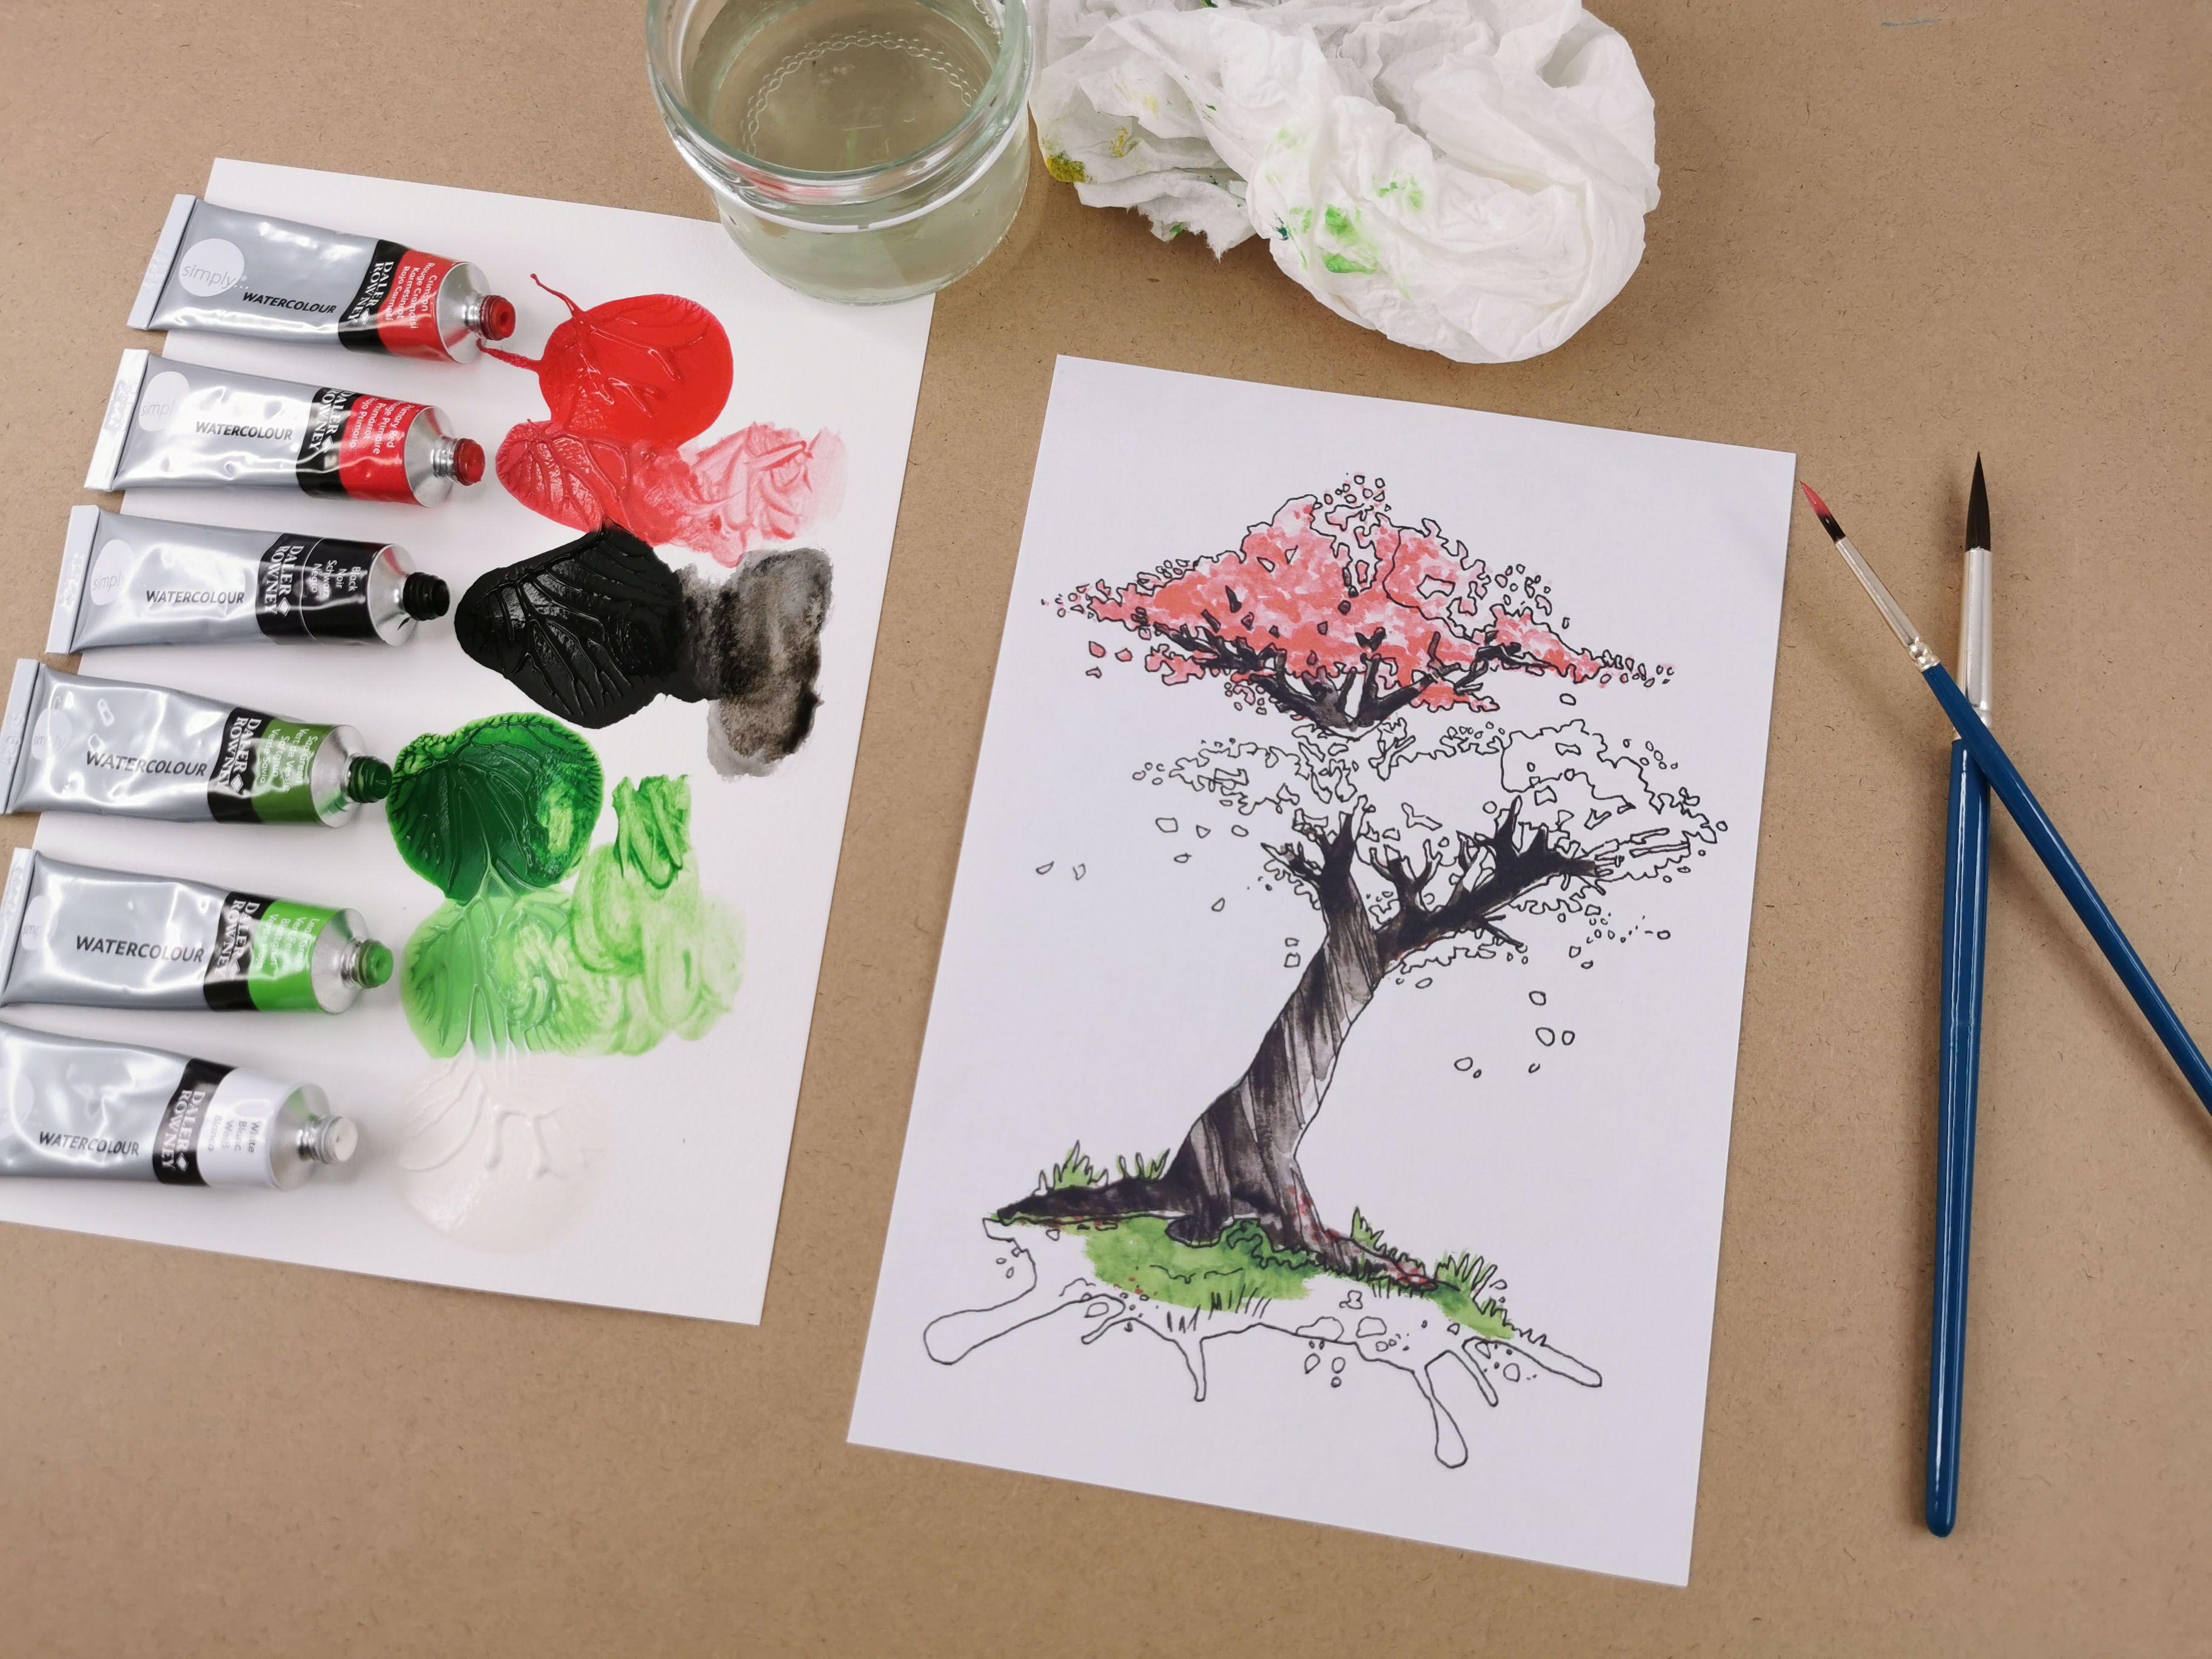
Sit comfortably at a table with all your equipment provided within the set. Firstly, squeeze a small amount of each colour onto a piece of paper or an artist’s palette. Then use the pre-printed template provided to help you create your Japanese cherry blossom painting. In this demonstration, we will work on a cherry tree in blossom using Simply Watercolour paints.
Sit comfortably at a table with all your equipment provided within the set. Firstly, squeeze a small amount of each colour onto a piece of paper or an artist’s palette. Then use the pre-printed template provided to help you create your Japanese cherry blossom painting. In this demonstration, we will work on a cherry tree in blossom using Simply Watercolour paints.
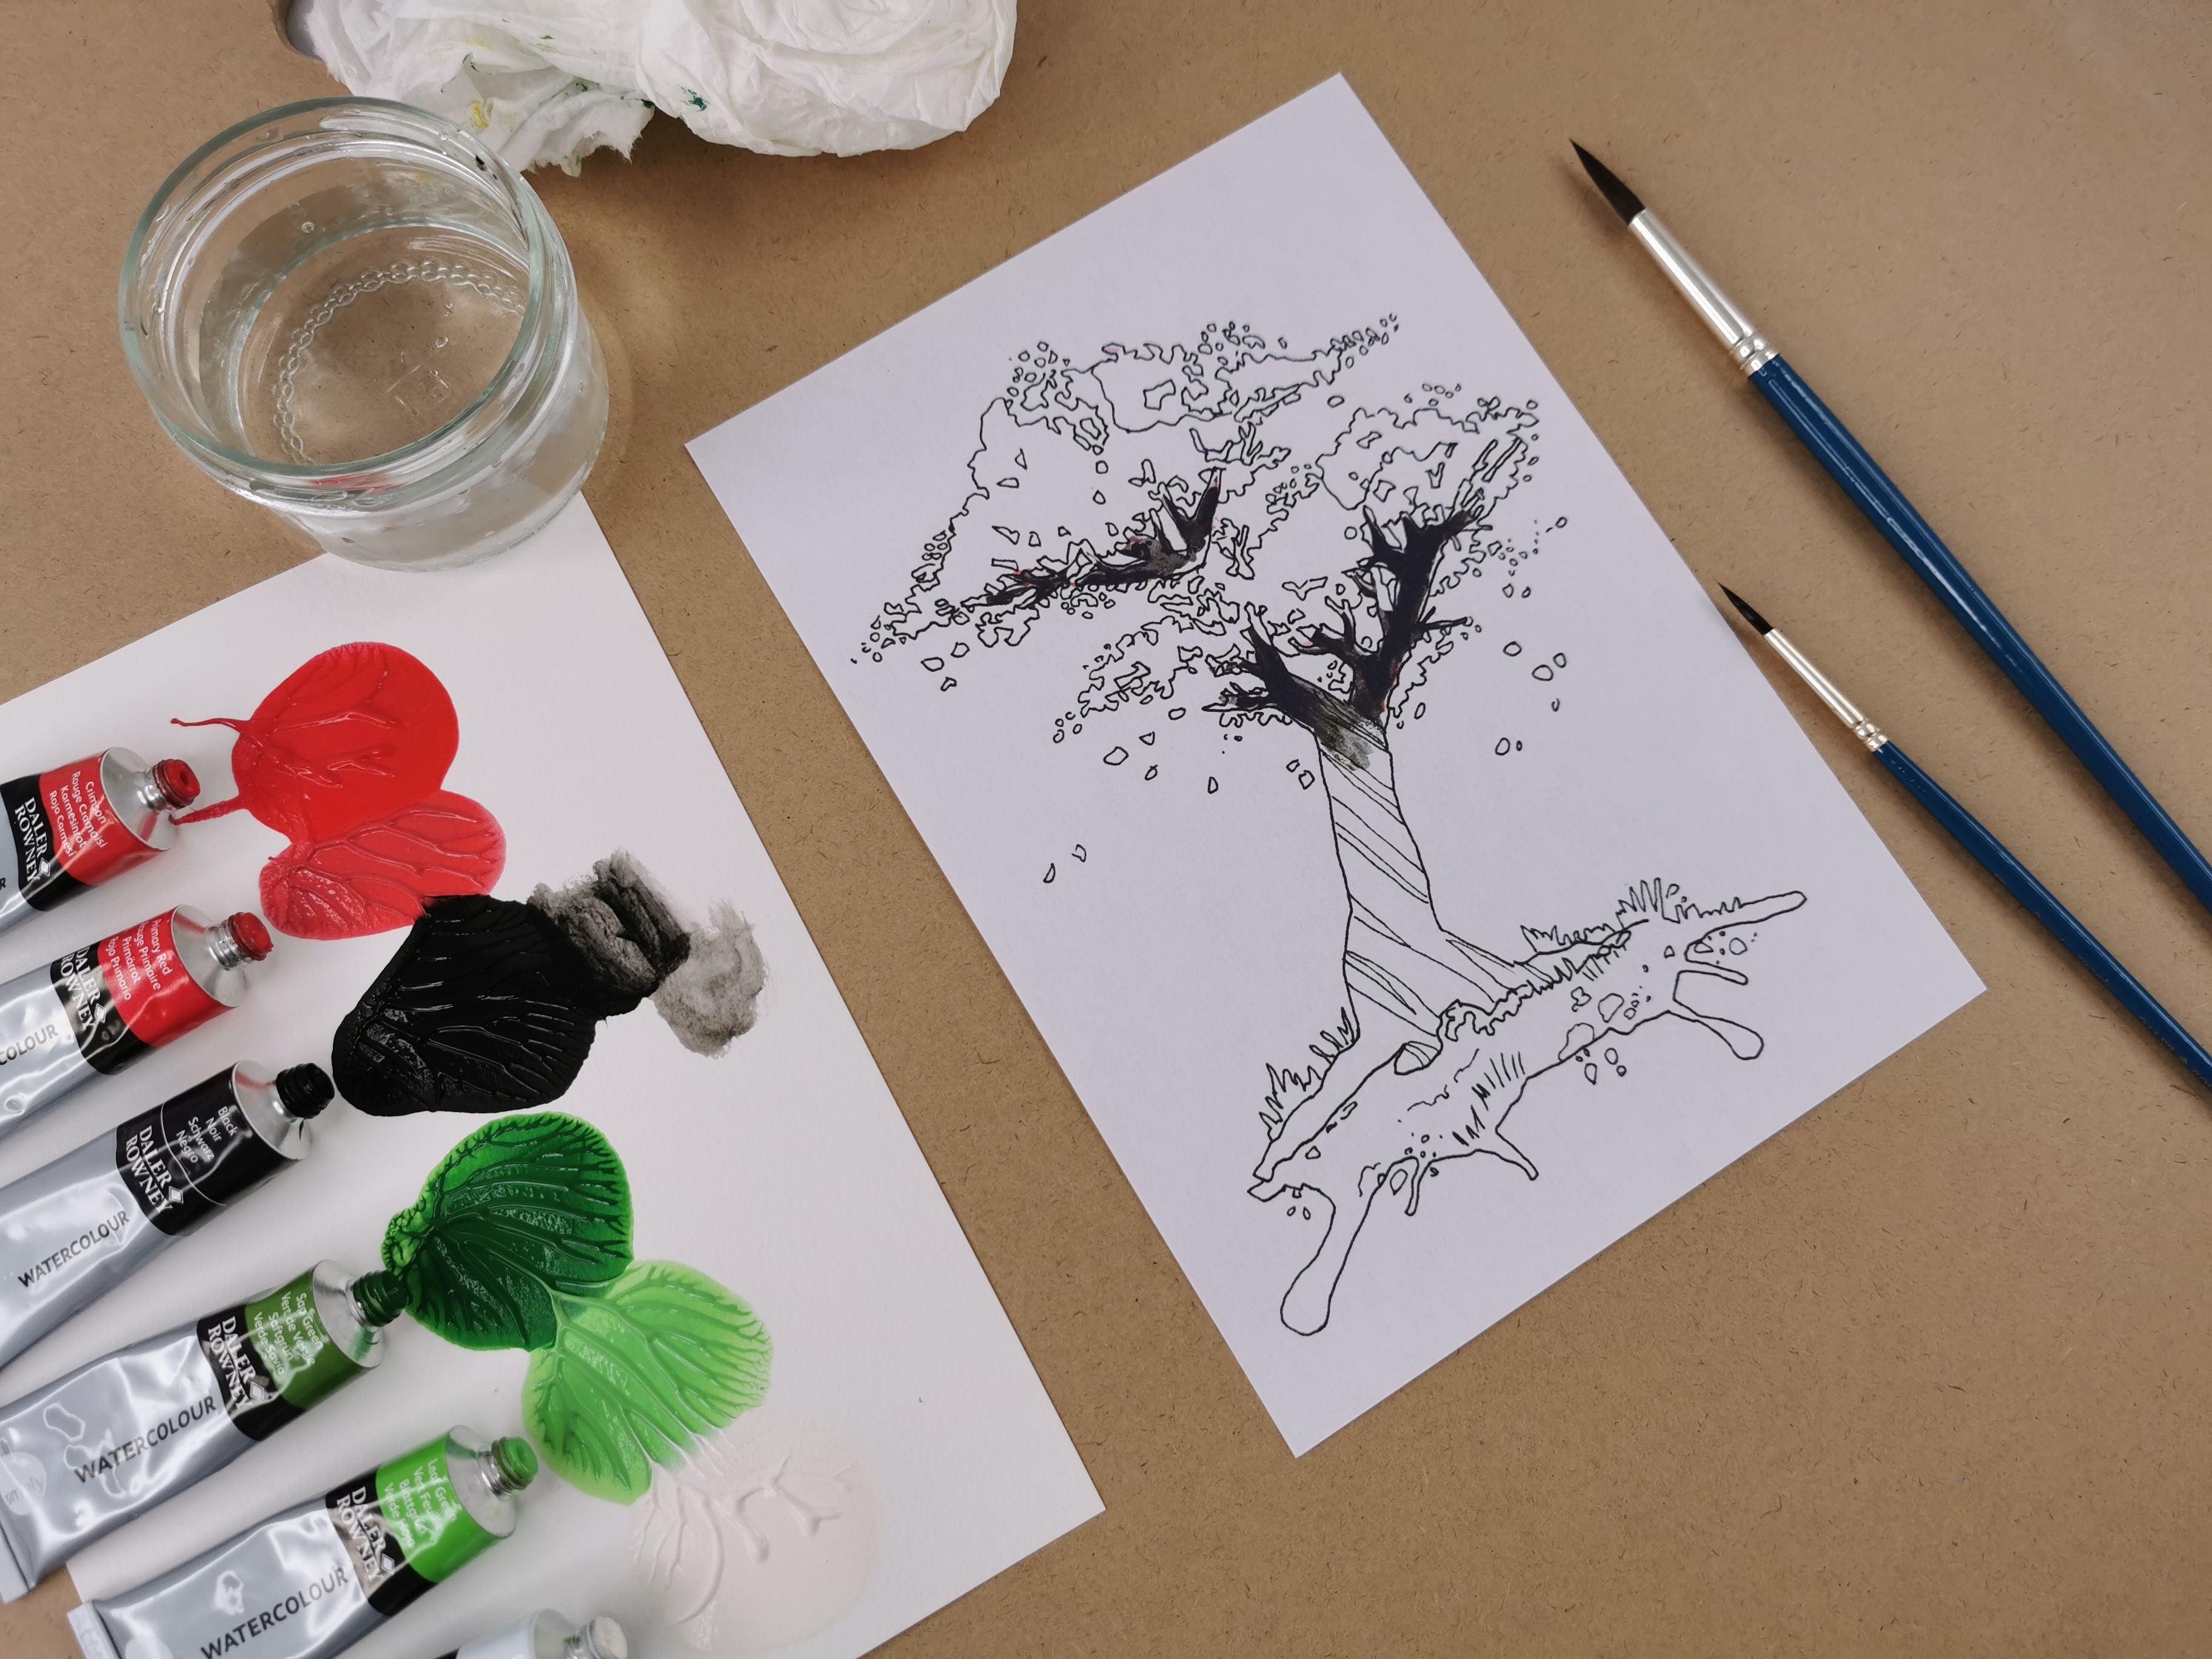
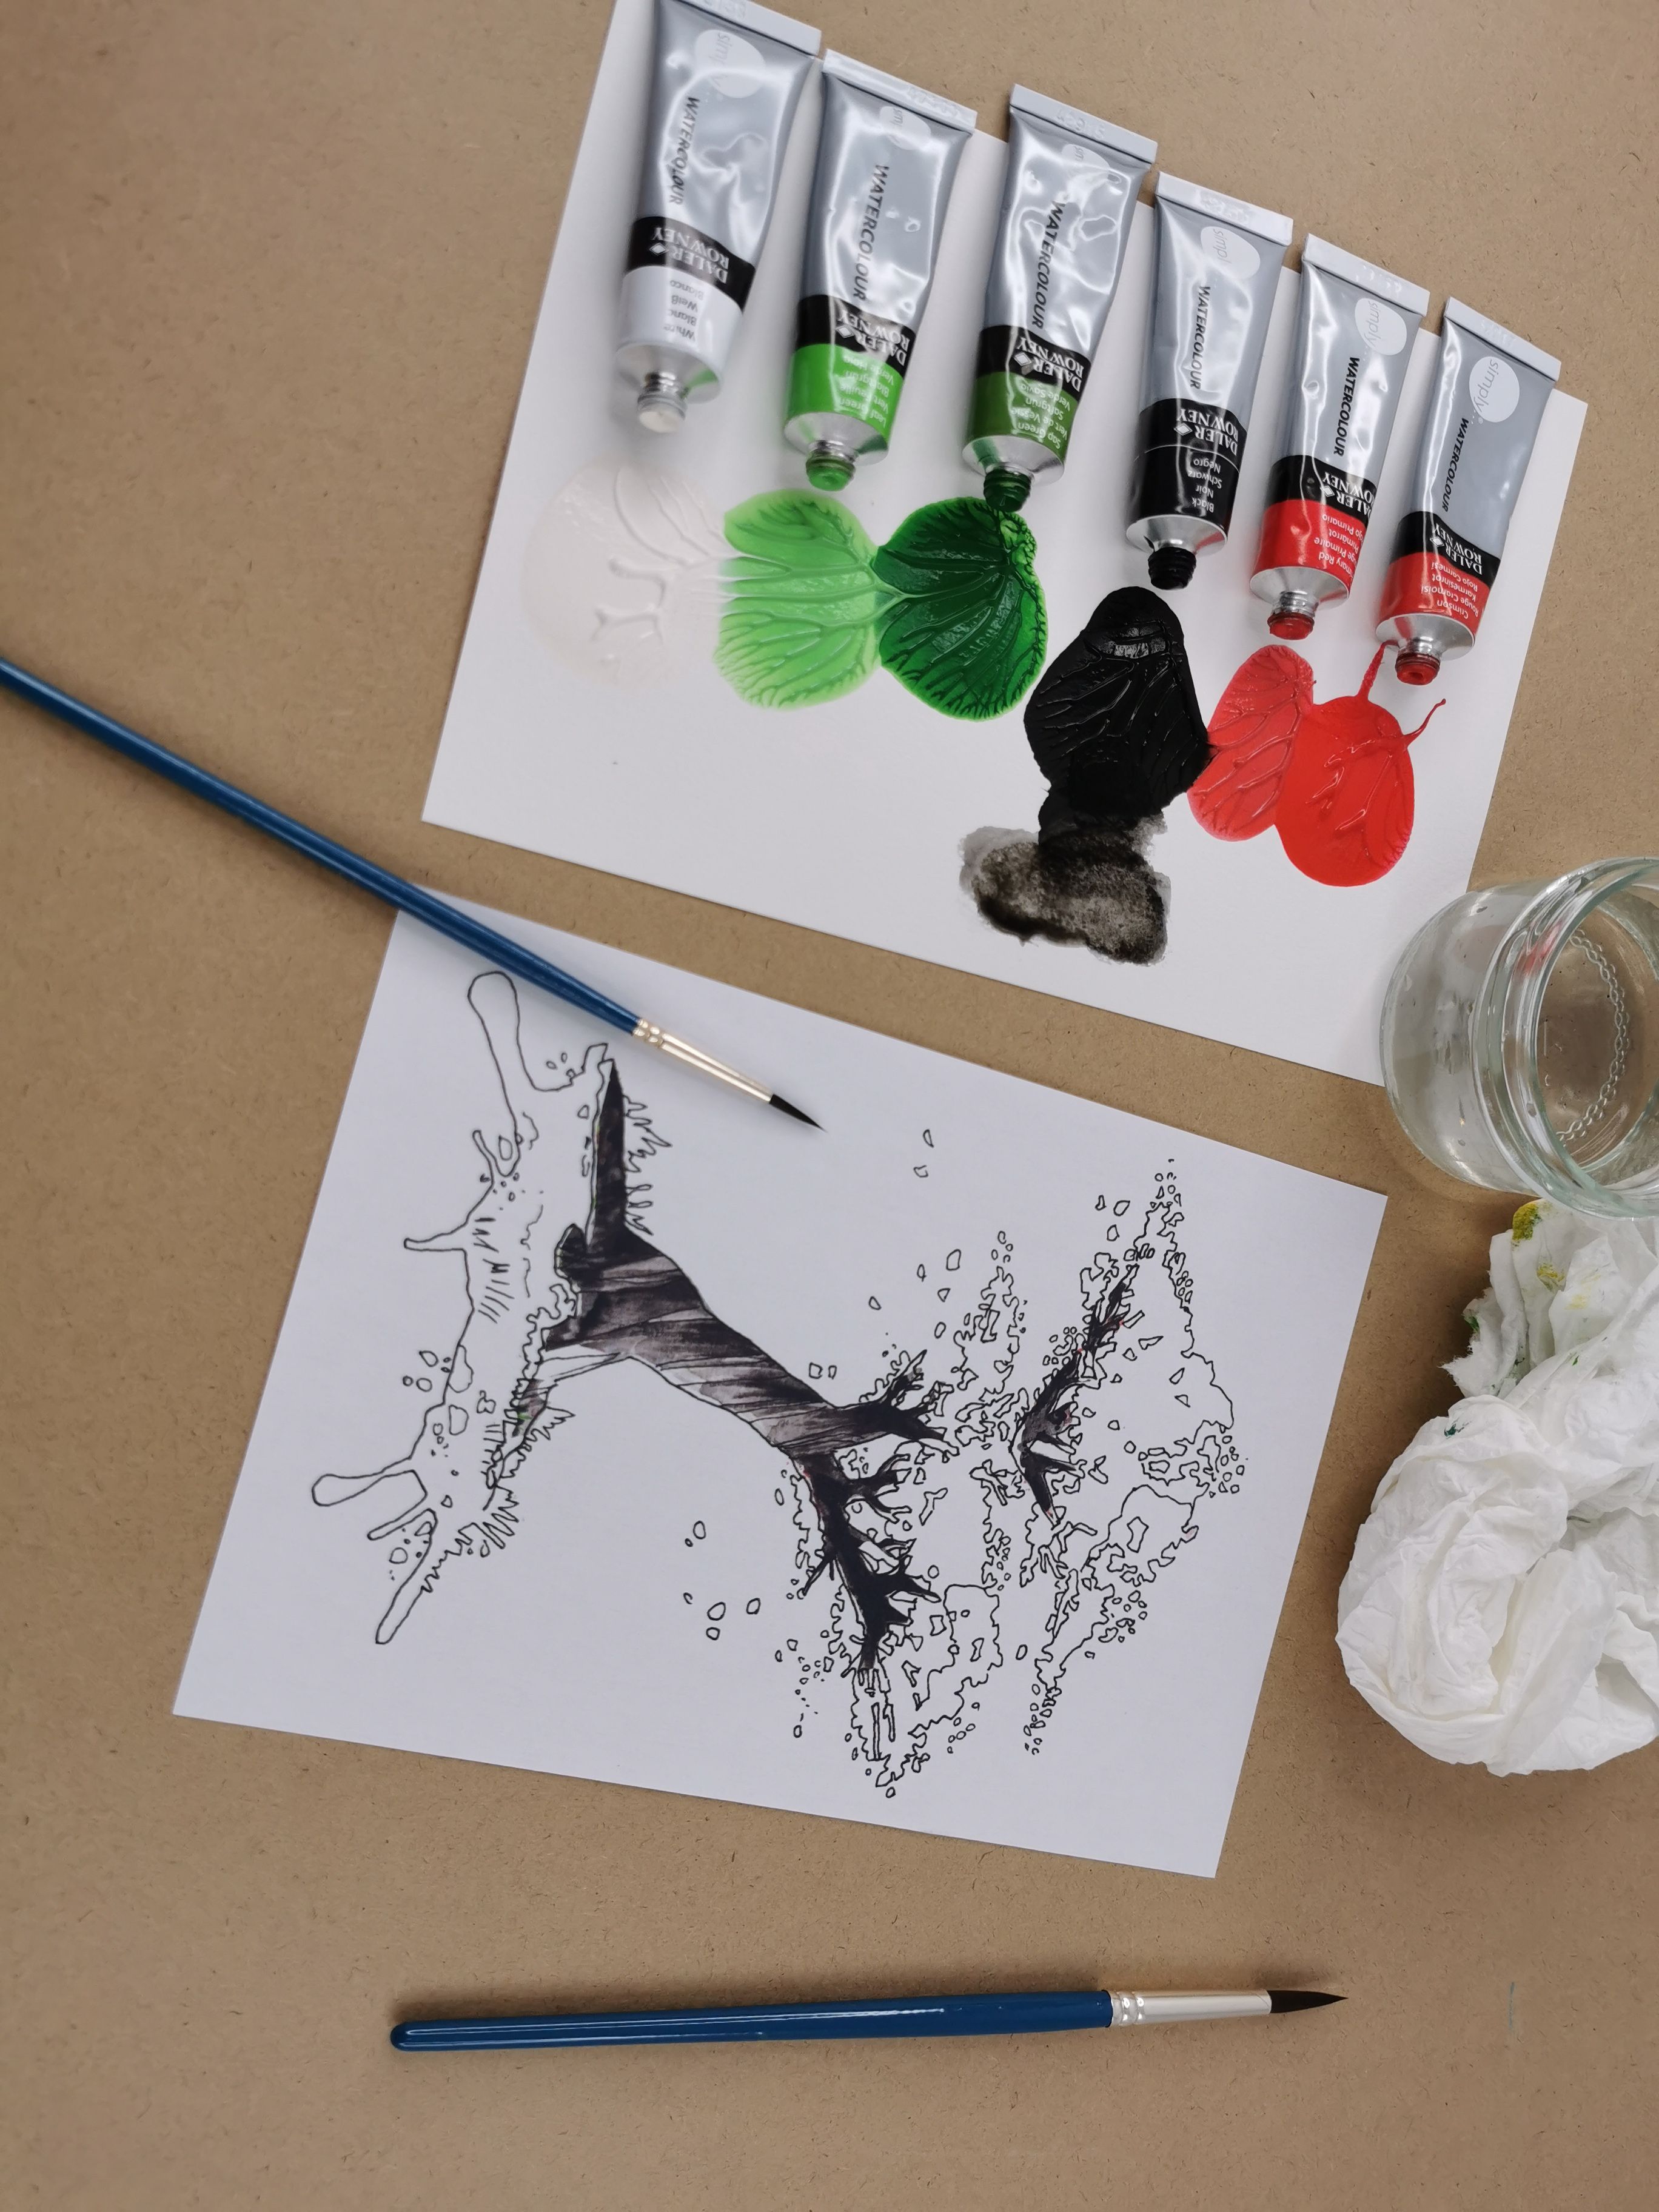
Using Black, start painting the upper branches of the tree and move down little by little following the template. Dilute the Black paint with water to create shade variations in the branches and trunk of the blossom tree to achieve a more natural effect, the colour does not need to be uniform.
Using Black, start painting the upper branches of the tree and move down little by little following the template. Dilute the Black paint with water to create shade variations in the branches and trunk of the blossom tree to achieve a more natural effect, the colour does not need to be uniform.
Some cherry blossoms in Japan have twisted branches and trunks. With water, dilute the Black paint to work with Grey shades show achieve the twists within the tree. It is possible to add White to Black to create a more opaque Grey.
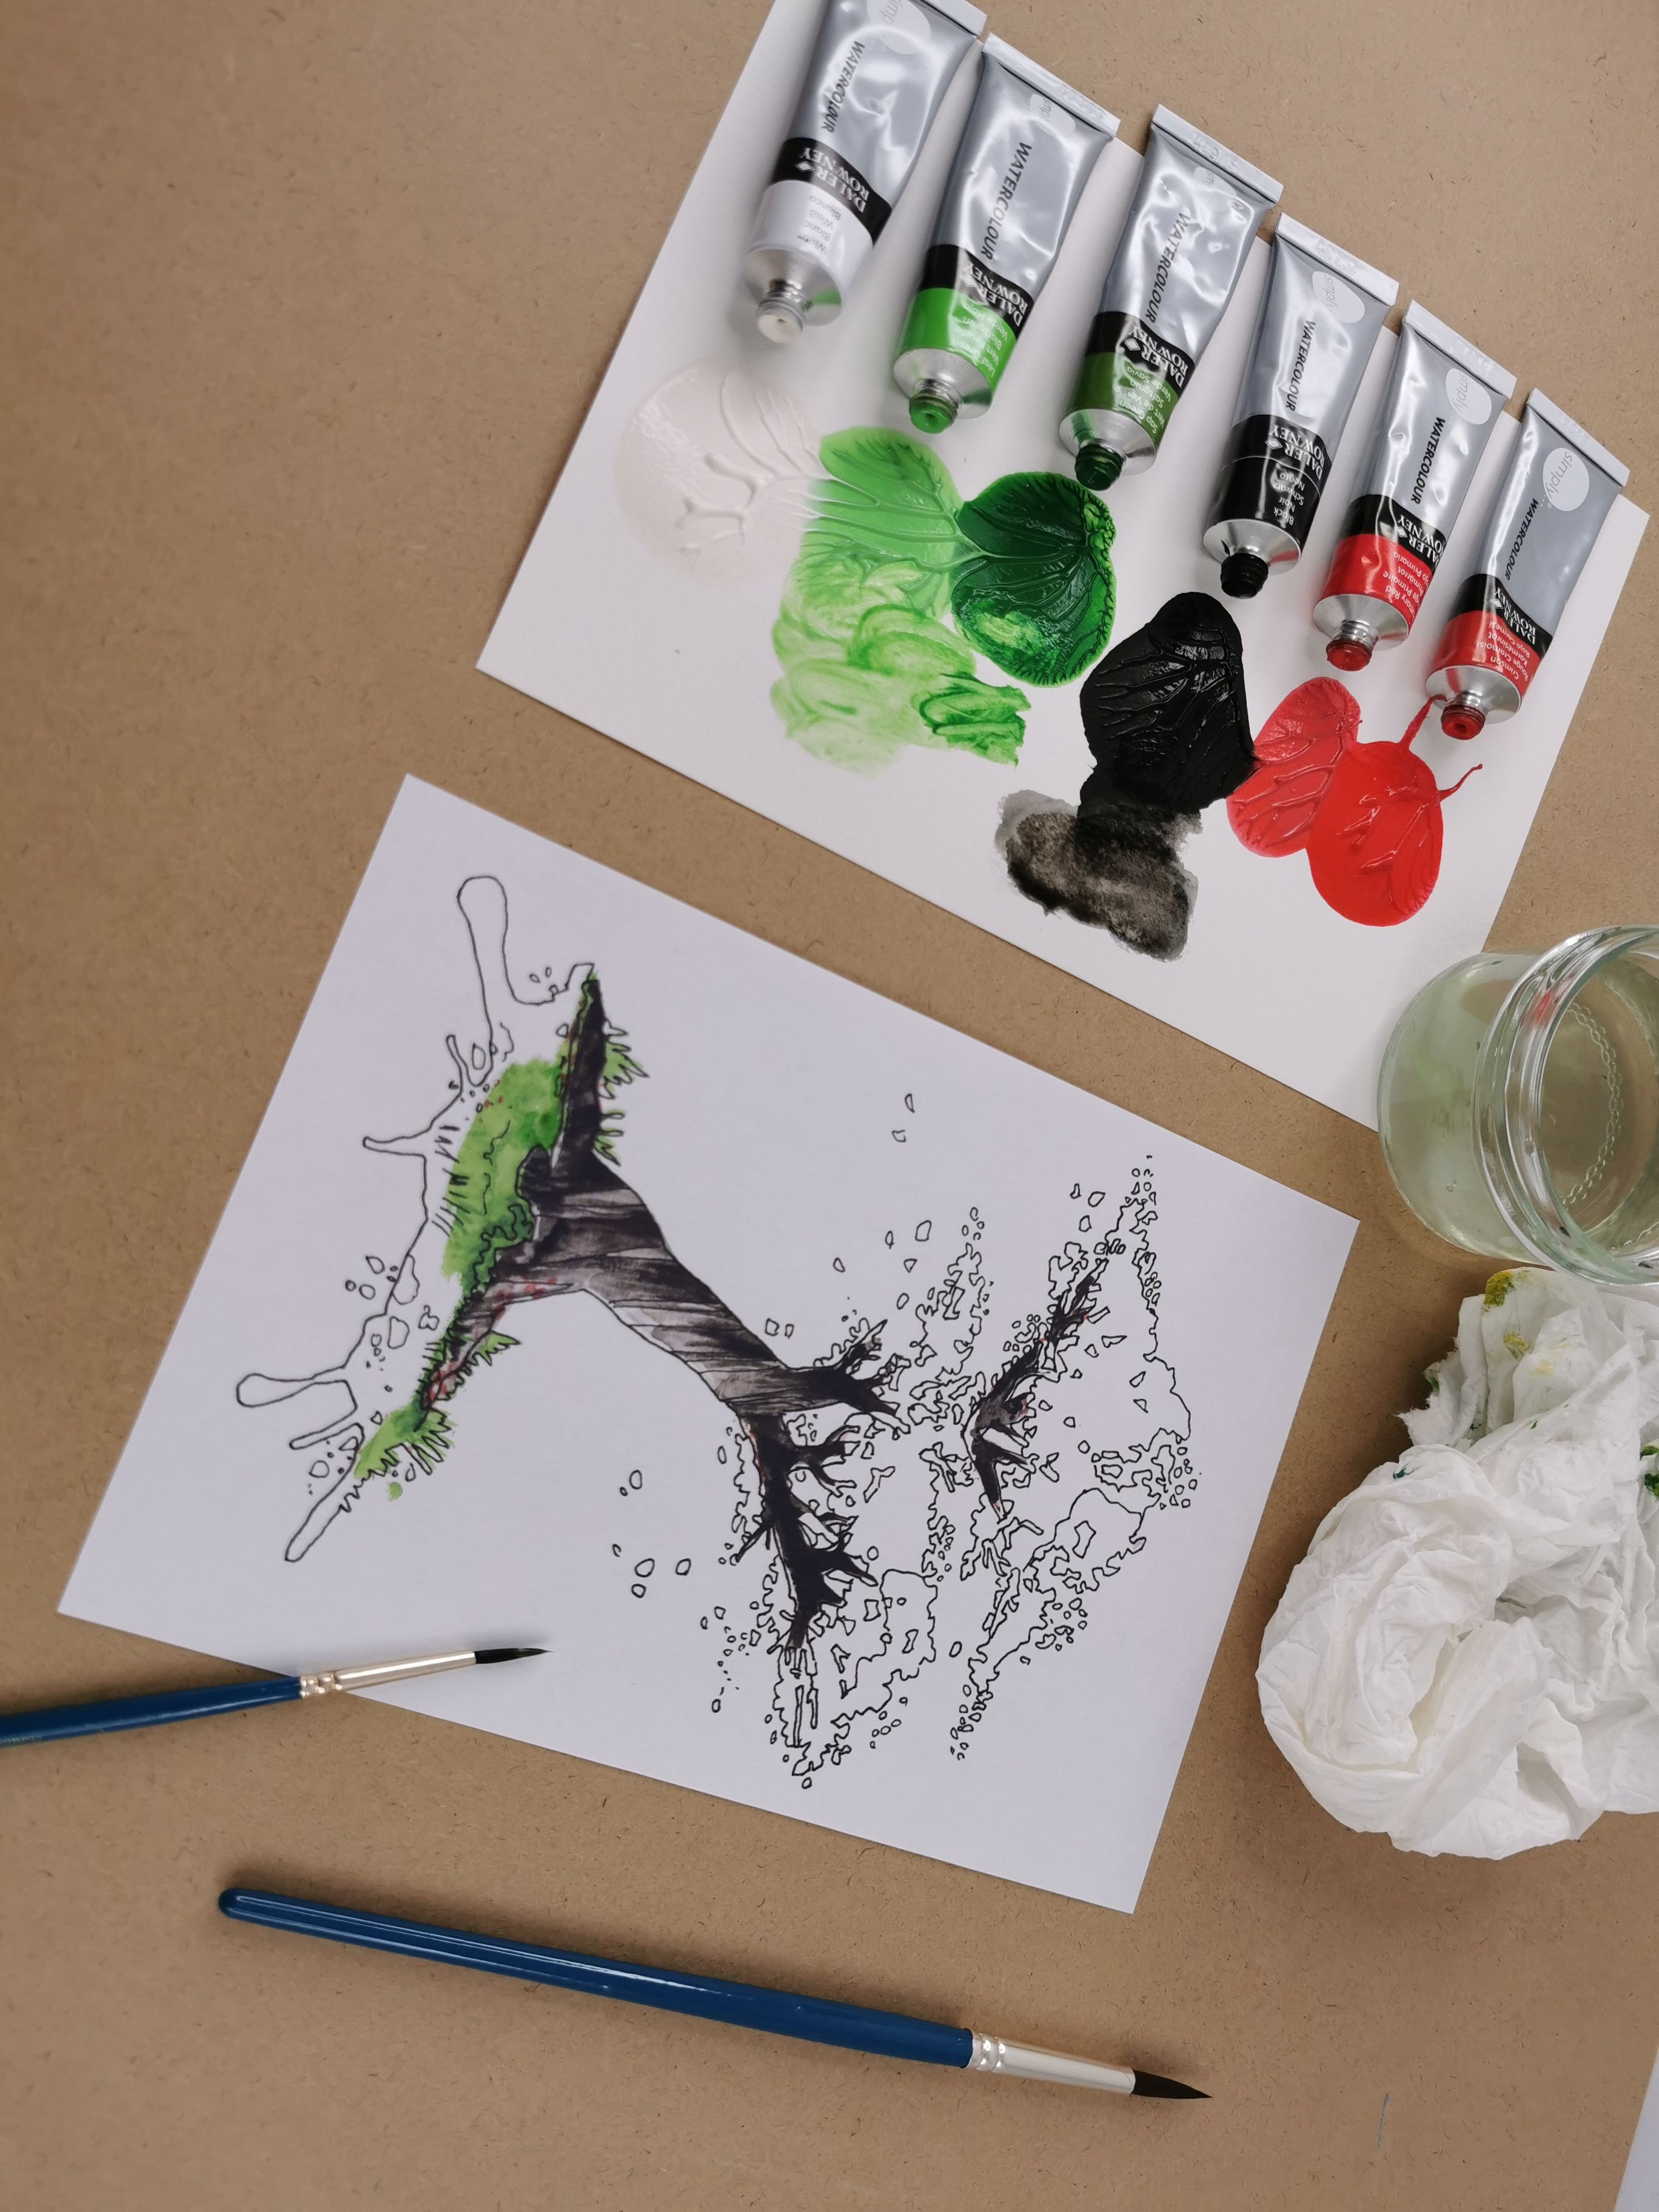
Use the two different shades of Green to paint the blades of grass. Use Dark Green to bring out the details on Light Green. Add a small amount of White to the green to create different shades of Green. Avoid painting the fallen petals, they will be painted later.
Tip: wash the brush well between each colour change.
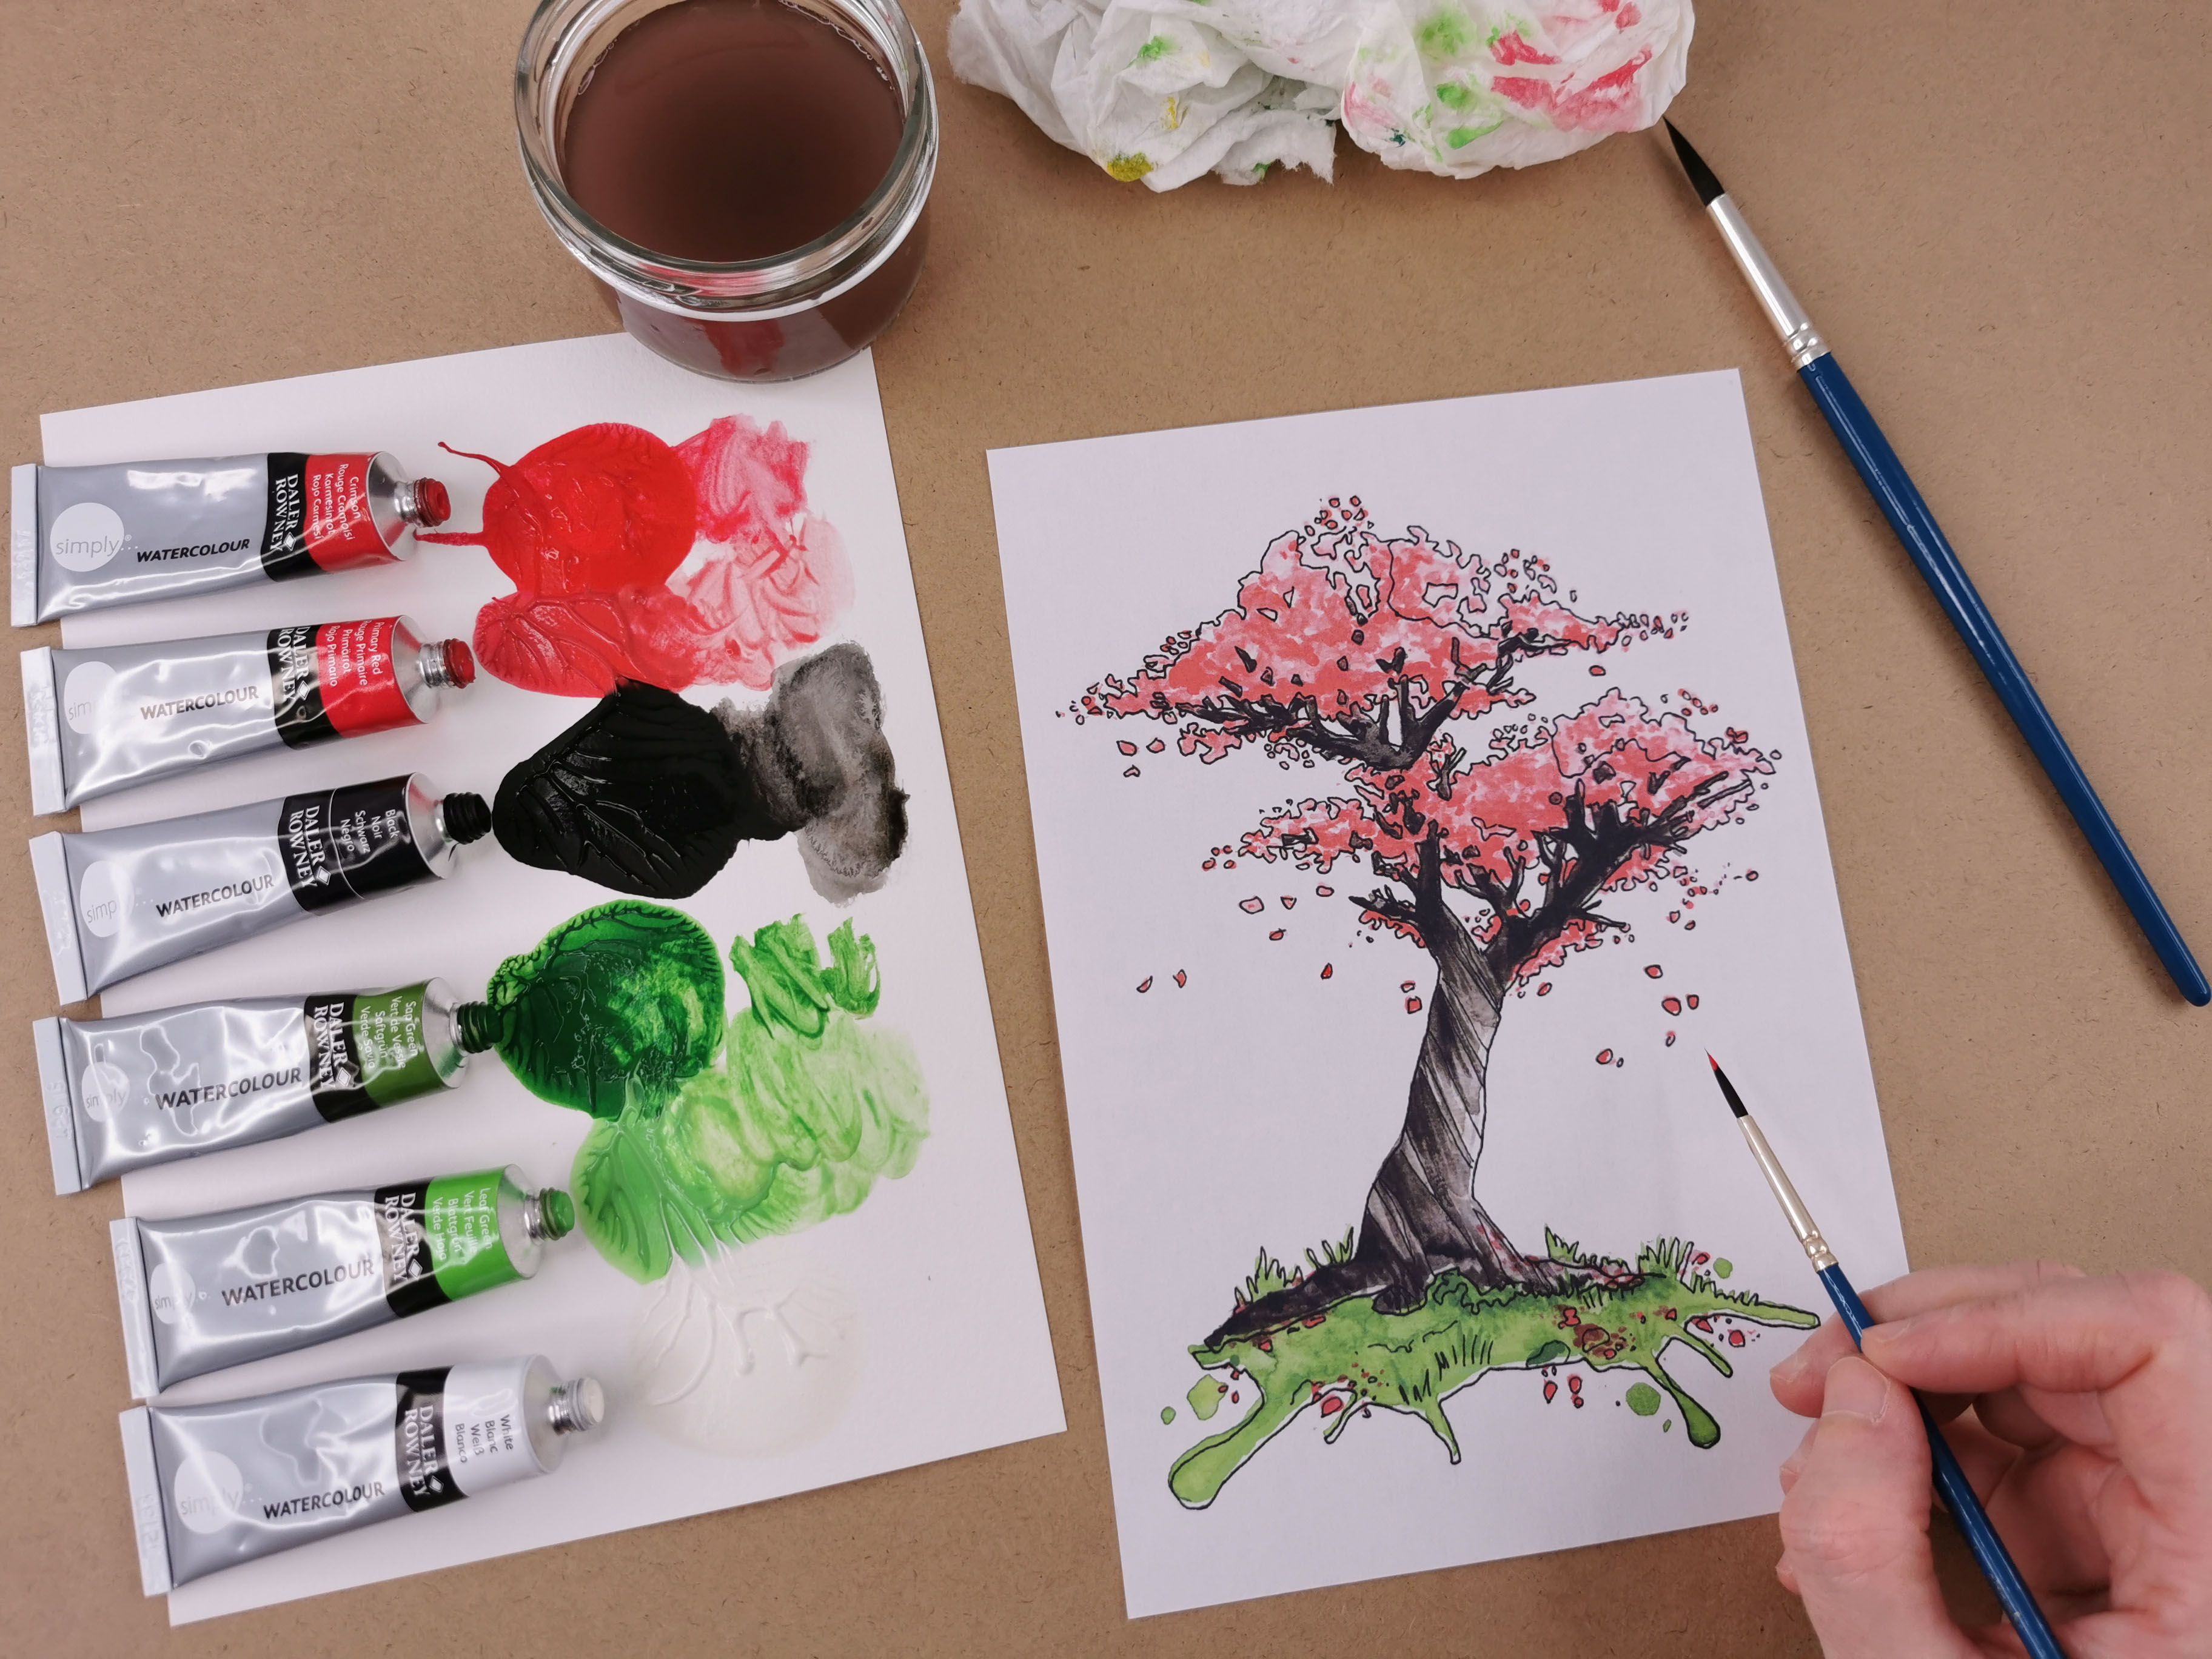
Let's move to the flowering branches of the blossom tree. For flowering, paint the lower level of the flowers using the Primary Red and then apply small touches of Crimson to add detail and volume. Mix a small amount of white with Primary Red to create a lighter Red for the top section of flowers.
Let's move to the flowering branches of the blossom tree. For flowering, paint the lower level of the flowers using the Primary Red and then apply small touches of Crimson to add detail and volume. Mix a small amount of white with Primary Red to create a lighter Red for the top section of flowers.
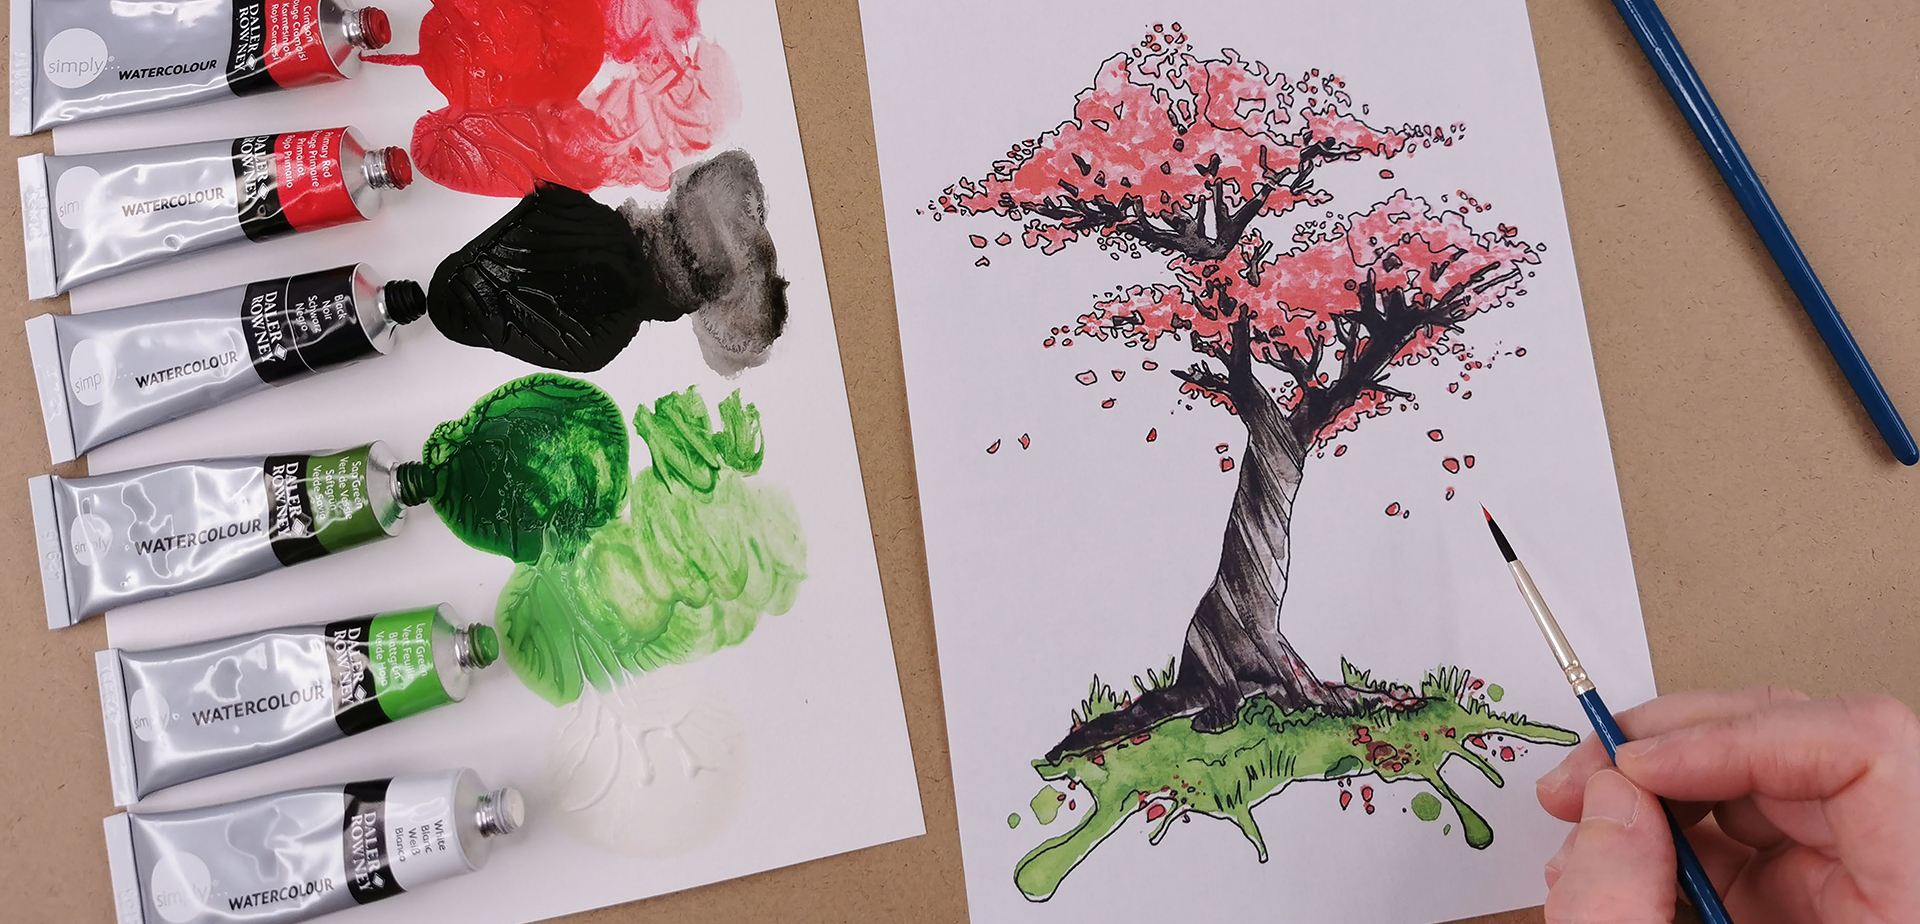
This is the last step of the painting to finalize the whole tree. Using Crimson Red, tint the petals that fall around the tree, and add a few petals to the ground.
Your step by step guide
Sit comfortably at a table with all your equipment provided within the set. Firstly, squeeze a small amount of each colour onto a piece of paper or an artist’s palette. Then use the pre-printed template provided to help you create your Japanese cherry blossom painting. In this demonstration, we will work on a cherry tree in blossom using Simply Watercolour paints.
Sit comfortably at a table with all your equipment provided within the set. Firstly, squeeze a small amount of each colour onto a piece of paper or an artist’s palette. Then use the pre-printed template provided to help you create your Japanese cherry blossom painting. In this demonstration, we will work on a cherry tree in blossom using Simply Watercolour paints.
Using Black, start painting the upper branches of the tree and move down little by little following the template. Dilute the Black paint with water to create shade variations in the branches and trunk of the blossom tree to achieve a more natural effect, the colour does not need to be uniform.
Using Black, start painting the upper branches of the tree and move down little by little following the template. Dilute the Black paint with water to create shade variations in the branches and trunk of the blossom tree to achieve a more natural effect, the colour does not need to be uniform.
Some cherry blossoms in Japan have twisted branches and trunks. With water, dilute the Black paint to work with Grey shades show achieve the twists within the tree. It is possible to add White to Black to create a more opaque Grey.
Use the two different shades of Green to paint the blades of grass. Use Dark Green to bring out the details on Light Green. Add a small amount of White to the green to create different shades of Green. Avoid painting the fallen petals, they will be painted later.
Tip: wash the brush well between each colour change.
Let's move to the flowering branches of the blossom tree. For flowering, paint the lower level of the flowers using the Primary Red and then apply small touches of Crimson to add detail and volume. Mix a small amount of white with Primary Red to create a lighter Red for the top section of flowers.
Let's move to the flowering branches of the blossom tree. For flowering, paint the lower level of the flowers using the Primary Red and then apply small touches of Crimson to add detail and volume. Mix a small amount of white with Primary Red to create a lighter Red for the top section of flowers.
This is the last step of the painting to finalize the whole tree. Using Crimson Red, tint the petals that fall around the tree, and add a few petals to the ground.
What you'll need

Simply Watercolour
Daler-Rowney Simply Watercolour is a perfect starting point for artists and hobbyists looking to experiment with the watercolour technique. The colours wet easily onto the surface, and can be thinned with water to create washes and offer great value for money.
MORE
Simply Watercolour Brushes
Daler-Rowney Simply Watercolour Brushes are made from natural hair in a variety of shapes and sizes to fit almost any need.
MORE
Simply Watercolour Paper
Daler-Rowney Simply Watercolour Paper has a medium grain textured surface, perfect for the application of watercolour and gouache, as well as for drawing and ink techniques. It is perfect for hobbyists willing to experiment watercolour paintings.
MOREAbout the artist:
The painter Amylee Paris tirelessly finds her inspiration in colour and nature. Her abstract blooms and portraits shine in several art galleries in the UK.